- DIY Tutorials
- Kitchen
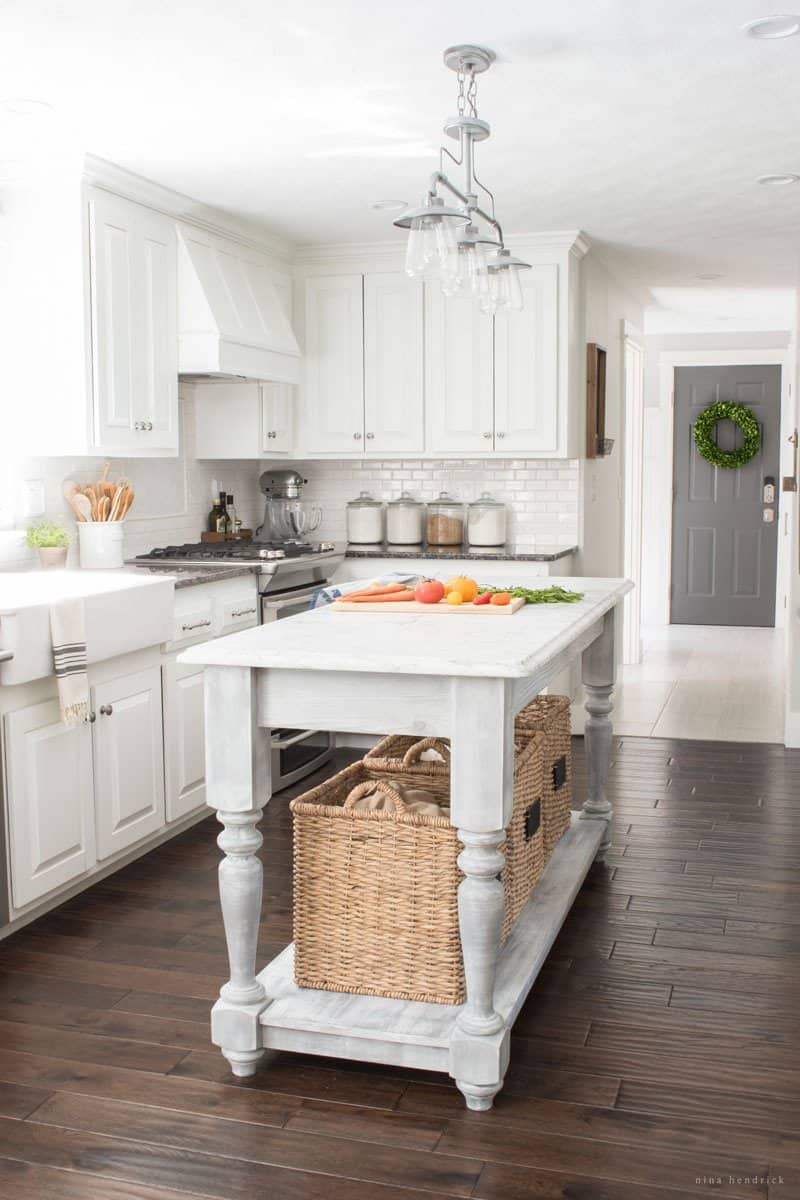
Furniture-Style DIY Kitchen Island
Learn how to build this gorgeous furniture-style DIY kitchen island with this step-by-step tutorial.
Today I’m sharing an unexpected but very welcome addition to our DIY painted kitchen renovation— our DIY Kitchen Island! If you want to see other projects from our DIY kitchen renovation, you can check out our storage range hood here and how we painted our oak cabinets for a factory-smooth finish here.
Furniture-Style DIY Kitchen Island
Originally posted February 27, 2014. Last updated June 28, 2020.
There is usually a lot of trial-and-error that goes on behind the scenes of our projects. However, everything here seemed to just kind of fall into place. All things considered, I feel confident that this is a beginner-friendly project. If you’re interested in creating a DIY Kitchen Island for your own home I think this will be a good project for you, even if you’re just starting out with building.
Why we chose a DIY Kitchen Island
I hadn’t actually been planning on having an island during this phase of the project. When our heating project required a vent in the middle of the room, we were suddenly scrambling to figure out what we wanted to do to cover it up. We knew that a vent just sitting there would either be tripped on or would soon be stuffed with goldfish, courtesy of our toddler Cooper. So we began discussing options.
I originally had this awesome plan in my head for an island that included a built-in microwave, storage, and a barstool bench. After getting out the measuring tape and making a painter’s tape silhouette, it was pretty clear that we did not have enough space for any of my grand ideas. Long story short, there would not have been enough room to maneuver and open cupboards.
I really loved the idea of a furniture-style island, and Mack and I agreed that it would be the best fit for our space. He went on a marble hunt while I tried to find some plans and legs. Honestly, we are always kind of on the hunt for marble on Craigslist. But since it has become more popular, a lot of people know what they have, and the prices become higher than a brand new slab.
Our Best Craigslist Bargain, Ever
That was not the case with this listing. The seller was only asking $250, but there were no photos or dimensions. Mack emailed him asking for more inf, and we got a grainy photo of a corner of the slab with the disclaimer that it had a scratch. However, the dimensions were absolutely perfect.
I was still feeling pretty skeptical when we drove out to look at it. It was about 45 minutes away. We drove up to a pretty farmhouse and I suddenly got a really good feeling about the whole thing. They obviously had good taste!
The marble slab was tucked away in the corner of the garage and it hadn’t moved in the years since they had it. The edges were unfinished and a bit damaged, but the scratch was actually on the bottom of the slab. When we turned it over the other side was perfect!
The seller hadn’t realized there was a difference between the top and bottom. Other than being a bit dirty, it was a real find! Mack was even able to talk the seller down to $200 since the edges would have to be finished. The owner was just happy to have it out of his garage!
While the slab was having its edges finished, I began comparing island legs. I decided on these. I chose them based on the dimensions and the fact that they were just the most pretty! I liked the chunky style in order to support the heavy marble and also the flat bottom portion which would be perfect for adding a shelf. We are so so happy with the quality of the legs.
How we Built our DIY Kitchen Island
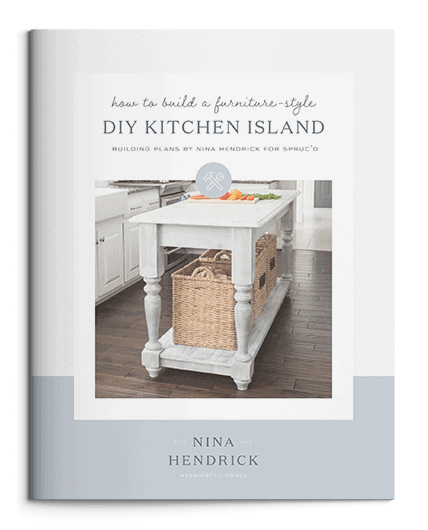
After searching unsuccessfully for an existing tutorial for the island I was imaging, we decided to wing it. We studied a lot of building plans in the process, but ultimately this plan ended up being a unique build. I created a PDF of the building plans, which you can get by clicking the link above! We ordered a Kreg Jig and I have to say, I love it! I am still overcoming my fear and aversion of saws (particularly the table saw), but drilling and assembling pieces is so easy now!
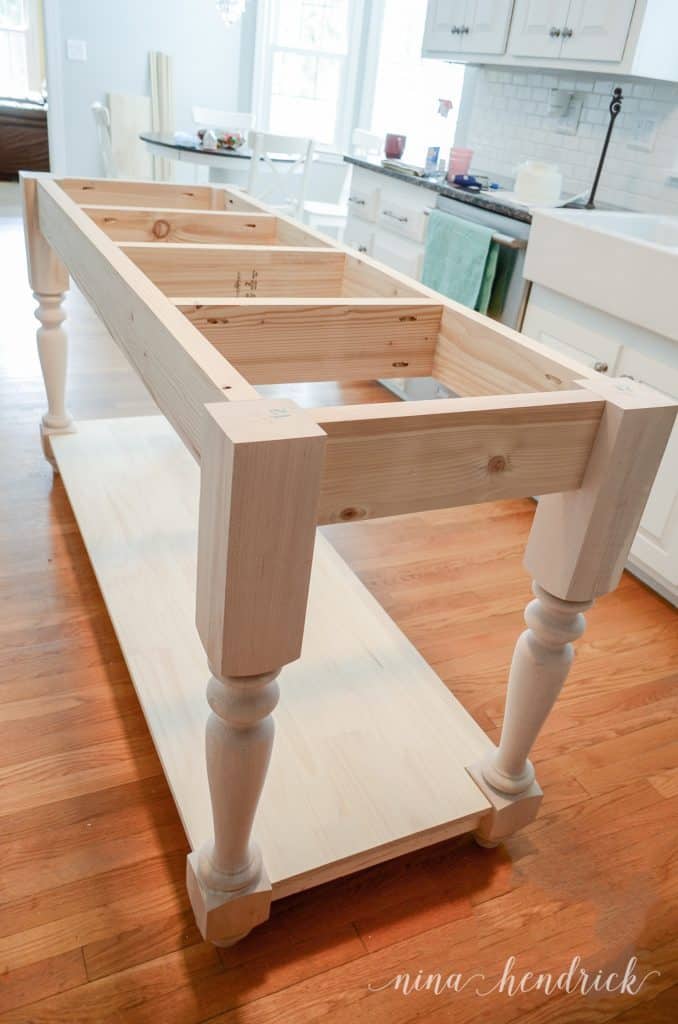
For assembling the island, we really recommend following our plans, but here is a quick tip: to make sure the apron is completely centered on the legs, cut spacers and clamp everything together. That way it won’t shift as you add the screws!
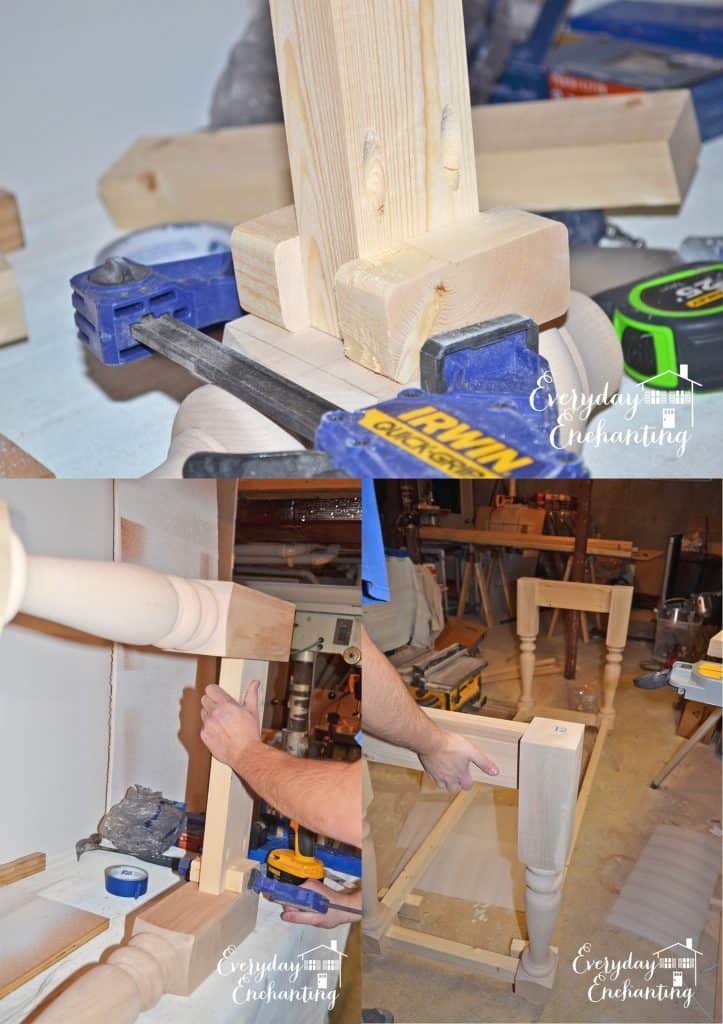
We built the ends first, then attached them with the bottom shelf support. Putting blocks under the shelf support added stability as we attached the two sides.
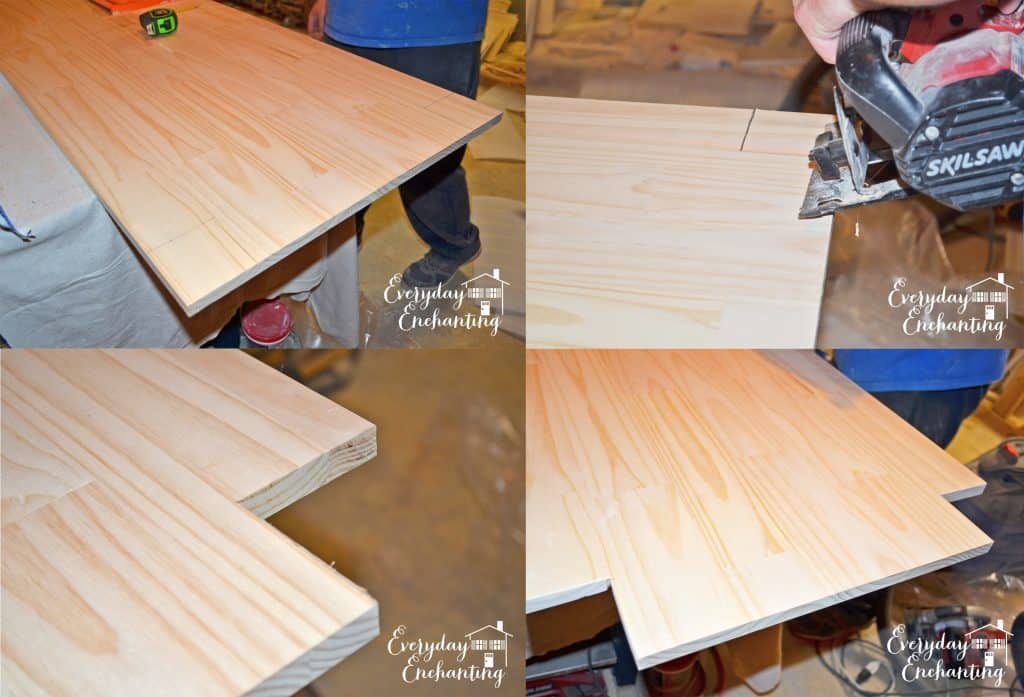
For the shelf, we opted to go with a piece of butcher block. We cut notches out for the legs using the jig saw.
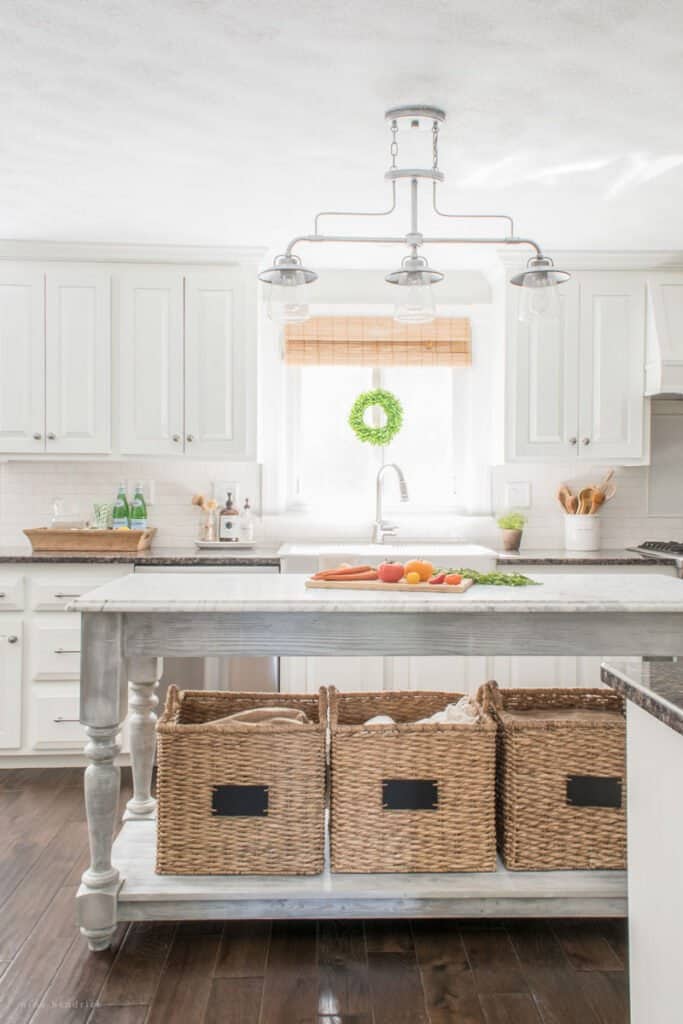
Here she is in her final home, waiting for the finish. I used Minwax Slate water-based stain and went over that with a chalk paint whitewash.
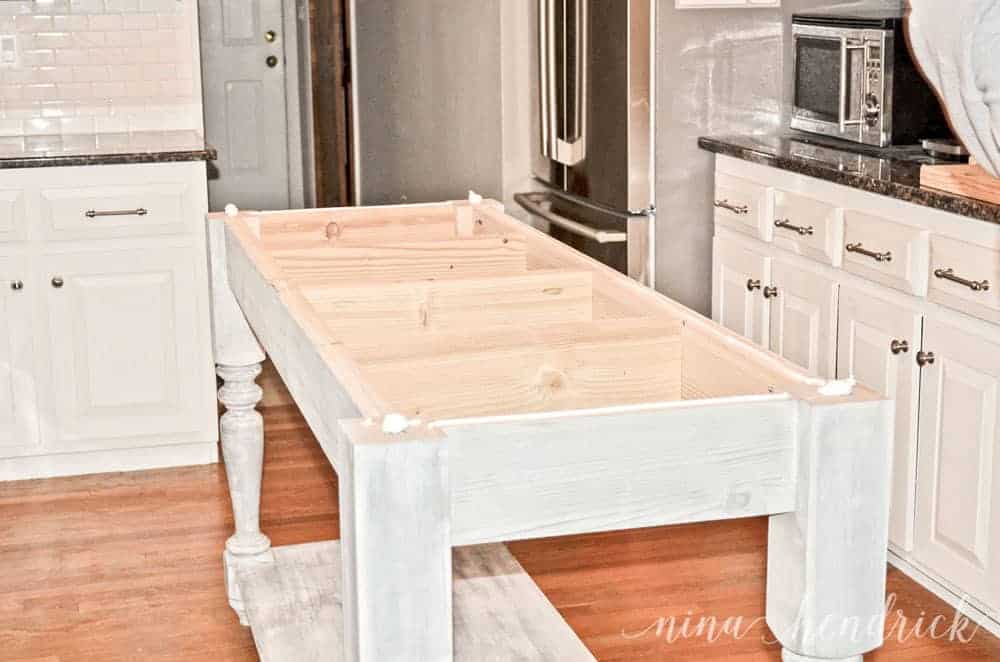
Here she is waiting for her marble top! (“She” just seems like a girl to me.)
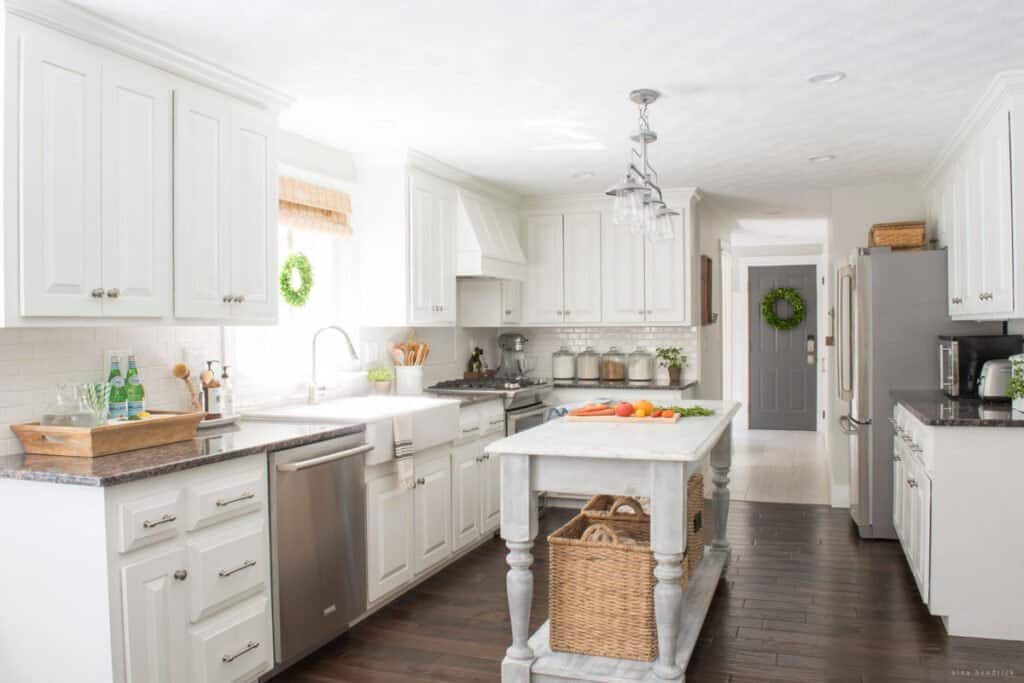
We are so pleased with how it turned out! I think it added just the right amount of contrast to the kitchen project. People often ask where it’s from. A lot of people guess Restoration Hardware before I tell them it was a DIY build! Overall, that’s a big success for the fraction of the price.
