- DIY Tutorials
- Kitchen
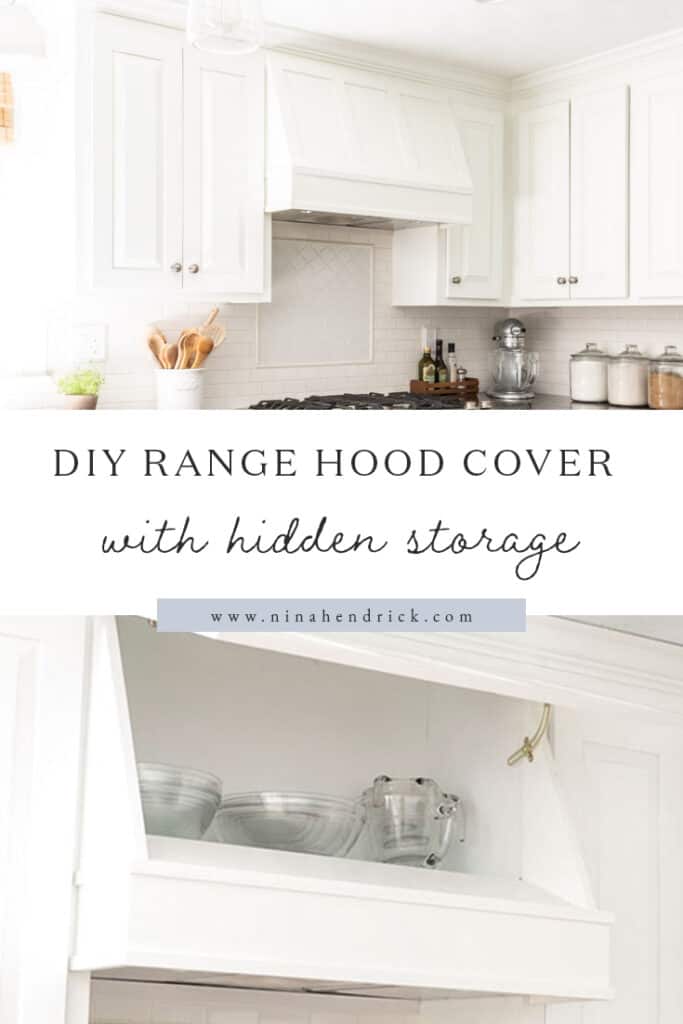
DIY Range Hood Cover with Storage Tutorial
Rather than wasting the space, learn how to use the existing ducting and cabinet above your stove to create a custom DIY range hood cover with hidden storage.
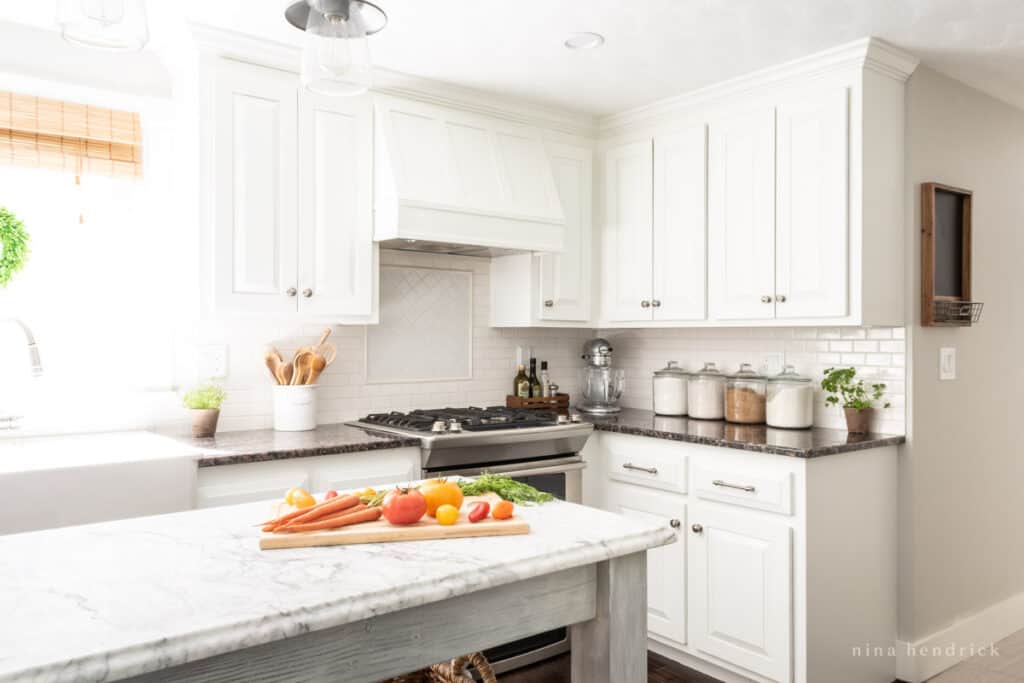
In our painted kitchen makeover, this DIY range hood cover has gotten almost as much attention as my post for how we transformed and painted our dated oak cabinets! Why, you may wonder? Well, not only did it make the ugly space above our range so much prettier, but our new vent hood cover has a secret: you can lift the front for hidden storage!
DIY Range Hood Cover with Hidden Storage
Originally published March 19, 2014. Last updated February 17, 2022.
This post contains affiliate links. Please see my disclosures here for more information.
I have to give all the credit for the extremely cool “range hood with storage” factor to my husband Mack. While we were in the planning stages of the kitchen, I presented him with a beautiful high-end inspiration photo of a vent cover with board-and-batten trim detail.
He not only had a clear vision for how he would build it, but he also saw the potential in keeping it functional by recycling the existing cabinet as a hidden storage area. This is especially helpful if you have a small kitchen with a lack of storage!
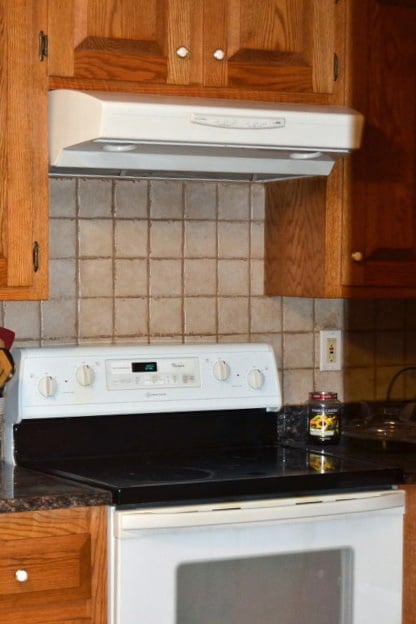
Before
When we bought the house, the white range vent was exposed and prominent. It was permanently discolored and very greasy inside. I knew immediately I would want to swap it out during the kitchen makeover!
We had a few considerations when choosing a new range hood. Most importantly, we had to make sure it would fit the existing ductwork that vented outside, which attached in the back of the current ugly white vent fan.
Choosing a New Range Hood
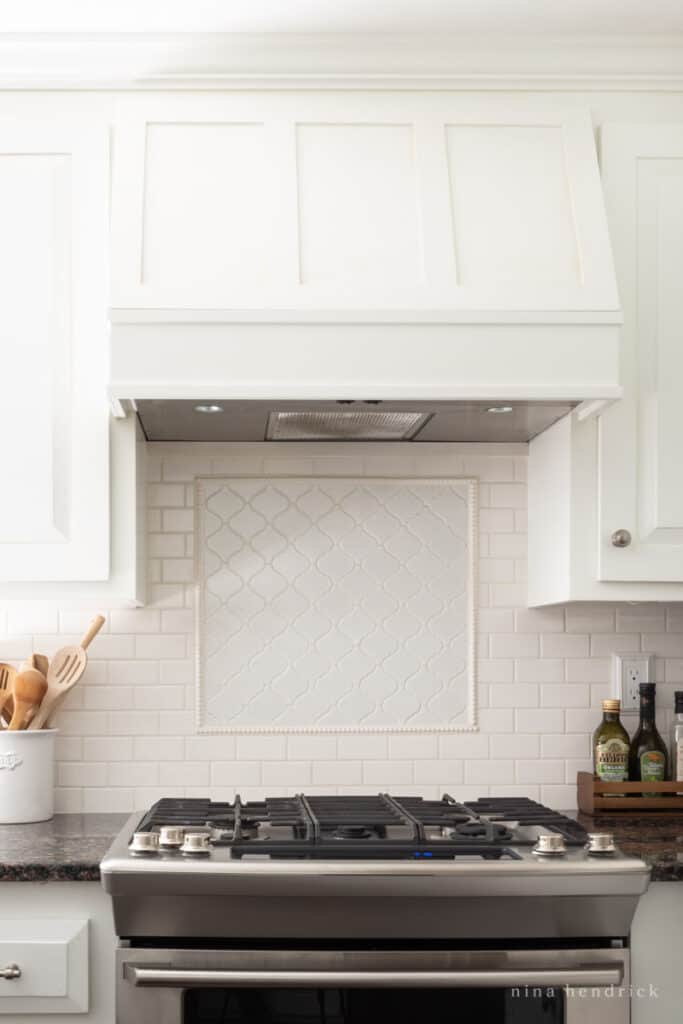
Unless you already have a range hood with a nice angle and buttons on the bottom, chances are that you’ll need a new one for this project. This is the newer version of our range hood. I chose it because it was stainless steel and had the buttons on the bottom rather than the front, so it was perfect for our purpose! Plus, it was pretty inexpensive at under $200.
We followed the standard installation instructions, and luckily it fit perfectly and easily with the existing ductwork. I didn’t get a photo, but it was a simple matter of attaching it in the back at the existing connection, which vents to the outside. They made the range hood to install either out the back or through the top. In order to complete this project without ducts going through your storage area, you’ll need the back installation as well.
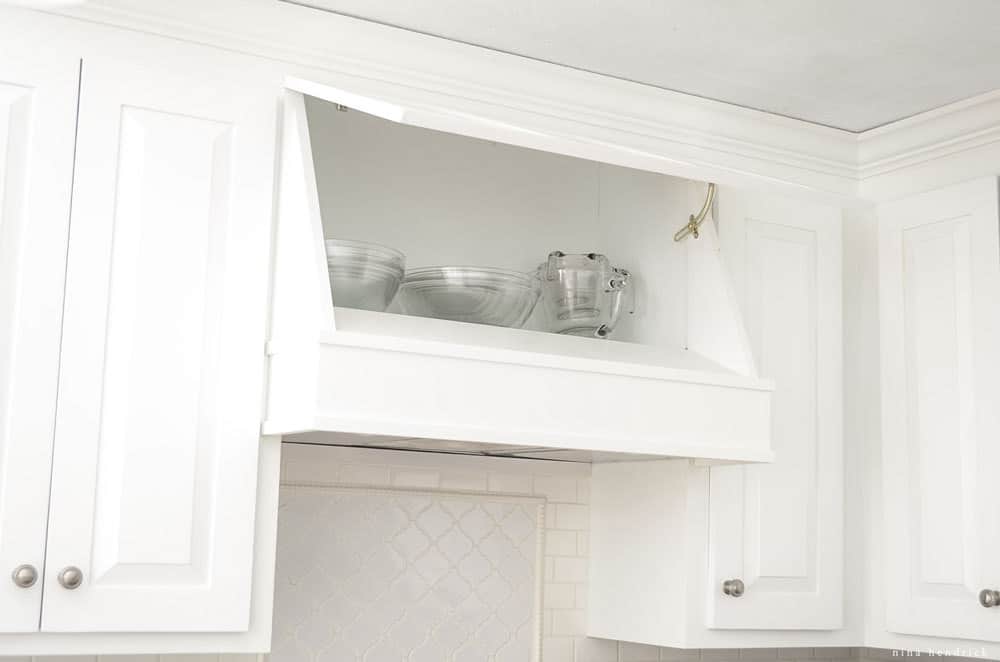
Here’s a view of the friction lid support in action! This is a great place to store less-used bowls. The friction lid support allows me to put things back and take them down without having to worry about the door.
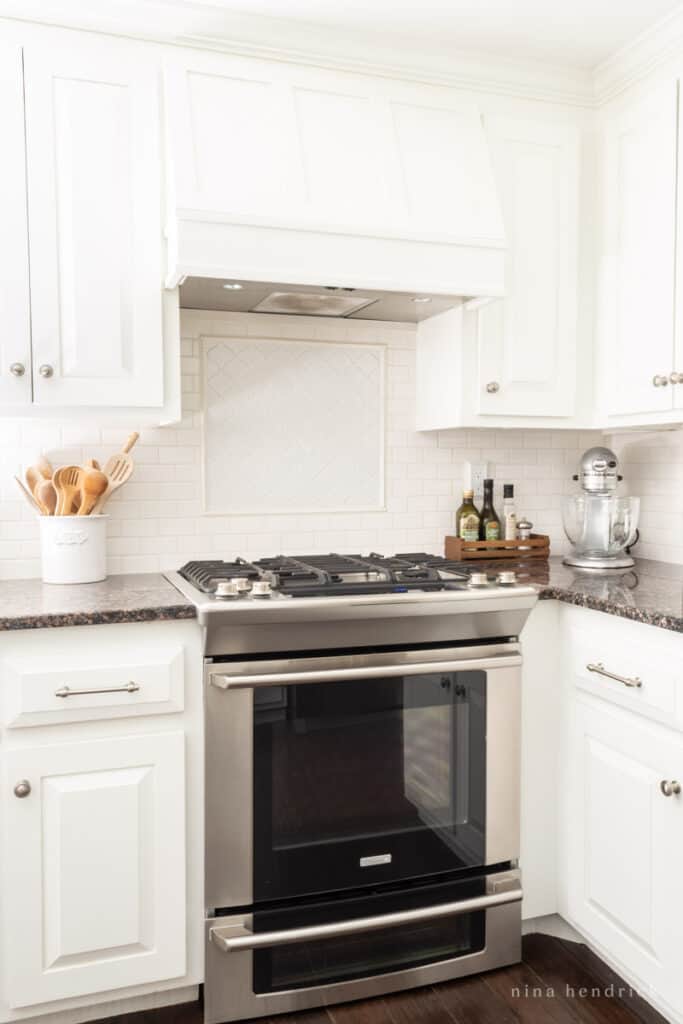
I love the custom cabinetry inspired detail that this DIY range hood cover adds to our kitchen. Of course, I appreciate the bonus that it’s functional. I am extremely lucky that Mack has the skills to not only accomplish my ideas, but he also brings his own brand of logical creativity to our projects. What do you think of this project?