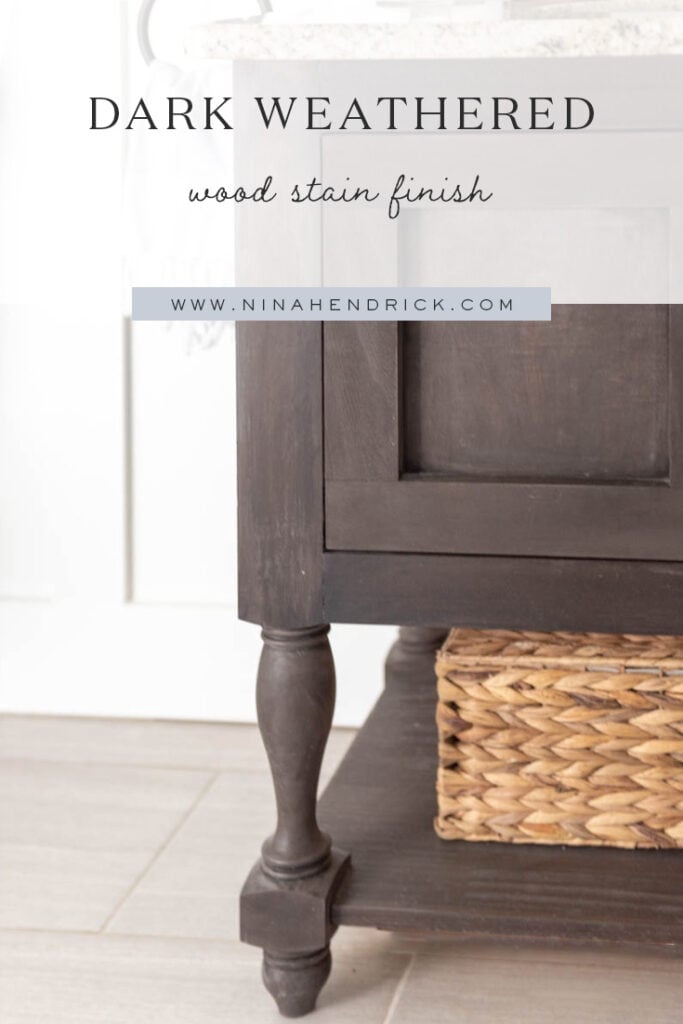
This DIY tutorial will teach you how to achieve a dark weathered wood stain finish (with no red undertones!) using slate gray and java stains.
I know that natural wood furniture is all the rage right now. Don’t get me wrong, I love raw wood too! However, there’s something to be said for a dark weathered wood stain finish. It gives a piece of furniture an aura of age and history.
After we built our DIY bathroom vanity, I wanted to give it a finish that would contrast with the rest of the very light and airy powder room. I set out to create a dark weathered wood finish, and it turned out so well that I thought I’d share it with you, too!
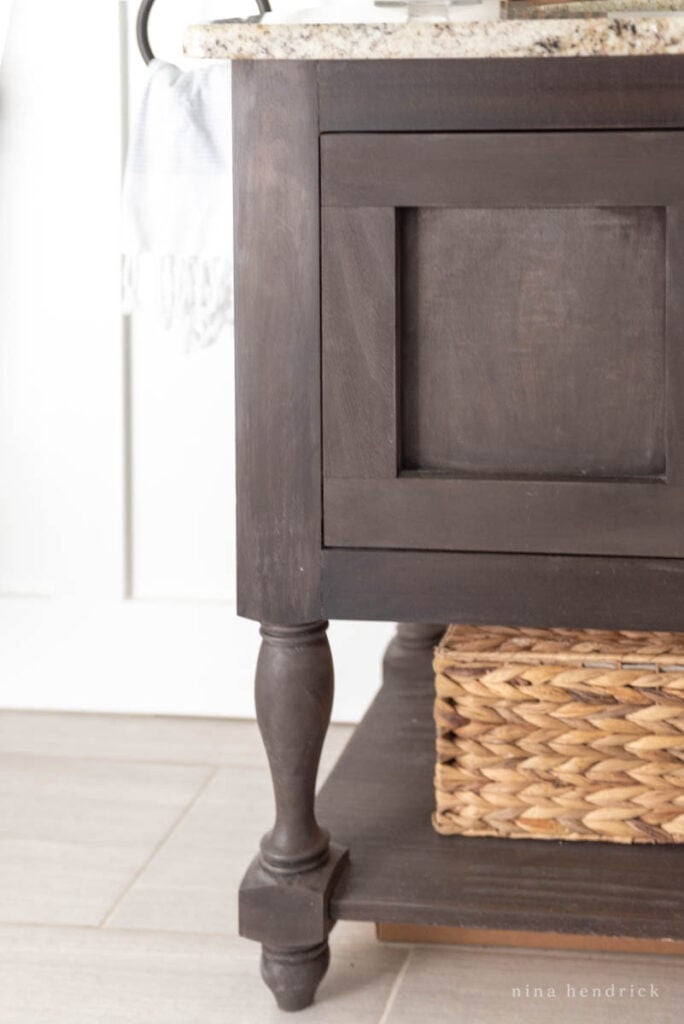
Achieving a Dark Weathered Wood Stain Finish
This post contains affiliate links, which means I may get a small commission (at no extra cost to you) if you shop my link. Please see my disclosure if you’d like more info!
Materials
- 120-grit sandpaper
- 2 Clean Stain Paintbrushes
- Minwax Pre-Stain Wood Conditioner
- Minwax Water-Based Wood Stain in White Base (tinted Slate at your local paint counter)
- Varathane Wood Stain in Kona
- Stain Rags
- Clear Satin Topcoat
Time needed: 2 hours
Looking for a weathered barn wood look without red undertones? This combination of slate and java stains produces the perfect dark neutral wood finish.
- Sand your piece with 120-grit sandpaper
You can use a sanding block or simply a piece of sandpaper. The idea is to give your piece a smooth finish and to sand away any imperfections. Wipe away any dust.
- Apply Stain Conditioner on Your Piece
Before applying the stain, cover all the pieces of the project in a coat of Minwax Pre-Stain Wood Conditioner with a clean brush. I’ve found that this really helps the wood take the stain more evenly.
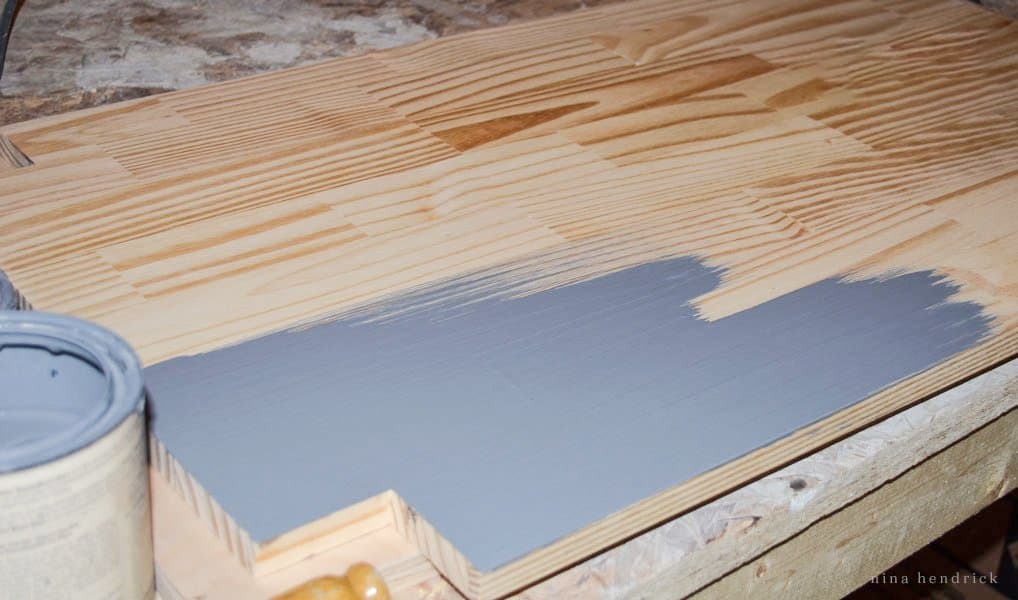
- Apply a coat of slate water-based stain
Your first coat will be Minwax Water-Based Wood Stain in White Base (tinted Slate at the paint counter).
Work extremely quickly with this stuff or it dries into a paint-like gray finish. I recommend working in small sections and then immediately wiping the stain away after applying it.
- Apply Dark Kona Stain
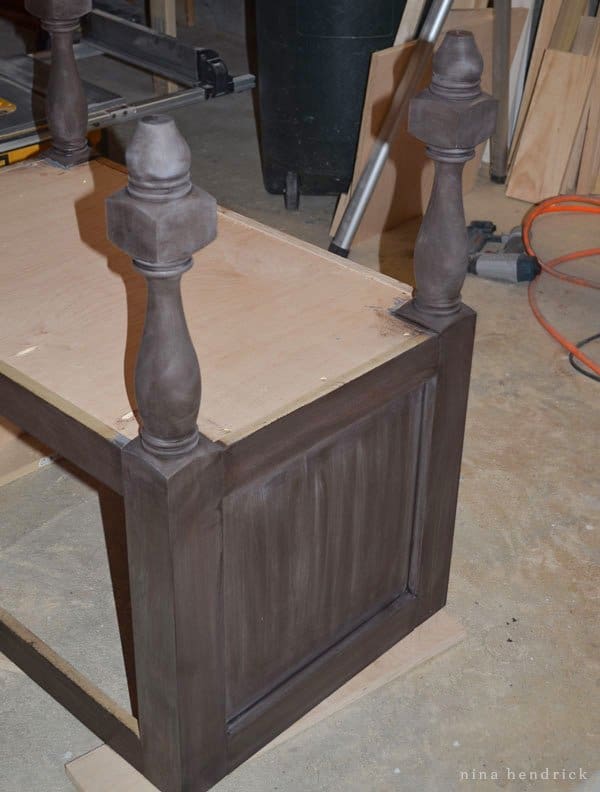
Once you cover the entire piece in the gray stain (wiping it away as you go), immediately apply a coat of Varathane Wood Stain in Kona Satin. This can and should sit on the wood longer than the slate stain for correct absorption. It takes much longer than the recommended minute to saturate the wood, possibly because there’s already a layer of stain on the vanity.

- Wipe the Kona Stain Away
After covering the entire piece, wait a few minutes, then go back to where you started and begin wiping the stain away. Enough of the gray base stain should show through to give it the dark weathered wood stain finish we’re hoping for.
Note: turned legs and detail seem to soak up the stain a bit differently, so apply a second coat of the Kona if needed. - Apply Topcoat
After the vanity is dry, apply a clear satin topcoat to protect the wood.
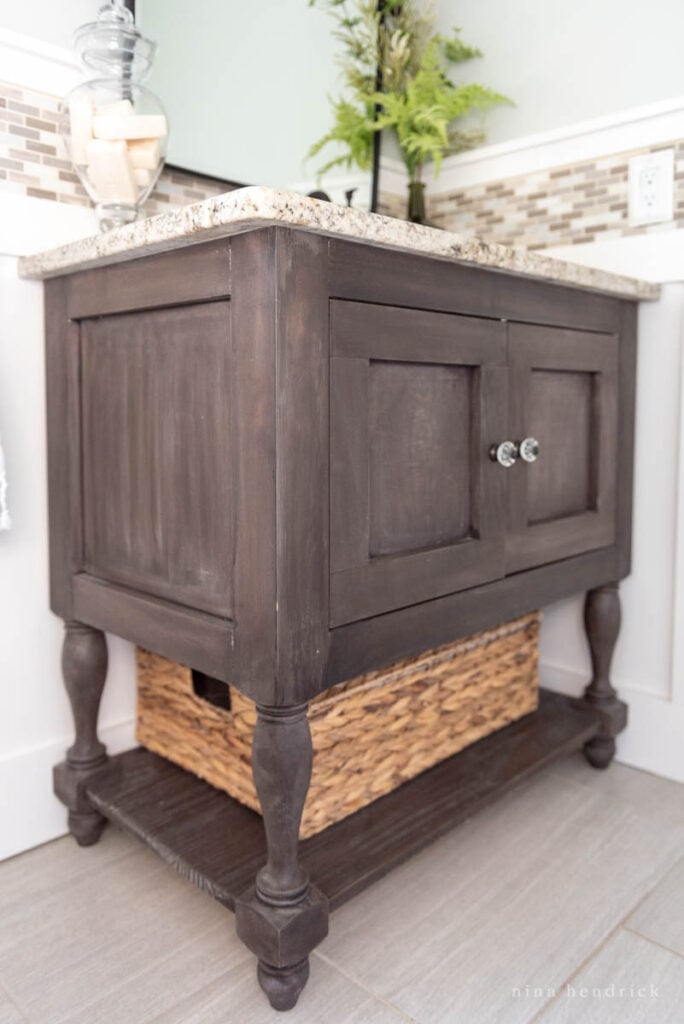
I can’t say enough how much I love this dark weathered finish! The blue tones in the slate stain seem to be just the thing to counteract any red that may be in the Kona stain. The result is a perfect neutral weathered wood stain that I can’t get enough of!
