- DIY Tutorials
- Renovating
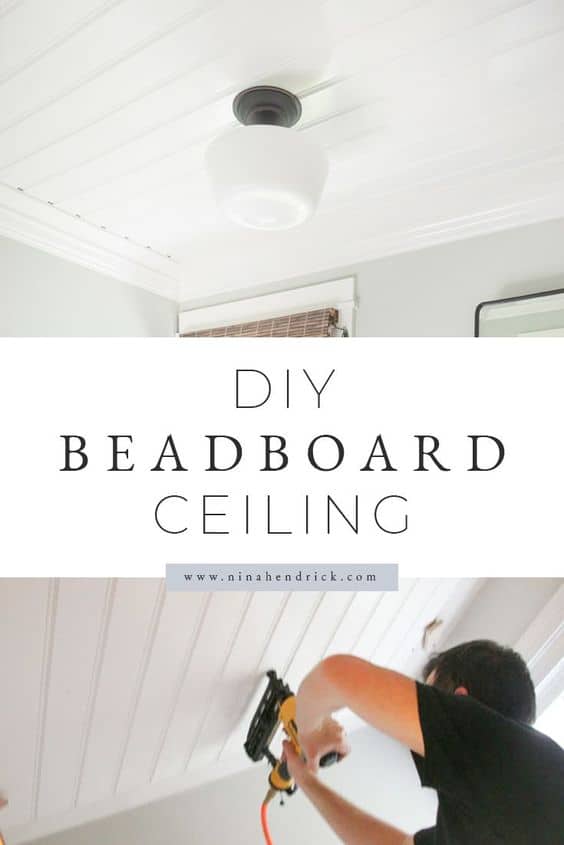
DIY Beadboard Ceiling
Learn how to cover a dated, textured, or popcorn ceiling with an easy and inexpensive cottage style DIY beadboard ceiling for a custom look.
Do you have a ceiling with a texture or finish like popcorn that you want to cover up? Or maybe you just want to add architectural interest to a smooth plaster ceiling? Either way, this DIY beadboard ceiling is the perfect solution!
Looking for other wall or ceiling treatment ideas? You can check out my tutorial for planking walls here and also how to plank walls with PVC — which works great in a full bathroom where there’s moisture.
DIY Beadboard Ceiling
Originally published May 6, 2014
I am a huge fan of upgrades like beadboard. I love both traditional and cottage styles, and it ties into both nicely. In our downstairs powder room at our Massachusetts colonial, we opted to go with board-and-batten for the walls, but I knew something had to be done to cover the textured ceiling.

Here was our starting point. You can see the light-absorbing texture and the water stains in the photo. What you can’t see is all the dust that gets trapped in the texture. Although it looks similar, it’s not popcorn, and therefore not able to be scraped off. Technically, I could have tried to really scrub it and paint it. Frankly, I just don’t like the texture, and I don’t think semi-gloss paint would have done it any favors.
Lucky for us, the ceiling was the perfect size for a single beadboard sheet, and we already had the crown molding. This project was not at all expensive, or time-consuming.
However, I won’t lie — it can be difficult and tiring to hold up the paneling and trim with only two people. We discovered a trick that I’ll share with you below!
Can you put beadboard over a popcorn ceiling?
Yes, you can definitely create a diy beadboard ceiling over popcorn texture. Follow the same steps in the tutorial below!
Can you do a beadboard treatment on a larger ceiling?
Yes! Our ceiling happened to be the perfect size for a single piece of beadboard, but it’s designed to meet up with other pieces. You could also design a grid pattern with straight trim pieces between the panels.
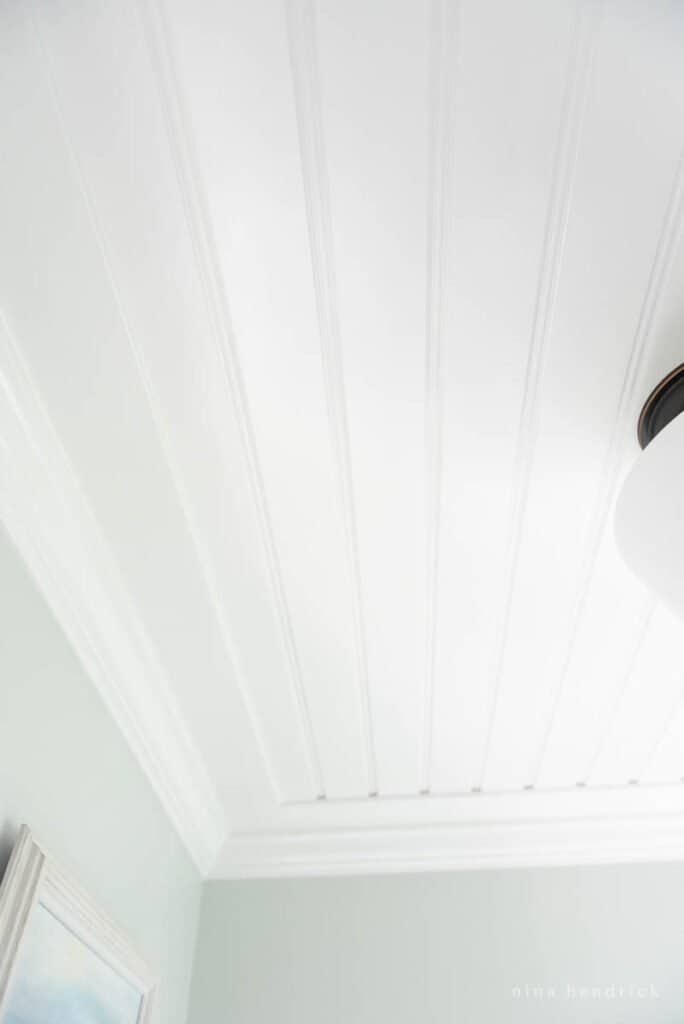
Where did you get the beadboard with the wider widths between beads?
We found our panel with the wider beads in stock at our local big box home improvement store. I’ve never been able to track down an online source, unfortunately.
DIY Beadboard Ceiling Step-By-Step Tutorial
Tools & Materials
This post contains affiliate links, which means I may get a small commission (at no extra cost to you) if you shop my link. Please see my disclosure if you’d like more info!
Tools
- Tape Measure
- Circular Saw (if you need to trim beadboard panels)
- Hole saw with driver or jigsaw (for cutting hole for light fixture)
- Nail Gun with air compressor
- Compound Miter Saw
- Caulk Gun
Materials
- Beadboard panel(s) (wider beads like ours available in store at Home Depot)
- 2×4 (optional, to create panel support)
- 4″ flat trim
- Crown molding
- 2″ nails for nail gun
- Construction adhesive
- Caulk
- Drydex
- Painter’s Tape (for marking joists)
Step One: Mark Your Ceiling Joists
Our first step was to mark the ceiling joists on the walls around the perimeter of the room with painters tape. This way, we’d know where to nail the panel into a solid joist. This step was a bit more challenging (as you can see by all of the holes in the photos) due to the stud finder struggling with the thick texture on the ceiling. It turns out we also had a previously undiscovered layer of strapping below the joists, which gave us something extra to nail into.
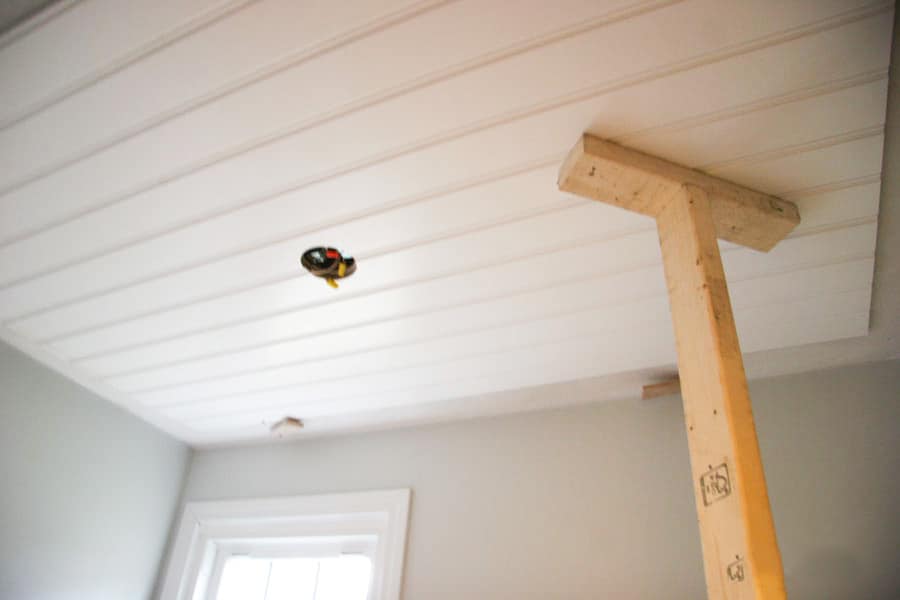
Step Two: Create a Support Brace
To help support the heavy panel while it was in the ceiling, we decided the best strategy was to come up with a support brace. We used a 2×4′ slightly shorter than our ceiling and added a second piece to create a “T”.
Step Three: Cut Any Holes for Light Fixtures
Since our room was the perfect size for one panel, it needed to have a hole cut right in the middle for the existing light fixture wiring. We used a hole saw, but you can also use a jigsaw for this step.
Step Four: Apply Adhesive
Adding a construction adhesive like liquid nails to the back of the beadboard panel helps it attach to the ceiling, especially when it has a rough texture like ours did. We used our support bracket to hoist the panel with adhesive up into place.
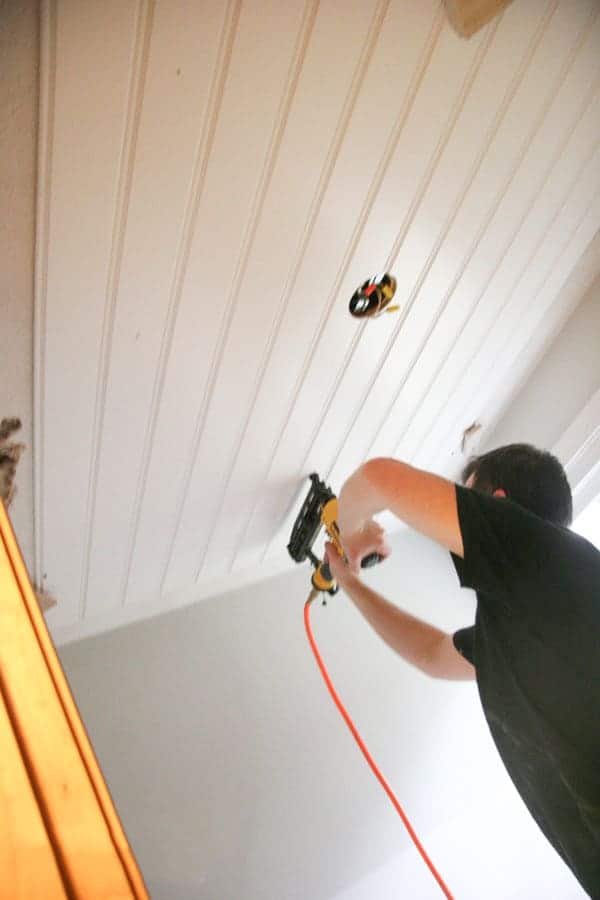
Step Five: Nail the Panel Up
Using our nail gun, Mack nailed the panel up to the ceiling at the joists. We used 2″ nails because of the factors I mentioned above: the thick ceiling texture and a layer of strapping.
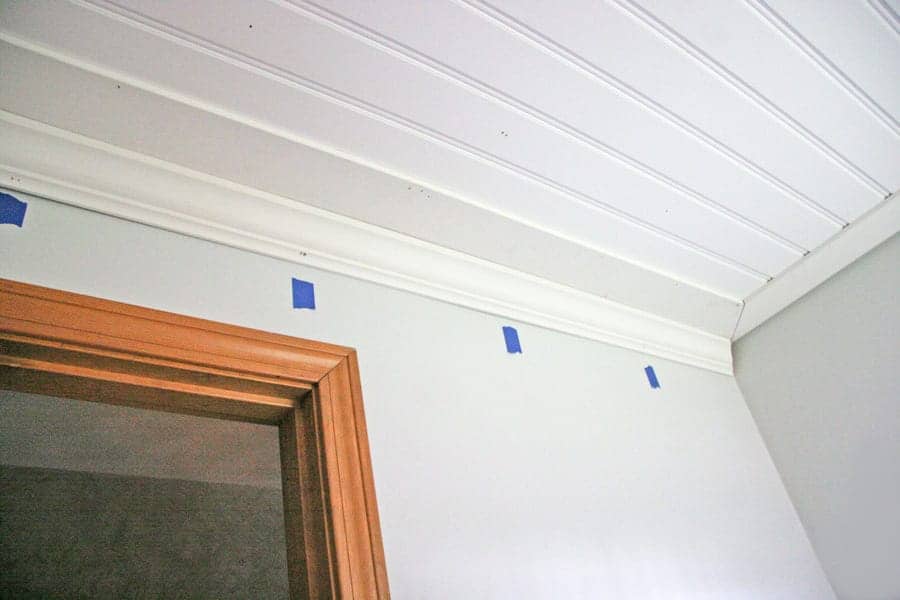
Step Six: Cut Your Trim
Next, we measured and mitered our trim boards. We chose to wrap flat 1×4″ trim around the edges of the beadboard panel and then hide any unevenness (since this room wasn’t perfectly square) with crown molding. Once again, we attached this trim with 2″ nails at the joists.
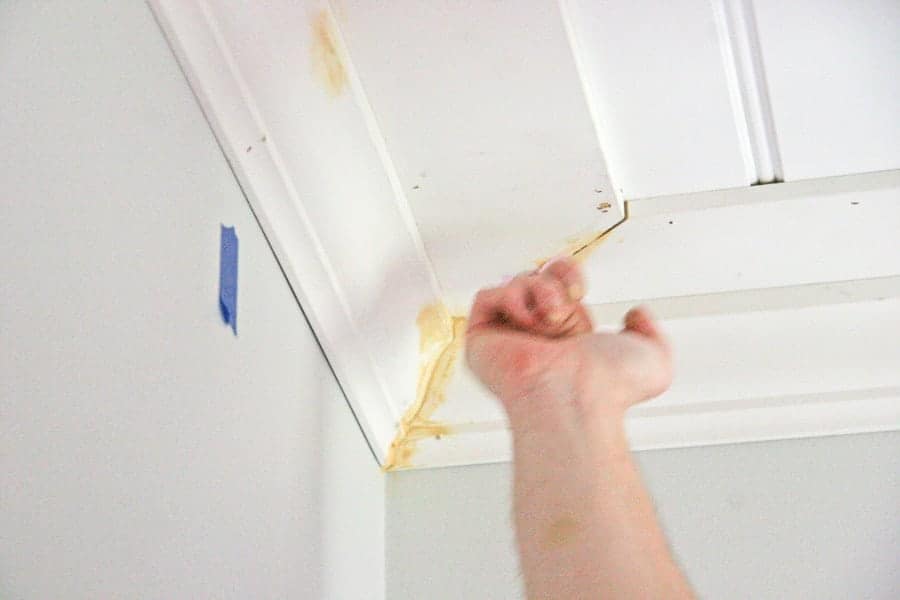
Step Seven: Fill in the Gaps
Unfortunately, the only photo I have of this step features Mack using wood filler. We do not actually suggest using wood filler, it was a failed experiment. We ended up having the best success with Drydex wall spackle to fill in the majority of the cracks and then giving everything a nice finished look with latex caulk.
Step Eight: Finish Work
The icing on the cake was the finish work. I filled the nail holes with more Drydex, lightly sanded, and painted with semi-gloss Benjamin Moore Simply White paint (see more of the paint colors in our home here!).
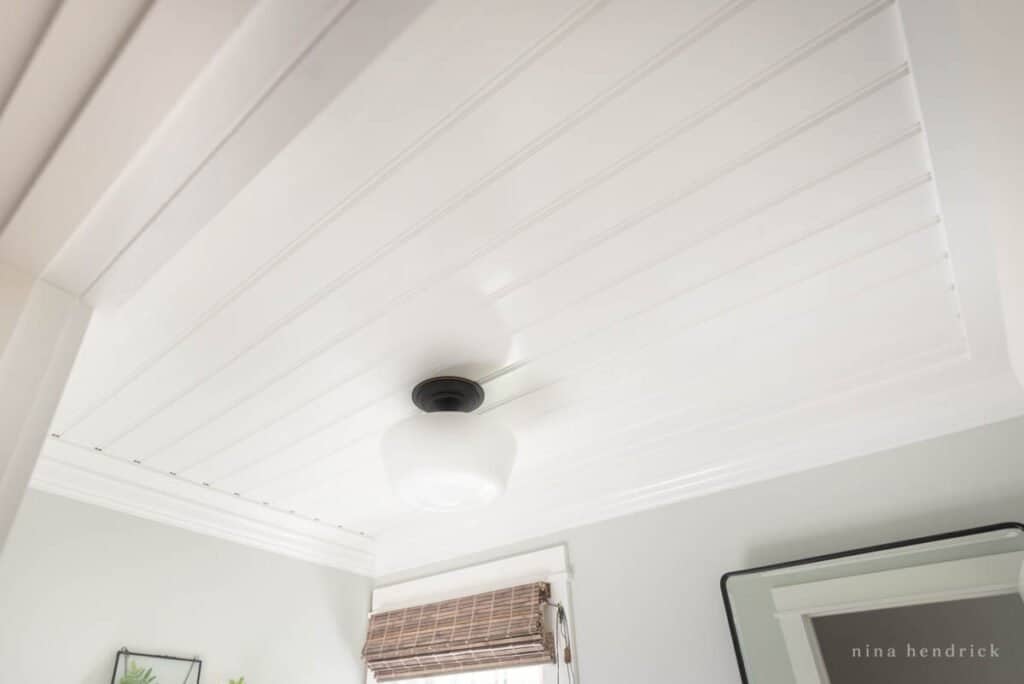
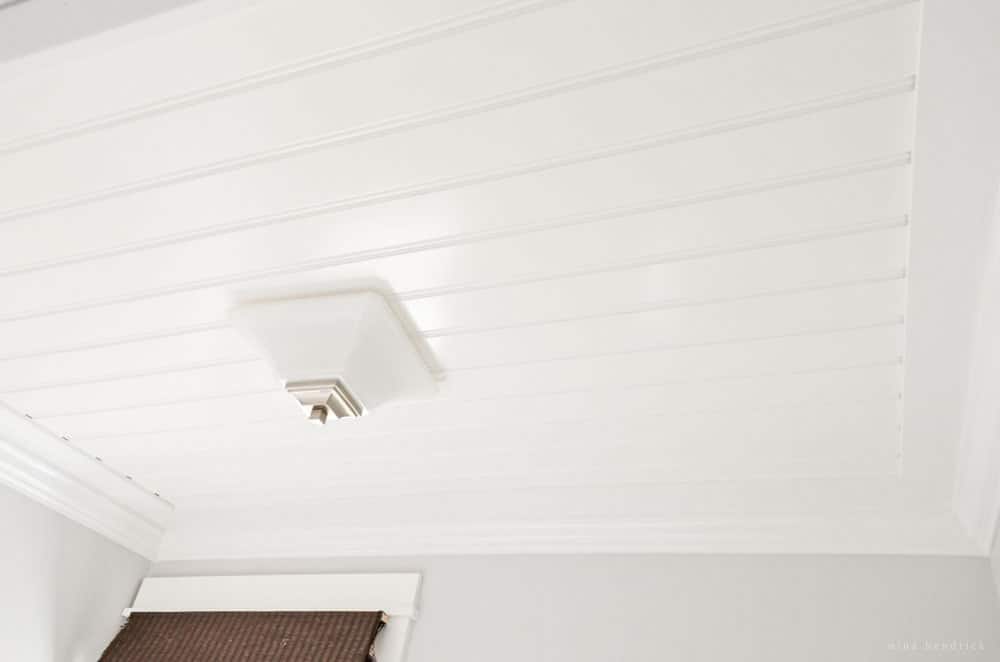
Now we have a whole new ceiling! It’s so bright and reflective compared to the dark and dirty texture, it brightens up the whole room and even the dark hallway. I love it.
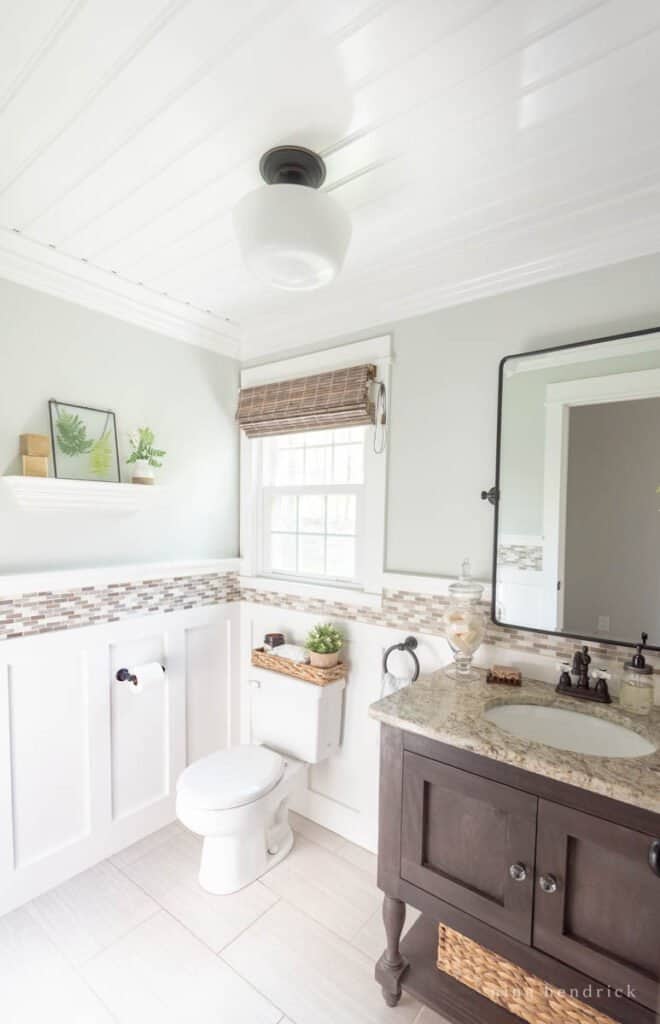
Overall, a diy beadboard ceiling is the perfect solution to put over popcorn or other textures. It was inexpensive and impactful. The best sort of project! You can see all of our other DIY projects from this budget-friendly powder room project here.
Pin It for Later: DIY Beadboard Ceiling Tutorial