- DIY Tutorials
- Painting
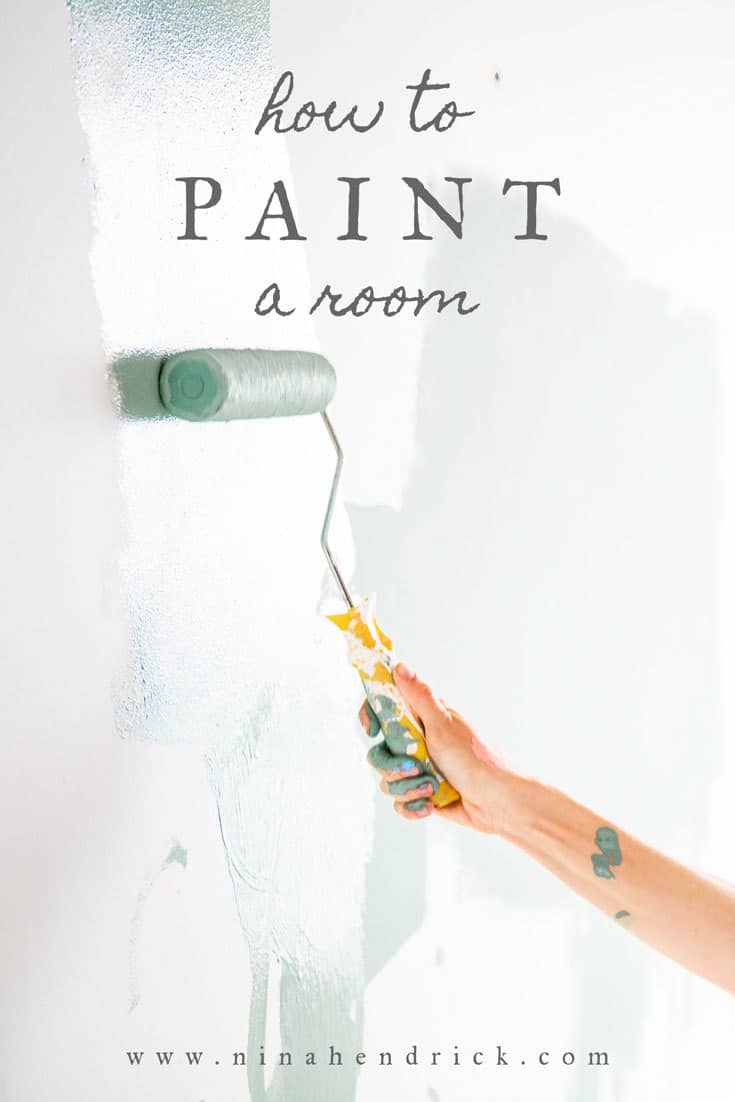
How to Paint a Room
Master the art of how to paint a room with our easy-to-follow guide. Transform your space with expert tips for a flawless finish!
Are you wondering how to paint a room to inject new life into your space without the overwhelming feeling of a full renovation? You’re in luck, because painting a room a new color can be a fun and rewarding DIY project that transforms your surroundings with just a few strokes of a brush. In the next few paragraphs, I’m going to guide you through selecting the perfect product, prepping the walls, and mastering the technique, so your room will look like it leapt off the pages of a home decor magazine. So grab your painter’s tape and drop cloths—it’s time to color your world with confidence and a splash of creativity!
This post contains affiliate links, which means I may get a small commission (at no extra cost to you) if you shop my link. Please see my disclosure if you’d like more info!
How to Paint a Room Step-by-Step
Having spent years in DIY home renovations, I’ve gathered valuable painting tips to share with you. Let’s make your painting journey smoother and more successful.
How do I prepare a room for painting?
Although I’ve been known to just restlessly begin painting a room while my husband is at work (sorry, Mack!), the proper method to prepare a room for painting is to plan out your project, prep your space thoroughly, and gather the necessary supplies.
1. Gather Painting Supplies
Paint
Naturally, in order to paint a room, you’re going to need paint!
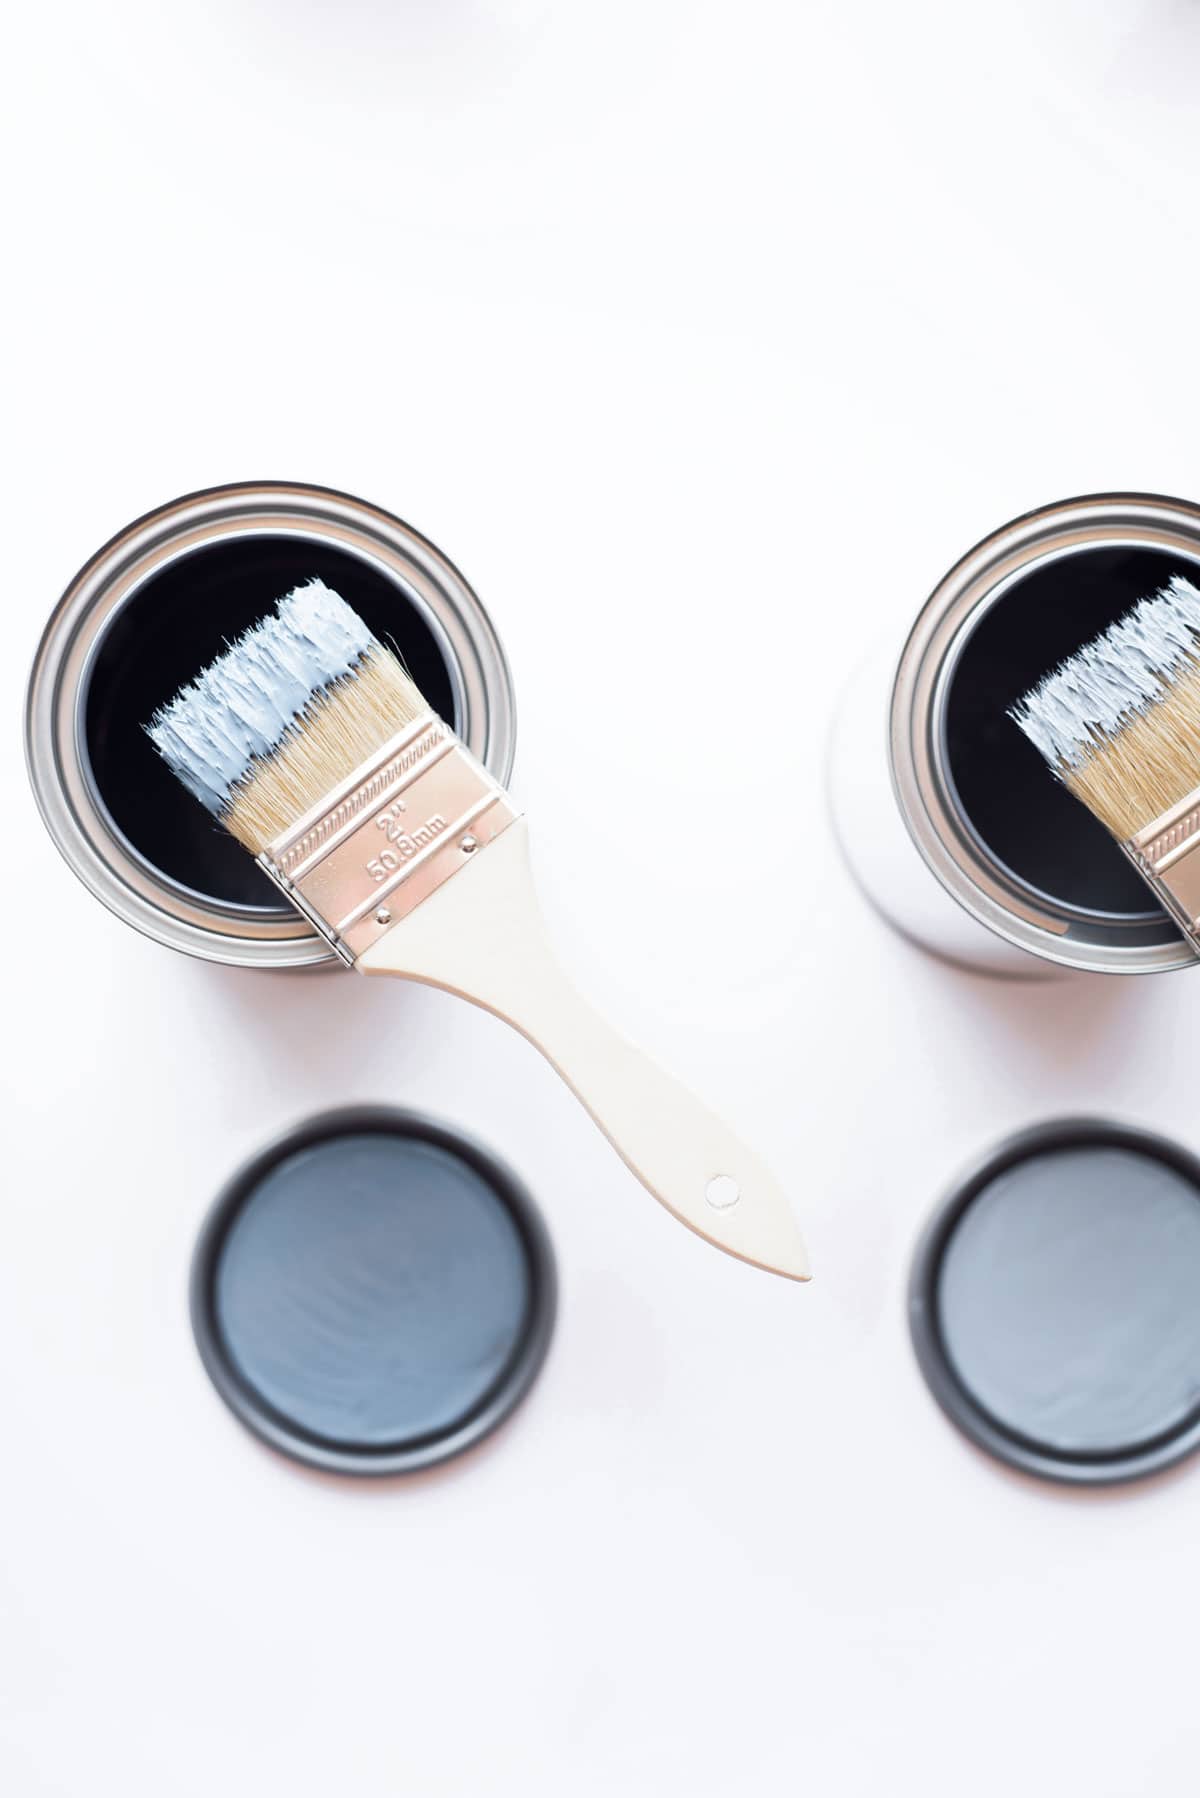
Choosing the Right Paint
It’s true, ‘you get what you pay for’ especially with paint. High-quality paints like Benjamin Moore’s Aura (walls) and Advance (trim), or Sherwin-Williams Emerald offer great results. I’m partial to Ben Moore, but here’s a longer list of my recommended options:
- Benjamin Moore (Aura for walls, Advance for trim)
- Magnolia Home for Kilz
- Behr Marquee
- Valspar Reserve
- Sherwin-Williams (Emerald series)
- Farrow and Ball
For cabinets, while experts often recommend Benjamin Moore Advance, I found Insl-x Cabinet Coat (another brand owned by Benjamin Moore) delivers excellent results too. Remember, the right paint can make all the difference!
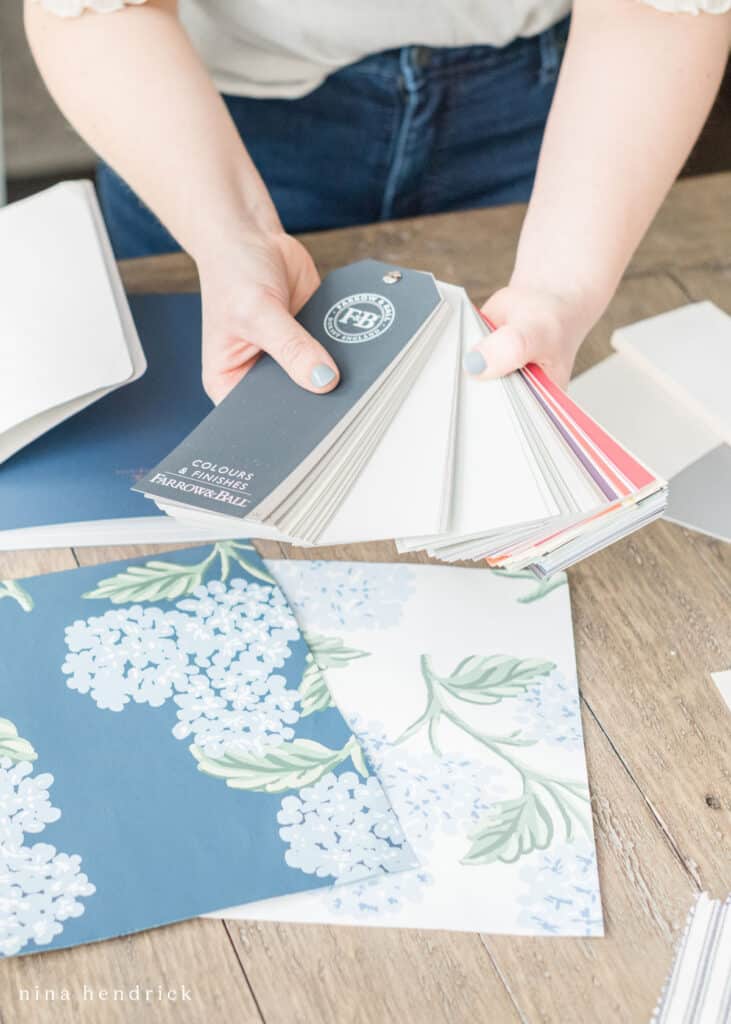
How to Choose a Paint Color
When choosing a paint color, consider these key factors:
- Natural Light: Observe how light affects the color at different times of the day.
- Home Style: Ensure the color complements your home’s architectural style.
- Personal Taste: Choose a color that reflects your personality and preferences.
- Desired Mood: Think about the atmosphere you want to create in the room.
- Complementing Finishes: Consider how the paint will interact with furniture and decor in your whole house color scheme.
For a deeper exploration of these points, visit this post. Additionally, you can take a tour of my favorite neutral paint colors here.
Selecting the Appropriate Paint Sheen
- Range of Sheens: Choose from flat/matte, eggshell, satin, semi-gloss, gloss, and high-gloss.
- Cleanability vs. Aesthetics:
- Flat/Matte: Non-reflective, ideal for hiding imperfections but less washable.
- Eggshell: Slightly more sheen than flat, easier to clean, good for walls.
- Satin: A bit glossier, great for active areas like children’s rooms and kitchens.
- Semi-Gloss: Highly durable and easy to clean, perfect for trim and cabinets.
- Gloss/High-Gloss: Very shiny and easiest to clean, often used for accents.
For further details on each sheen and their best uses, check out this more in-depth article!
How Much Paint Should I Use?
- Coverage: Premium paints, even with “included” primer, typically require two coats. One-coat coverage is often less effective than advertised.
- Color Changes: When switching from dark to light colors, use a separate coat of primer. For light to dark transitions, a tinted primer can be useful but not essential.
- Calculating Amount: A general rule is one gallon of paint per 350 sq ft for two coats. Add 10% extra for touch-ups. Calculate your room’s square footage and divide by 350 for an estimate.
- Online Tools: Use paint calculators from brands like Benjamin Moore and Sherwin-Williams for precise estimates.
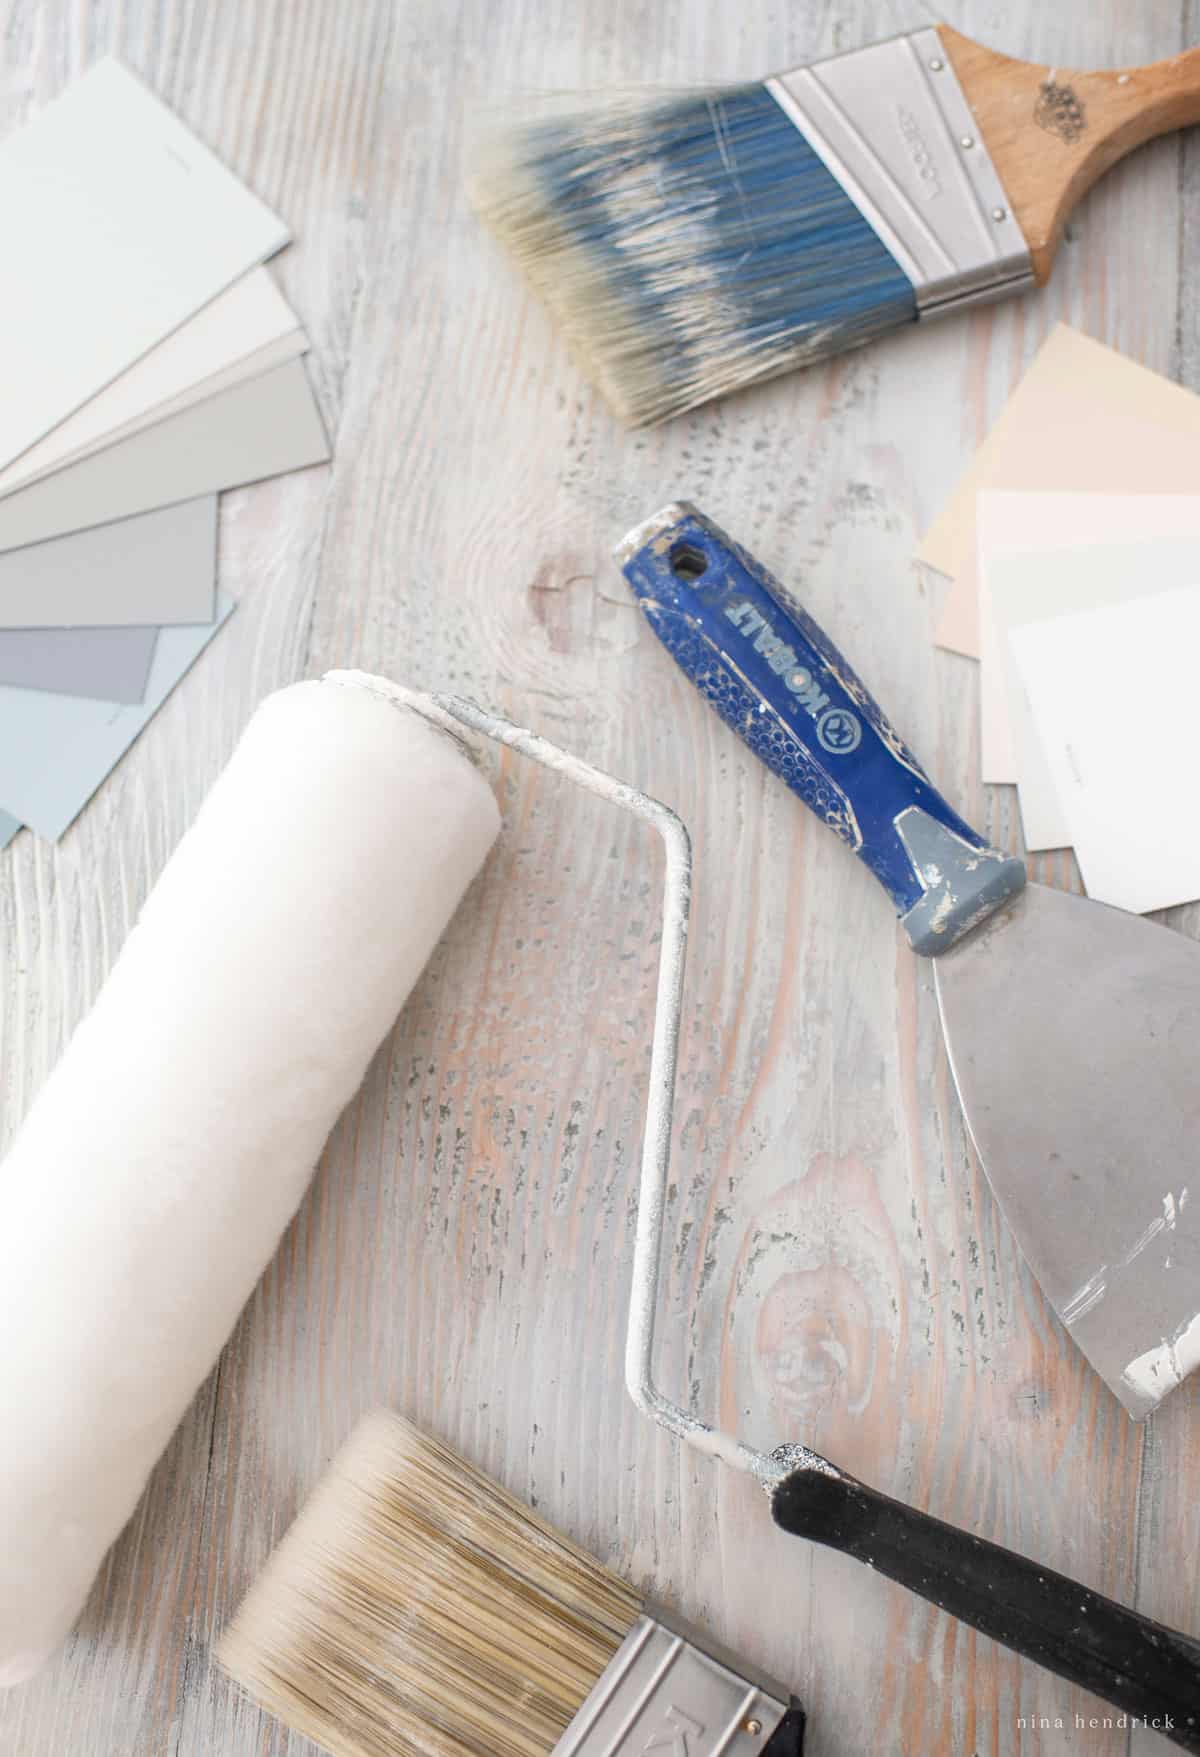
Prep Work Supplies
Safety
Protecting Your Surface
Prepping for Painting
Priming and Painting Tools
Roller Covers
You will want to make sure to choose the correct nap for your roller cover.
- 1/4″ nap is best for walls and other smooth surfaces.
- 3/4″ nap is best for textured walls or other textured surfaces.
Brushes
You will generally want to choose a polyester brush for interior painting. Choosing a good brush is worth the investment. If you take care of it properly after painting, it will serve you well for a long time!
- 1-2” is for window mullions and grids and other small trim.
- 3″ angled is my preferred versatile brush for cutting in and trim.
- 4″ is for other large, flat areas.
Clean Up
While this supplies list for painting a room is comprehensive, remember that not every item may be necessary for your specific project. Assess your situation, the scope of your painting task, and the condition of your room to determine which supplies you’ll actually need. This approach ensures you have just the right tools without unnecessary extras, making your painting project efficient and tailored to your unique needs.
2. Protect Your Space
It’s best to begin a painting project with a blank slate. Remove smaller items and decor. Furniture and other large items should be brought either out of the room, or if that isn’t possible, to the center of the room and covered with drop cloths. The floor should also be protected because no matter what, drips and spills happen. We either use a sturdy masking paper taped down to our wood floors with painter’s tape, canvas fabric drop cloths, or plastic sheeting secured with painter’s tape. Additionally, we use a piece of cardboard underneath our paint can or bucket for an added layer of protection.
3. Prep your walls
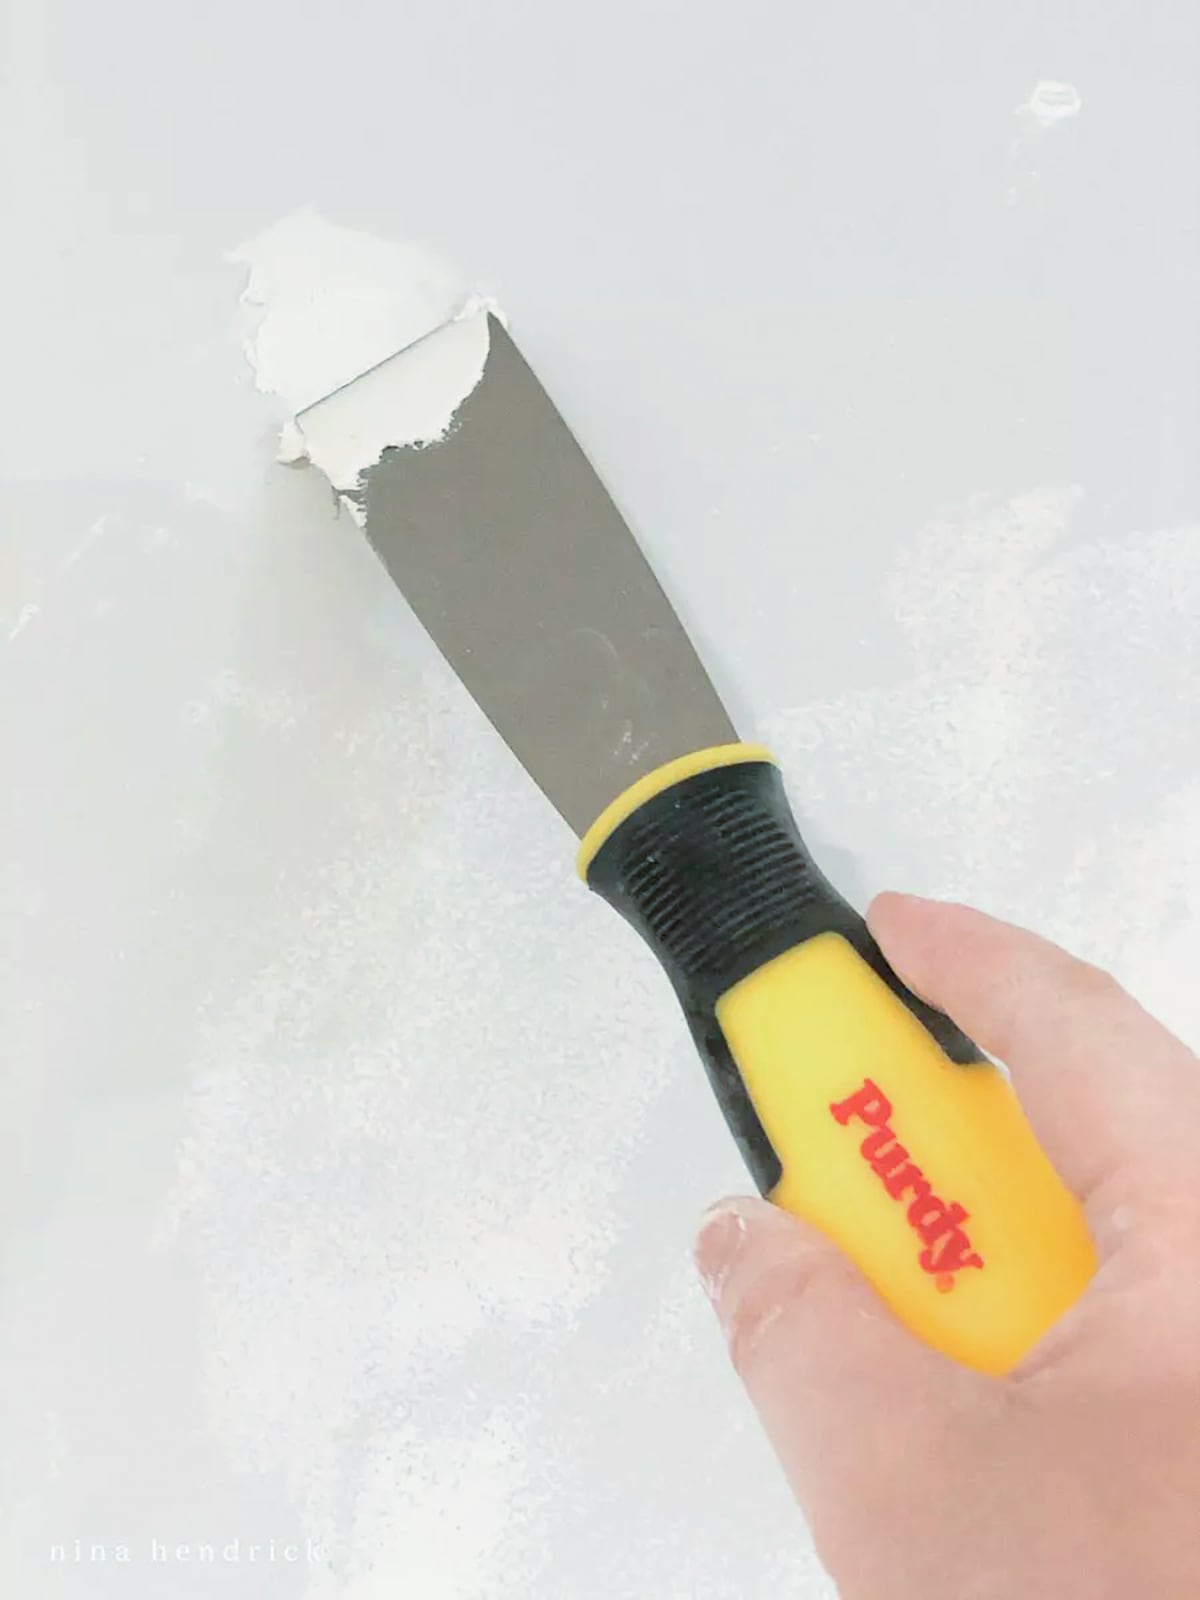
If your house is anything like our 1980s colonial was, you may need to do some extensive wall prep in order to give yourself the best paint coat possible. If your walls have any sort of paint treatment, such as sponge painting, sanding may also be required. You will also want to fill any nail or tack holes and divots with a spackling compound (I prefer Drydex) and a flexible putty knife. If you have a large hole or are getting rid of an outlet, we’ve had great luck with these wall patch kits. Once any of your filled holes or patches are dry, make sure to sand with fine-grit sandpaper or a sanding block.
Please Note: Homes built before 1978 may contain lead paint, which can be hazardous when disturbed. If your home was built before then, it’s best to have your paint tested before you begin prep work. Here’s some information from the EPA that may be helpful!
Caulking
As I learned the hard way with our cabinet painting project, you always need to fill any gaps (such as between walls and trim) before painting. The best way to do this is with a paintable latex caulk and a caulking gun. Fill the crack with a thin bead of caulk, Then use a damp lint-free towel, sponge, or finishing tool to smooth it out before it dries. Generally, caulk is not able to be sanded, so it’s best to work quickly and in small areas to ensure a smooth finish.
Trim Prep
If you are painting trim, the same general rules apply as what I mentioned above. If your trim is polyurethaned wood, you will want to clean with a solution of TSP substitute or a product such as Krud Kutter. You will want to fill any nail holes, divots, or cracks with a spackling compound. You will want to sand the trim with fine-grit sandpaper until a polyurethaned surface is roughed up a bit. This enables the paint to adhere better. Any spackling should be sanded until smooth. The gap between the trim and the wall should be filled with caulk as mentioned above.
4. Cleaning Your Space
Make sure that any dust, dirt, or sanding debris is vacuumed away and any dirt or stains are wiped away with a damp sponge. Cobwebs can also complicate painting projects, so make sure that all corners are dusted nicely.
5. Taping Off
Ah, my least favorite step. Unless you are completely confident in your steady hand, you’ll want to make sure to tape off using a high-quality painter’s tape. Again, this is a situation where you get what you pay for. I advise you to use the name brands such as Frog Tape or 3M Blue. Contractor packs of generic painter’s tape have been known to take paint finishes right off the wall or crimp so that paint runs below.
Before adding tape, make sure any painting you’ve already done has fully cured.
The key to a clean edge is to make sure that you can get the longest, straightest runs of tape possible. Press firmly along the edge that will meet the paint to about the middle of your piece. You don’t have to press as firmly against the other side. I actually find that the tape removes more cleanly if that side is not firmly pressed down. Curves or strange shapes may require you to use many small pieces of tape, or a utility knife to get a clean edge around the shape.
6. Make Sure You Have Proper Ventilation
It is extremely important that you always use proper ventilation. Always try to plan painting for times when the weather permits the windows to be left open. A box fan in the window is also a good practice for circulating fresh air. Make sure to take plenty of fresh air breaks. Children, pregnant women, and anyone with health and breathing problems should be kept out of spaces that are being painted and even freshly painted spaces for a few days. You can check this guide from the CSPC for more safe-painting practices!
What is the correct order to paint a room?
When painting a room, I recommend starting with the ceiling, followed by baseboard and window trim, and finishing with the walls. This sequence allows for less precision with ceiling and trim paint, as any imperfections can be covered when cutting in with the wall paint. Keep in mind, if you plan to use tape, you’ll need to allow significant curing time (up to a month, depending on the paint) between painting the trim and taping it off for wall painting. This waiting period is crucial for a clean, professional finish.
7. Paint Your Ceilings
When painting a room, addressing the ceiling first is key. Start by preparing it just as you would walls: clean, patch, and sand as needed. Use a roller with an extension pole for ease and comfort. Begin in a corner and proceed in small sections, overlapping each pass for even coverage. For best results, use a paint formulated for ceilings. Its flat finish minimizes light reflection, helping to hide imperfections. Painting the ceiling first prevents splatter on freshly painted walls, making the process cleaner and more efficient.
8. Priming Trim & Wood
For varnished wood trim or bare wood, I recommend priming with Kilz Original Primer, which is oil-based. Because it is oil-based, you will want to be especially conscious of proper ventilation.
If your trim is primed or painted already, you can generally skip this step.
9. Paint the Trim
For painting trim, I prefer to use a two-part method. You can use a handheld paint cup with a liner. Also, fill a mini roller tray with the same paint and a liner. I use the paint tray liners because the paints for trim are sometimes harder to clean off than traditional latex paints. Examples of this are Benjamin Moore Advance and any oil-based paints. Next, you prepare the mini roller with a smooth foam roll cover. You then evenly coat it with paint using the method of rolling it repeatedly on the tray ribs.
First, you should use a 2” angled brush evenly coated to apply the paint to a section of trim. Then, go over the brush strokes with the saturated (but not dripping) foam roller. This ensures a more even coat. Although the paints often have self-leveling properties, I still find that this gives me the least brush strokes.
10. Prime Your Walls
Priming can be helpful if you’re going from a dark wall color to a very light color. If you are painting a wall very dark it is sometimes recommended to use a tinted primer. However, I have found this to be unnecessary when using premium paints.
If you are painting a freshly plastered wall or bare drywall, you should always prime first. I prefer Kilz Latex Primer or Zinsser 1-2-3.
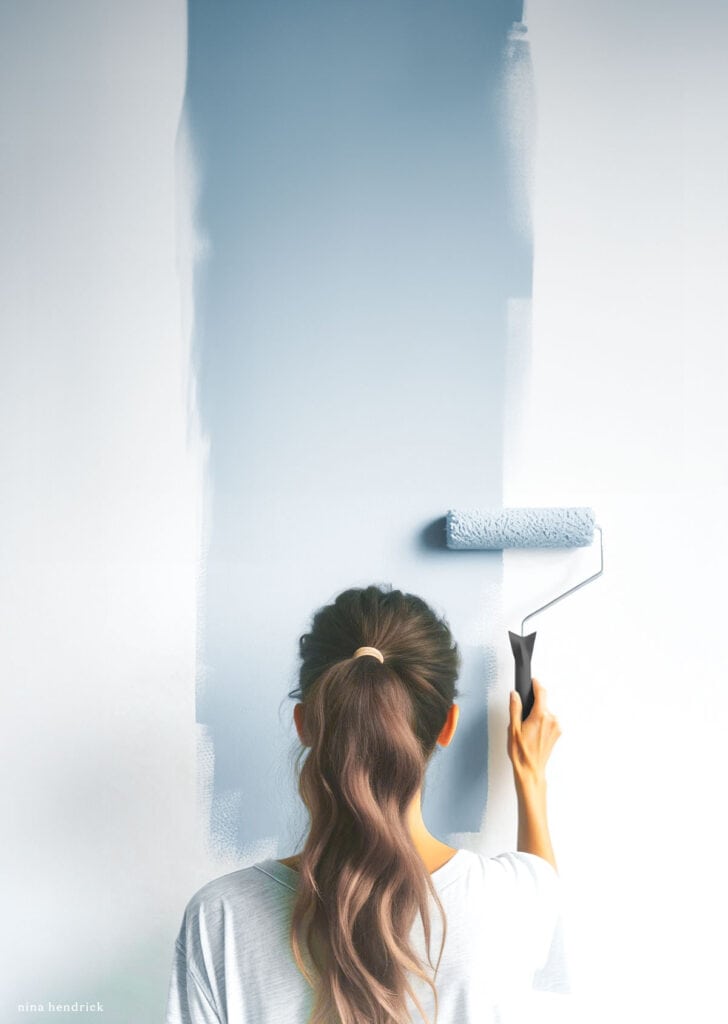
11. Now it’s (finally) time to put paint on the walls
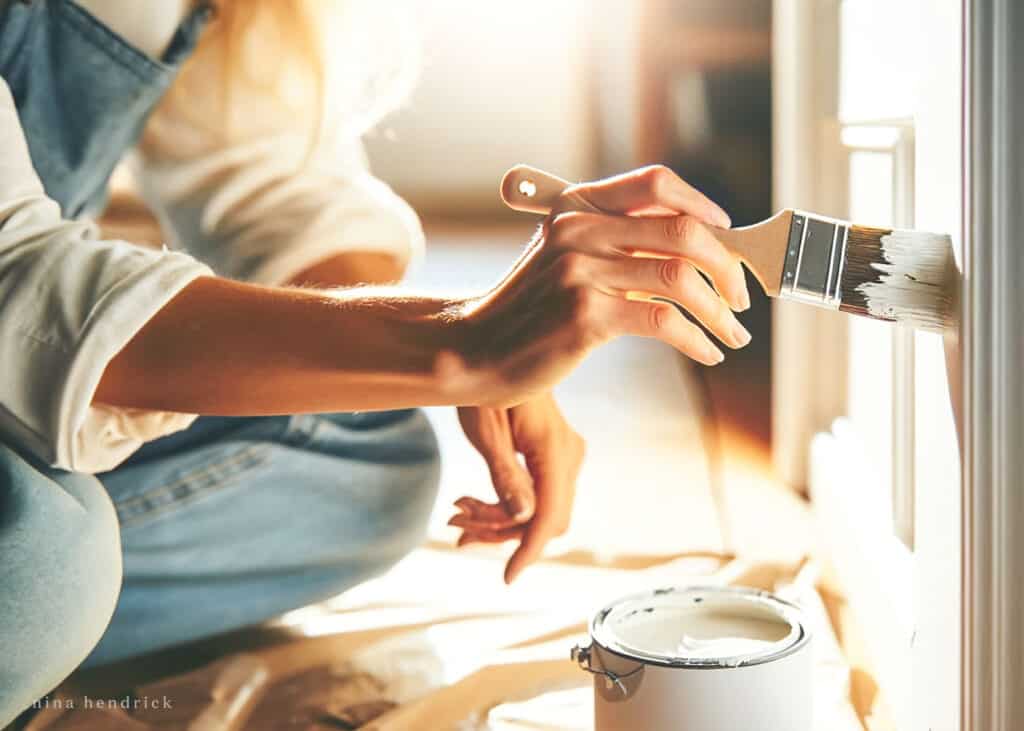
Open your paint with either a thick flathead screwdriver or specialty paint tool. Mix your paint well with a wooden stir stick. Since pigments tend to sink to the bottom, especially make sure that you are scraping the bottom of the can as you stir. Lay out your piece of cardboard and pour your paint into a tray and a hand-held paint bucket.
Cutting In
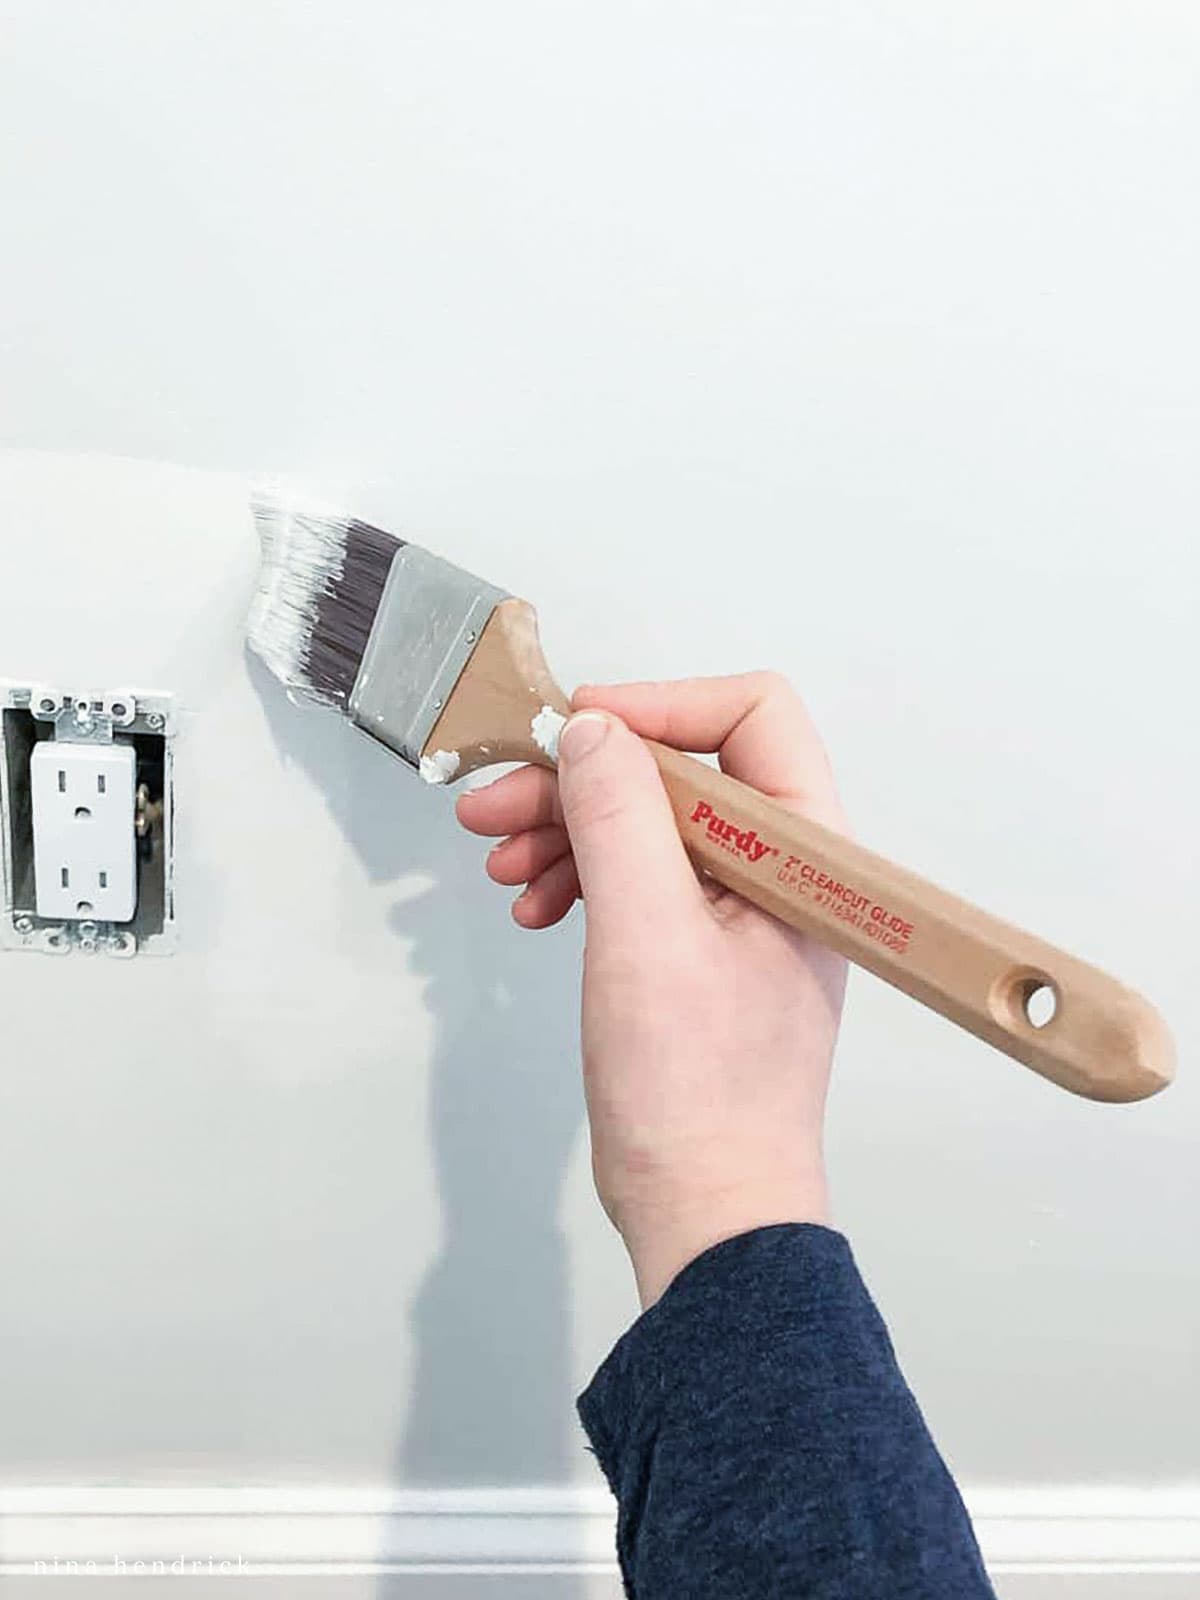
My first step when painting a wall is to do the cutting in around the perimeter with a brush first. You should use a 3” angled brush for this. Try to keep your brush sufficiently saturated with paint without allowing paint drips. Dip the bristles in a couple of inches and then tap off the excess paint. Try to put on a fairly thick coat working in sections of a couple of feet at a time. Once the perimeter of one wall is cut in, you can begin to use your roller on that wall.
When painting a room, ‘cutting in’ around outlets and switches is a detail that makes a big difference. Before starting, ensure the power is off for safety. Remove the outlet covers and switch plates, then use a small angled brush to carefully paint around these areas. This method provides precision and a clean, professional look. Masking tape can be used for added protection, but a steady hand and focused attention to detail are key. Remember, these small touches contribute significantly to the overall finish of your room.
Where two walls you are intending to paint meet, you can brush the edge of each wall and in the corner itself. This will help you carry your wet edge after the next step.
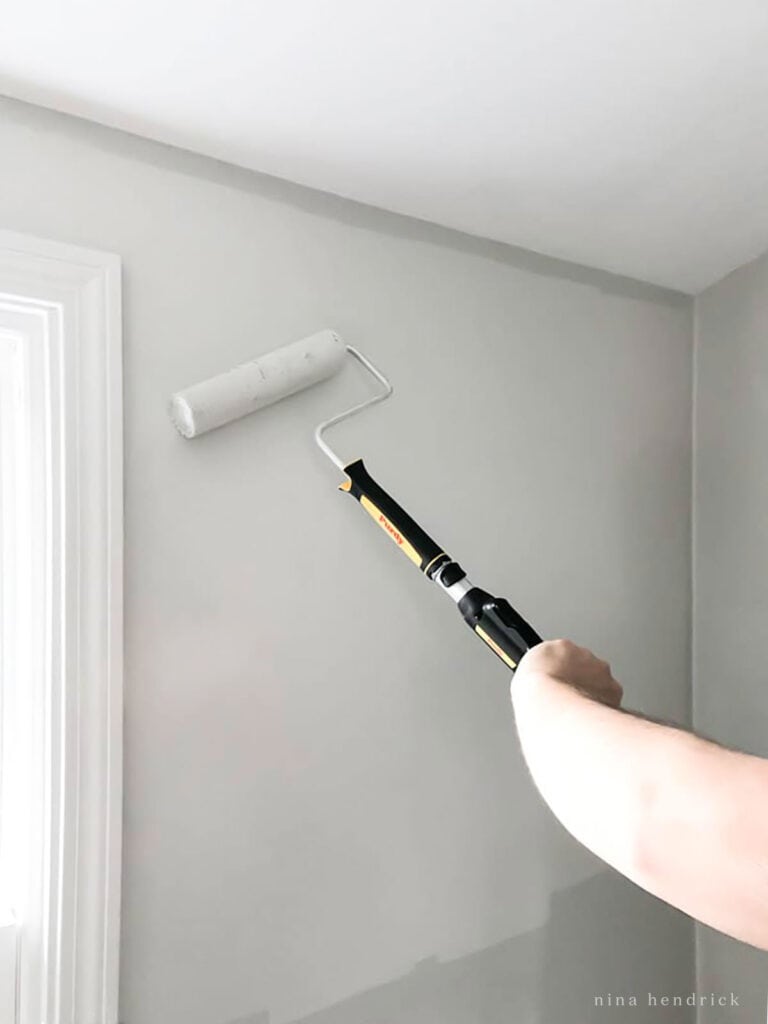
Rolling Your Paint
You should have already poured your paint into your roller tray. Lightly roll your roller into your paint. Then roll back and forth on the ribs of the tray until you cover your roller evenly. Like your brush, you want a sufficient amount of saturation but no drips.
Roll your wall in strokes that mimic a “W” shape, filling in as you go. Carefully roll over your brush strokes as much as you can without hitting the edges. This smooths the brush strokes and ensures even coverage. Try to avoid rolling in straight lines, as this shows.
Allow to dry for the recommended time, then repeat for your second coat.
12. Proper Care of Your Supplies and Cleanup
I’ve mentioned that the investment is worthwhile when it comes to paint and painting supplies. You want to make sure you’re protecting your investment and caring for your supplies properly.
Always make sure paint cans are properly re-sealed by tapping them closed with a rubber mallet. Decant smaller paint remnants into a small airtight container or jar and label with the paint color. Paint should be stored on a shelf at a temperature between 60-80 degrees Fahrenheit.
Make sure to wash out your brushes and trays. You can wash brushes with a drop of dish soap in lukewarm water until the water runs clear. You can also remove flakes with a metal comb. Wrap the bristles in a paper towel as the brush dries. These steps will ensure that your brushes last a long time.
You should rinse paint trays well and lay them out to dry. If you use a tray or bucket liner make sure to dispose of it.
How to Store Paint Overnight
You can store your paint brush, roller, and even paint tray in zipper baggies or tightly sealed plastic wrap for several days. With this method, you don’t have to wash them out until you are done with the project. The key is keeping the air out, the air can ruin your supplies.

Special Painting Projects
Painting Interior Doors
Your first step will be to remove all hardware. If possible, lay the door flat on two sawhorses. If your door is wood, you will need to wipe down with tsp substitute and roughen with sandpaper. Then, make sure the dust is cleaned off, and prime.
The best way for painting doors, in my opinion, is with a paint sprayer. It’s a job I find to be pretty challenging. If that isn’t a possibility, you can get a good finish using the same method as painting the trim. Brush on a coat that is heavy but not dripping, and smooth with your saturated foam roller brush.
Painting Windows and French Doors
Although time-consuming, I do believe taping off and adding masking paper between mullions is a necessary step. As with regular doors, my opinion is that this is a job best left to a paint sprayer. However, you can use a small 1” brush and repeat the steps outlined for painting trim.
Sometimes the paint gets on the panes. When it dries, you can spray with glass cleaner and use a flat razor blade to scrape. Make sure to check the warranty on your windows beforehand, as this voids the warranty on some new windows.
Painting Built-Ins and Cabinets
Painting built-ins and cabinets is a detail-oriented task. Start by thoroughly cleaning and sanding. Use a high-quality primer, then apply a durable, easy-to-clean paint like semi-gloss or gloss. Ensure each coat is thin and even, allowing proper drying time. For an in-depth guide, check out my comprehensive blog post on painting cabinets, where I delve into more specific techniques and tips to achieve that perfect finish.
Now you know my favorite tips for how to paint a room! All in all, painting is a process where you get out of it what you put in. If you take your time, use quality products, and pay attention to detail you can achieve professional-quality results that will last you several years.
