
Dive into spellbinding Halloween decorating ideas! Unleash your creativity with DIY decor, spooky themes & party decoration tips!
As the eeriest, spookiest, and most thrilling time of the year approaches, it’s time to delve into the mystical world of Halloween decor! From the mysterious corners of a Victorian Mad Scientist’s study to the magical realms of Hogwarts, here’s a curated list of some of the best Halloween decorating ideas to inspire your own haunted haven.
The Basics of Halloween Decorating
Ready to set the Halloween mood? Begin with essential decor elements to lay the foundation for your spooky sanctuary:
Colors & Themes: Start by defining the color palette for your space. Opt for bold shades like orange, which evokes the essence of fall, black for its classic spooky appeal, and purple to bring in a touch of mystery. If you’re feeling adventurous, consider adding hints of blood red or ghostly white. Remember, your chosen theme, whether it’s a haunted mansion, witches’ coven, or enchanted forest, will guide your decoration choices, so pick one that resonates with your personal Halloween spirit.
Key Items: Anchor your decor with staple Halloween items. Think of skulls, which can range from realistic to whimsical in design; skeletons that can be posed lounging on your furniture or climbing up the walls; pumpkins, both real for carving and fake for longevity; and cobwebs, which can be draped over furniture or stretched across windows. Don’t forget about other items like witch brooms, cauldrons, or even a faux black cat.
Art: Bring your walls to life with Halloween-inspired artwork. Vintage posters of classic horror movies, framed spells, or even silhouettes of iconic Halloween figures can enhance the ambiance. For those who love DIY Halloween crafts, consider crafting your own pieces, such as the Apothecary Poison Labels, which can be aged using tea or coffee to give them an authentic look. Another idea is to create a gallery wall of eerie family portraits, where ancestors can be given vampire fangs or ghostly eyes.
Ambiance: The right atmosphere can make or break your Halloween decor. Place fake spider webs in corners for an abandoned, haunted look. Make use of lighting to set the mood; colorful paper lanterns can cast soft glows, while flickering candles (or LED versions for safety) can mimic the feel of a space lit only by torchlight. If you want to up the ante, consider adding a fog machine or play ambient spooky sounds in the background. Remember, it’s all about immersing your guests in a Halloween experience they won’t forget.
Indoor Decorating Ideas
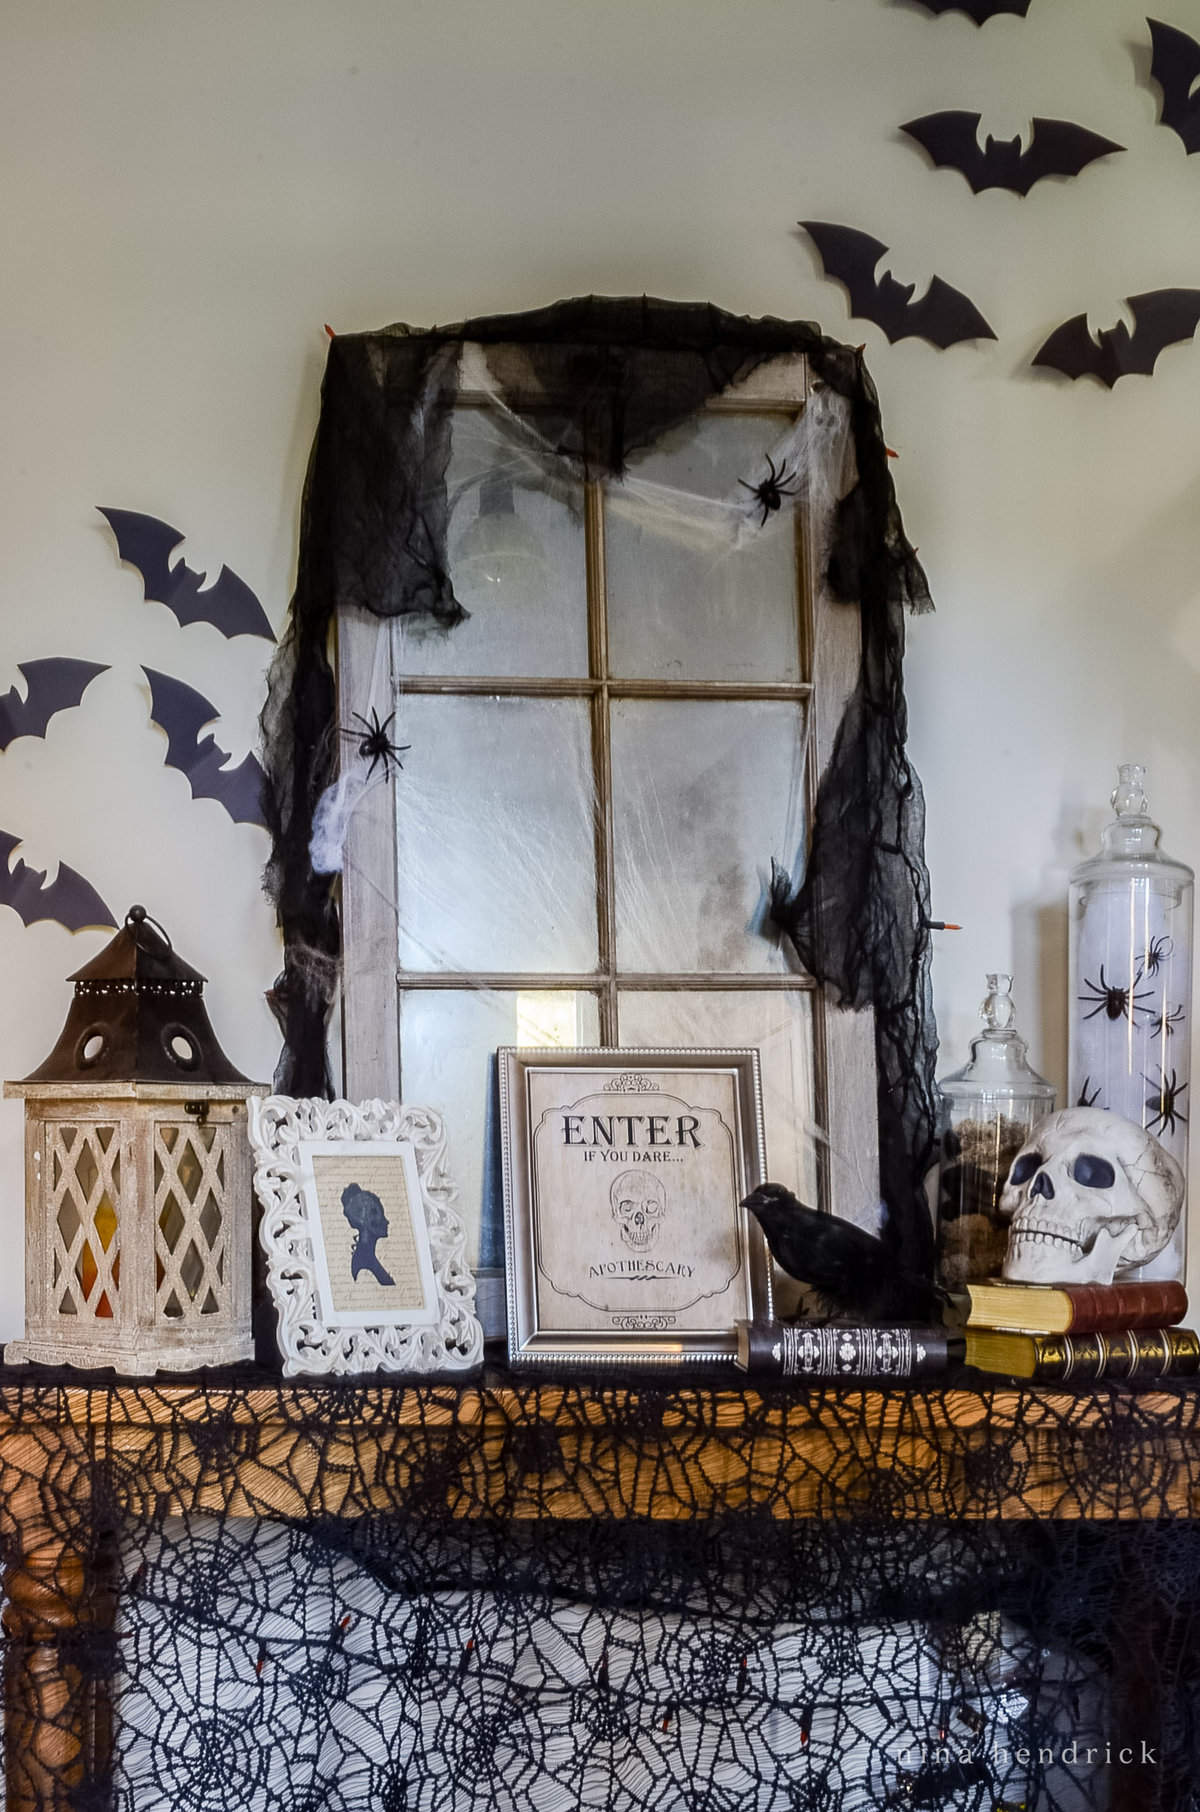
Haunting Halloween Foyer Decorations
Welcome trick or treaters as they step into the entry of your haunted abode. Immediately, let their eyes be drawn to a grand, ornate mirror that seems to hold centuries of secrets. Beneath it, a table draped in black lace can display a mix of old family portraits whose eyes seem to follow you, intertwined with “cursed” jewelry and antique trinkets. For a touch of whimsy, place a bowl filled with candy, but be sure to have a playful “Beware: Cursed Treats” sign beside it. Overhead, hang printable black paper bats, giving the illusion of them flying in the dim light.
DIY Surprise Spooky Cameo
For those who adore surprises, this decor idea is a treat! By day, it’s a charming Victorian girl cameo picture. But as night falls and the lights go out, it reveals its true form—a creepy green skull, all thanks to glow-in-the-dark Mod Podge. It’s a delightful twist on traditional cameo art.

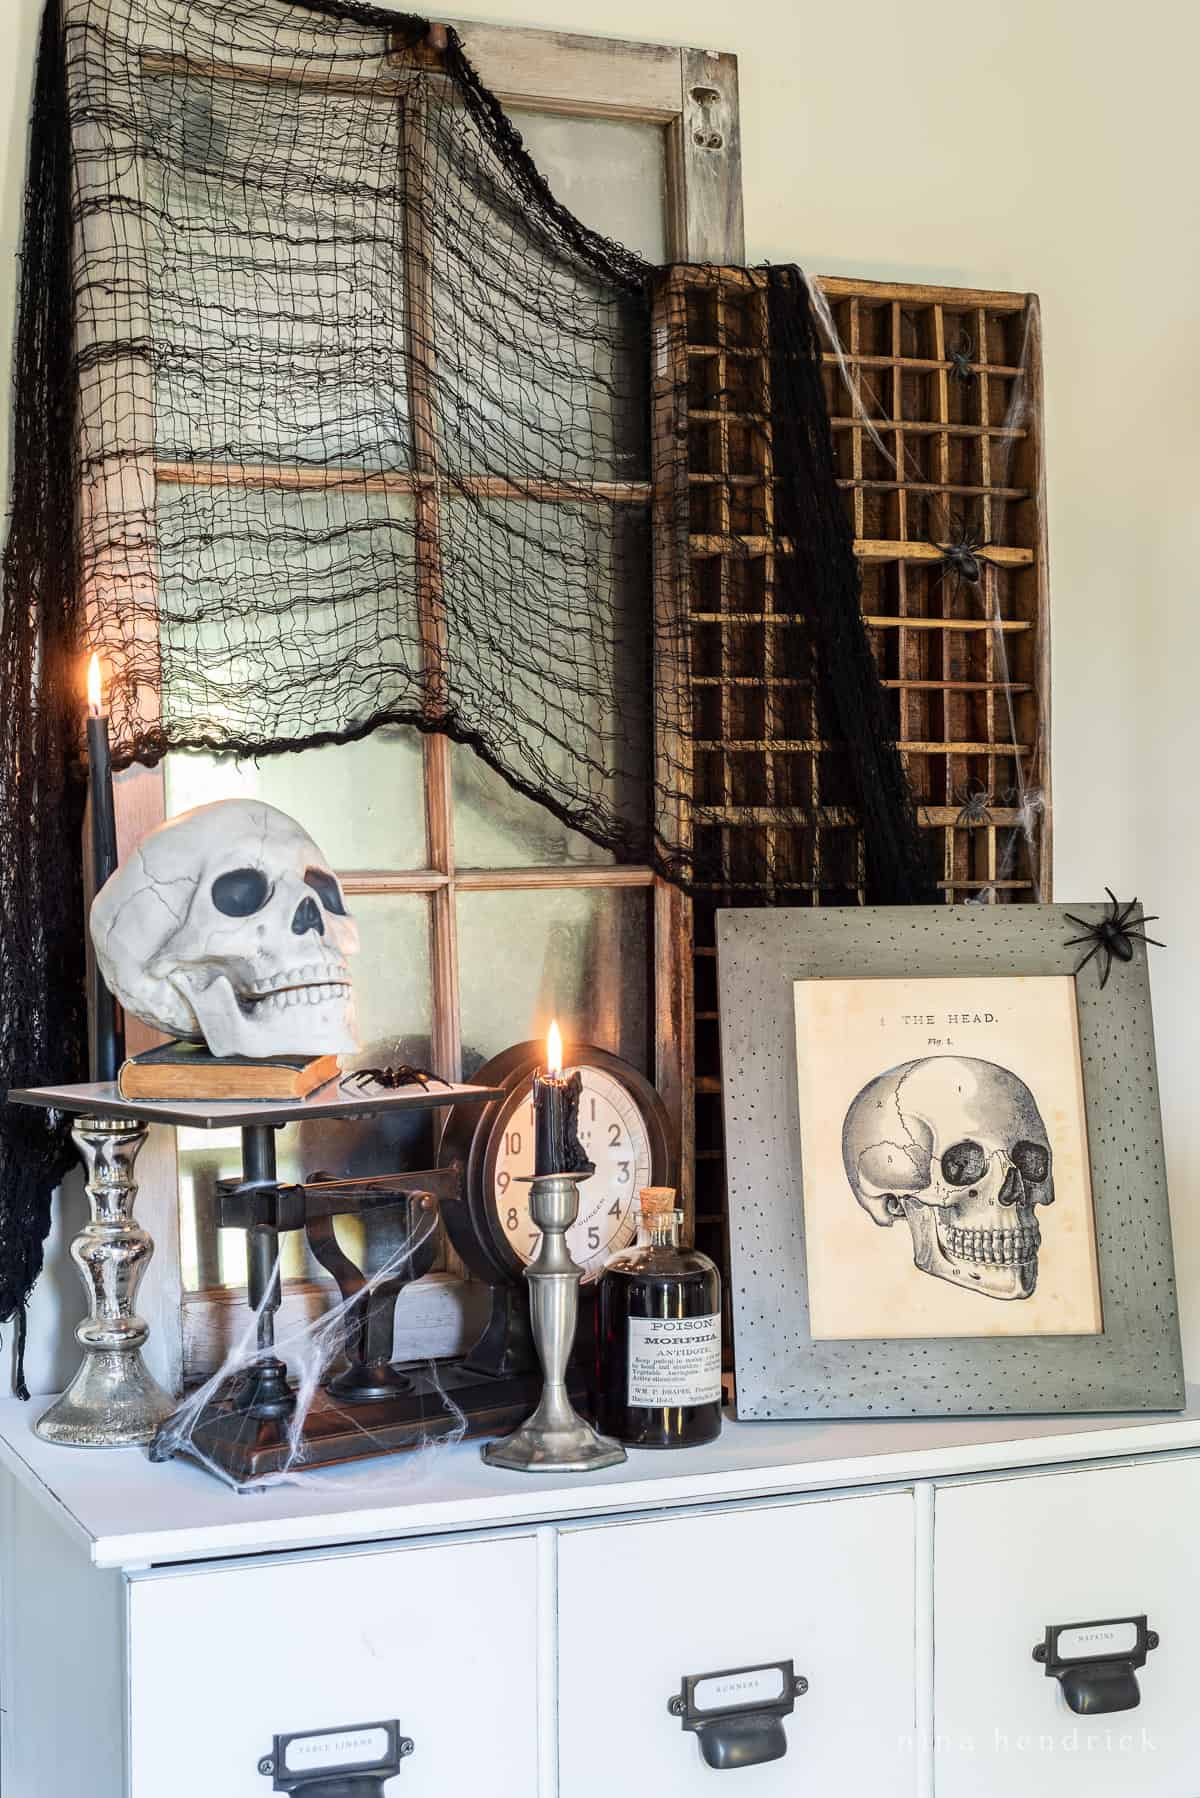
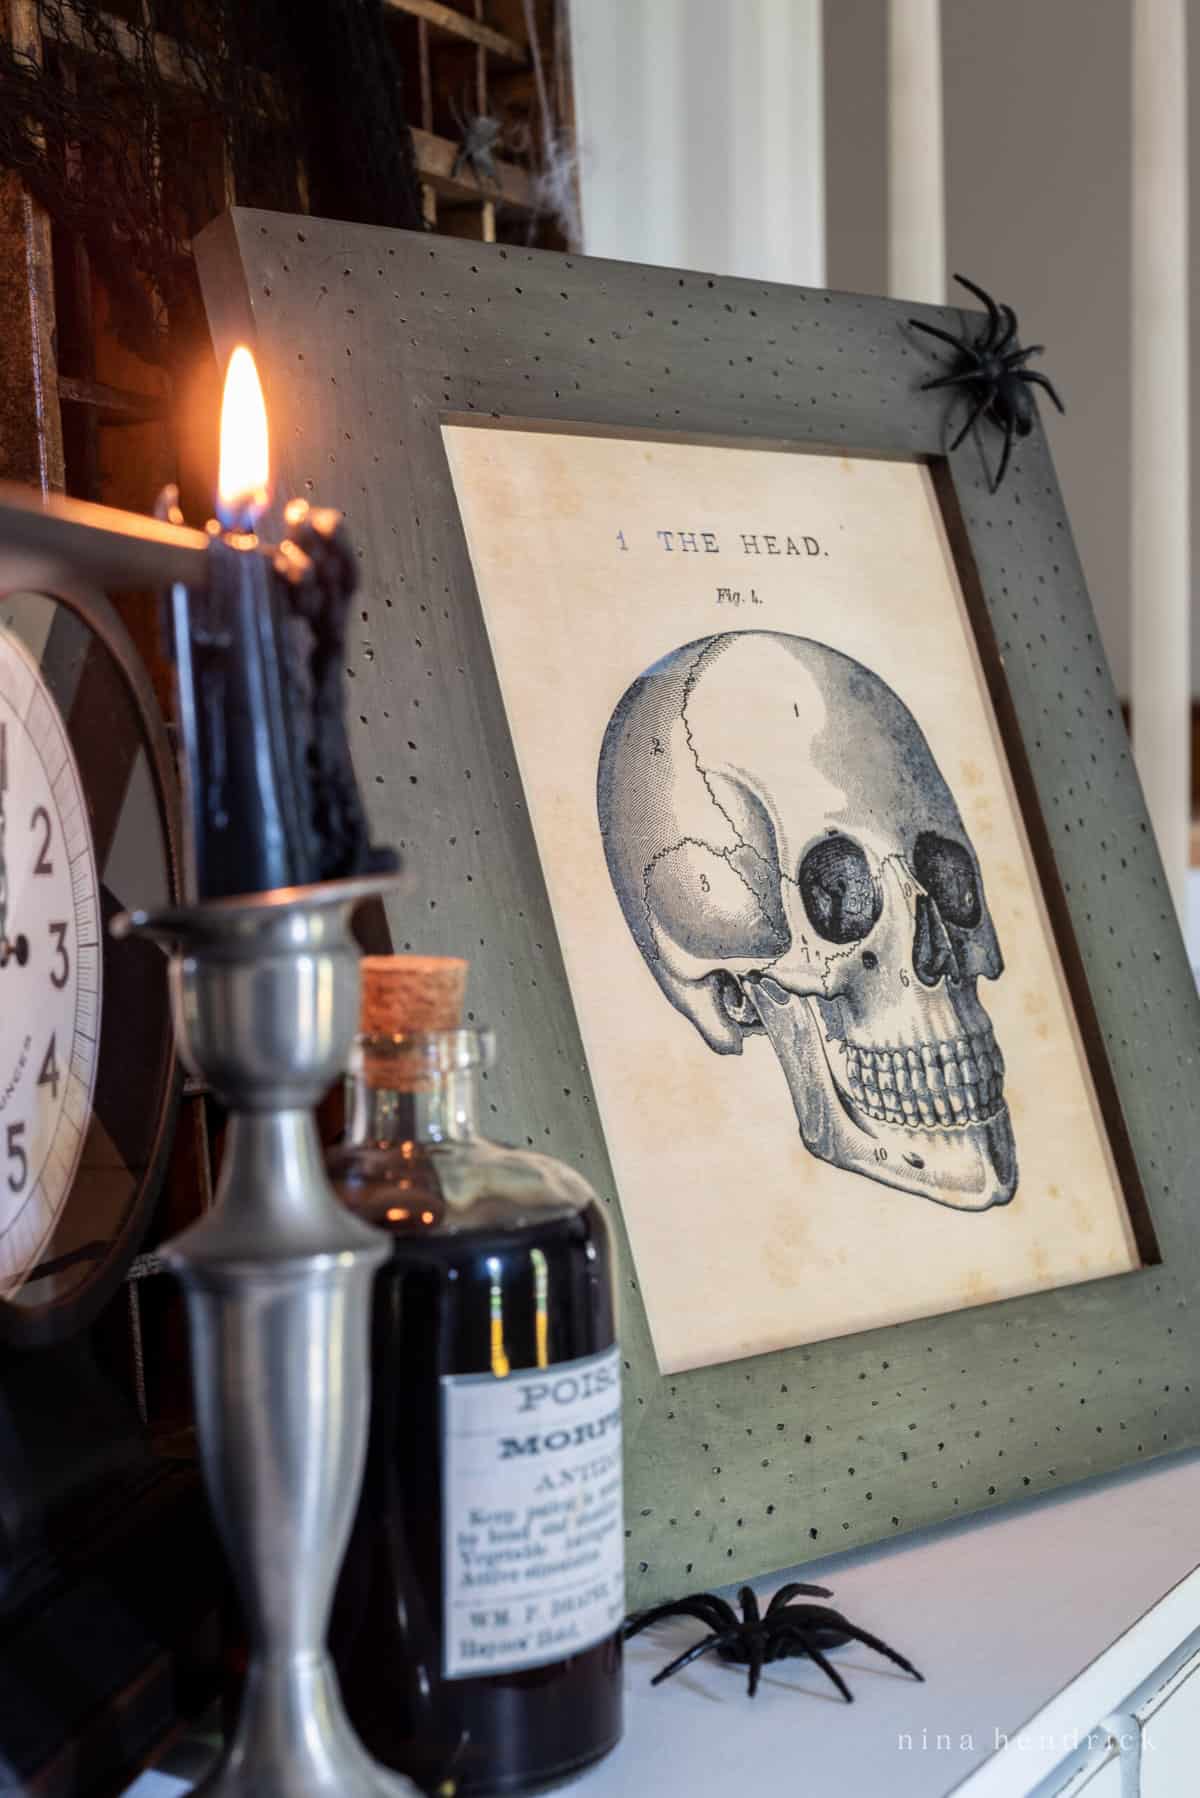
Skull Print and Vignette
Drawing inspiration from a vintage diagram of the human skull, this vignette is both eerie and artistic. Picture the setting in which the artist might have sketched this detailed image, and bring it to life in your home.
Halloween Decorating Ideas for the Living Room
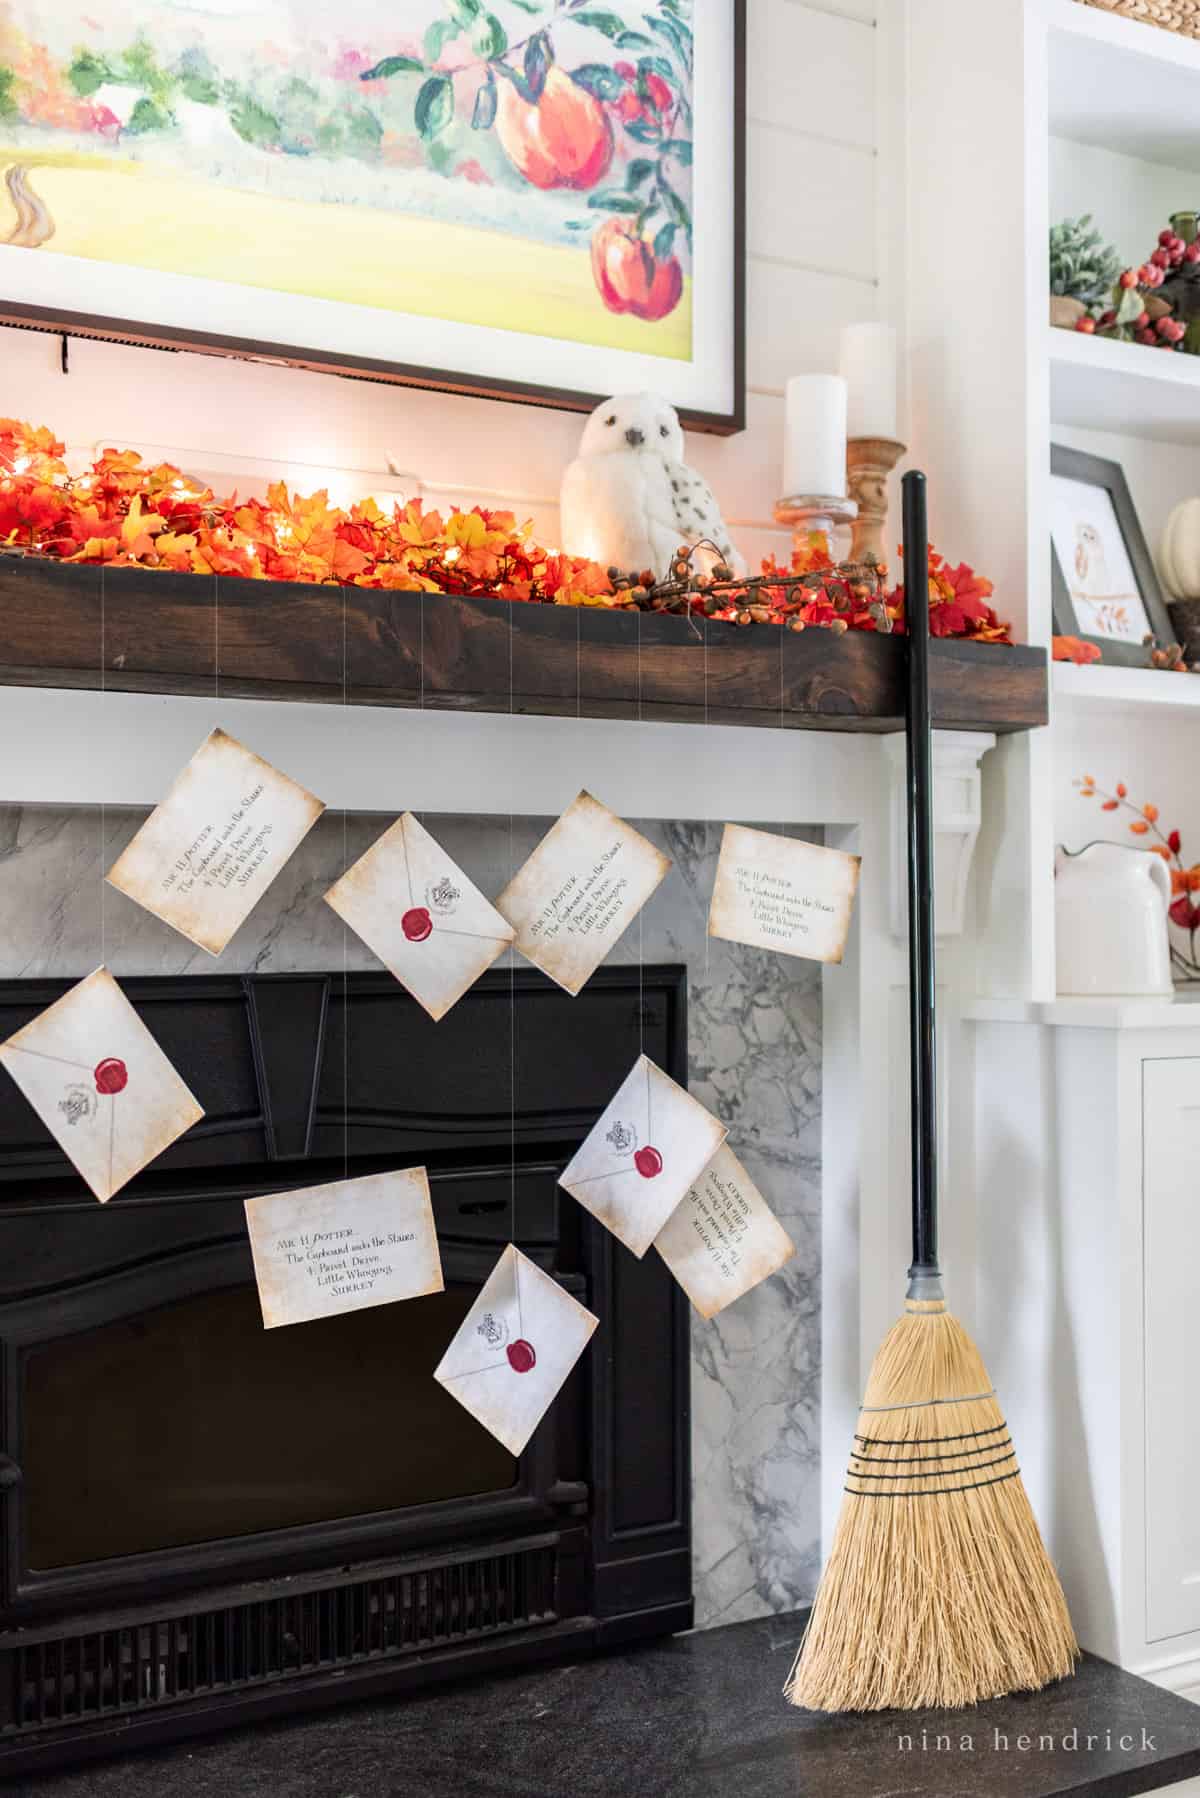
Magical Harry Potter Letters Decor
Switch gears from spooky to magical with this delightful Harry Potter-inspired decor. Relive the iconic scene where letters flood out of the fireplace by printing your own envelopes with our free printable and hanging them with fishing wire. It’s a nostalgic nod to a beloved tale that your kids will love to help you recreate.
Enchanting Gryffindor Common Room Vignette
To complement the flying letters, immerse yourself in the cozy magic of the Gryffindor common room. This vignette is filled with delightful details, from scattered homework to Harry’s forgotten wand. It’s a must-try for Potterheads looking to sprinkle some enchantment this Halloween. Consider tossing around some crimson and gold throw pillows and blankets to enhance the theme!
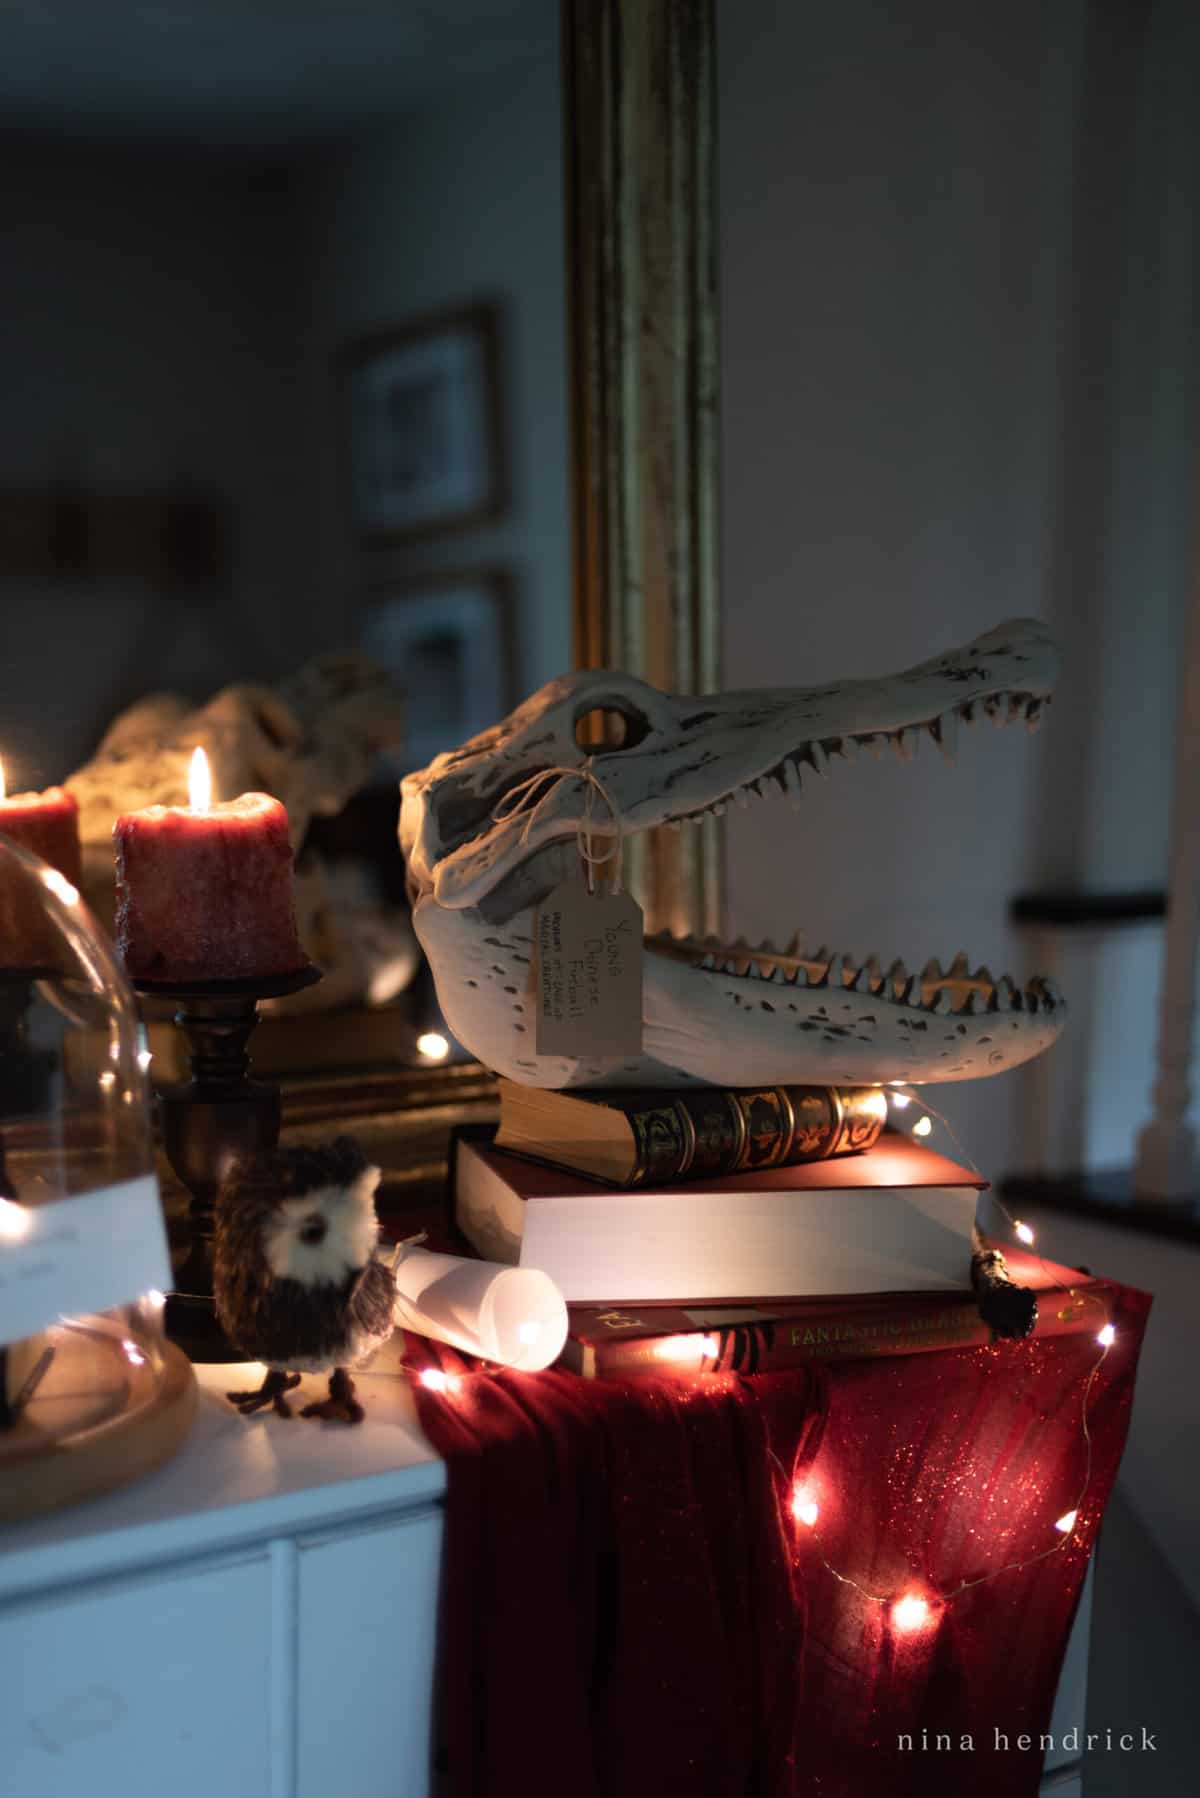
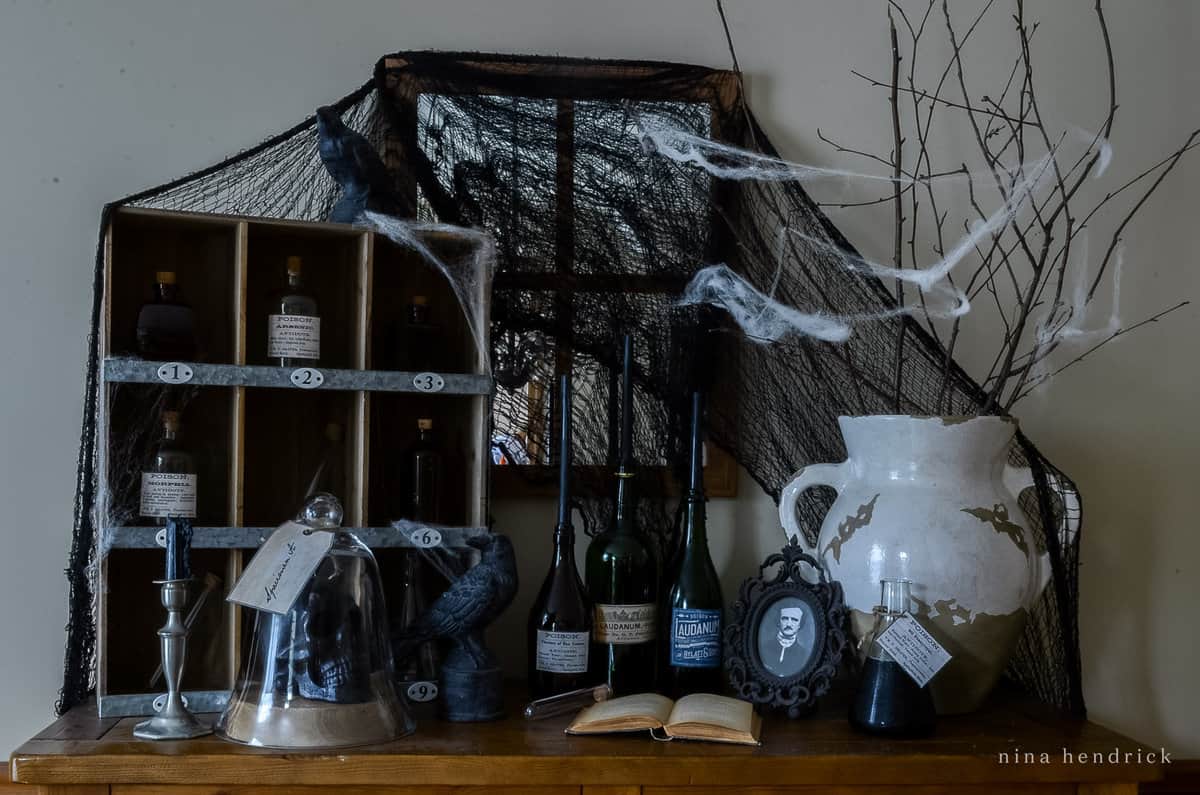
Dining Room Halloween Decor
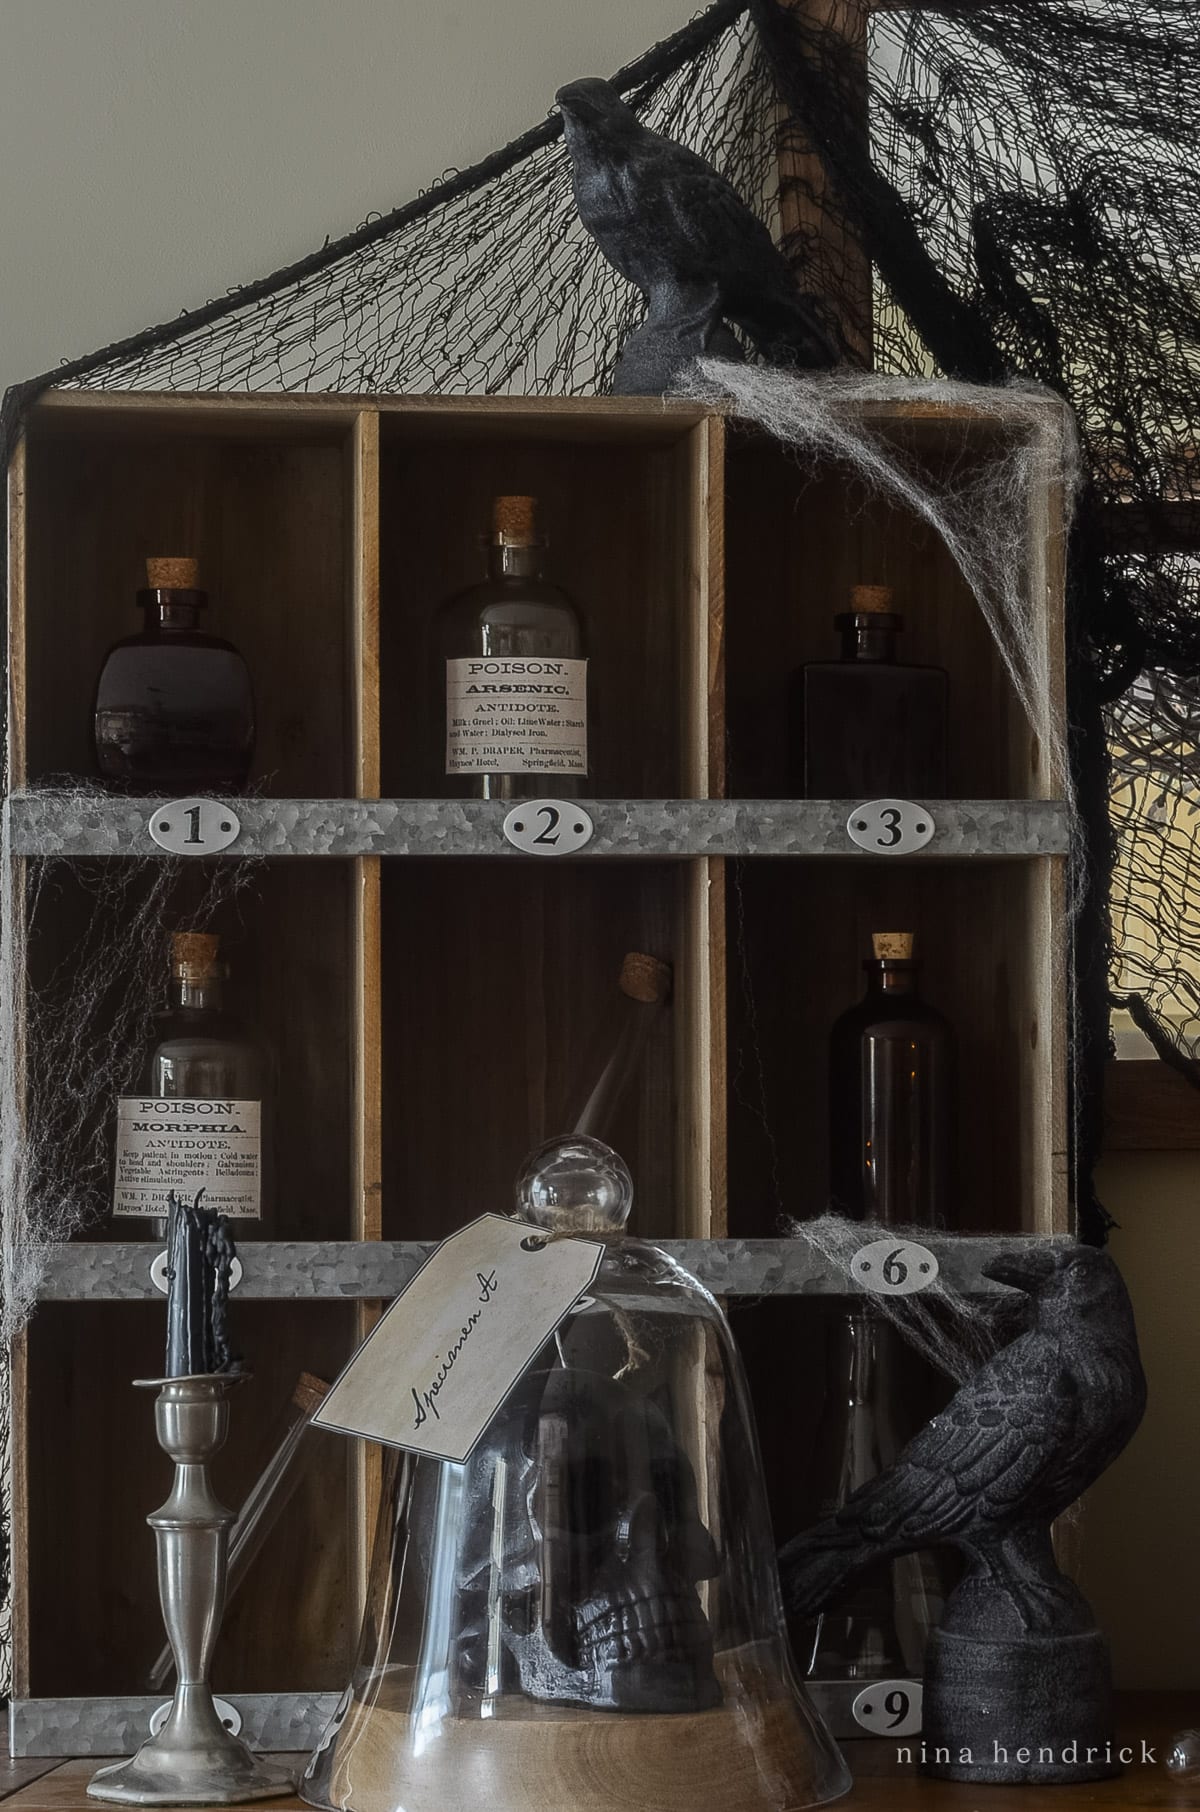
Step into the eerie world of a Victorian Mad Scientist with an “ApotheScary” Vignette. This setting paints a vivid picture of a bygone era where wares and experiments were the talk of the town. Add a touch of literary darkness with a photo of Edgar Allen Poe, complemented by raven statues. And, of course, no apothecary would be complete without “poison” bottles.
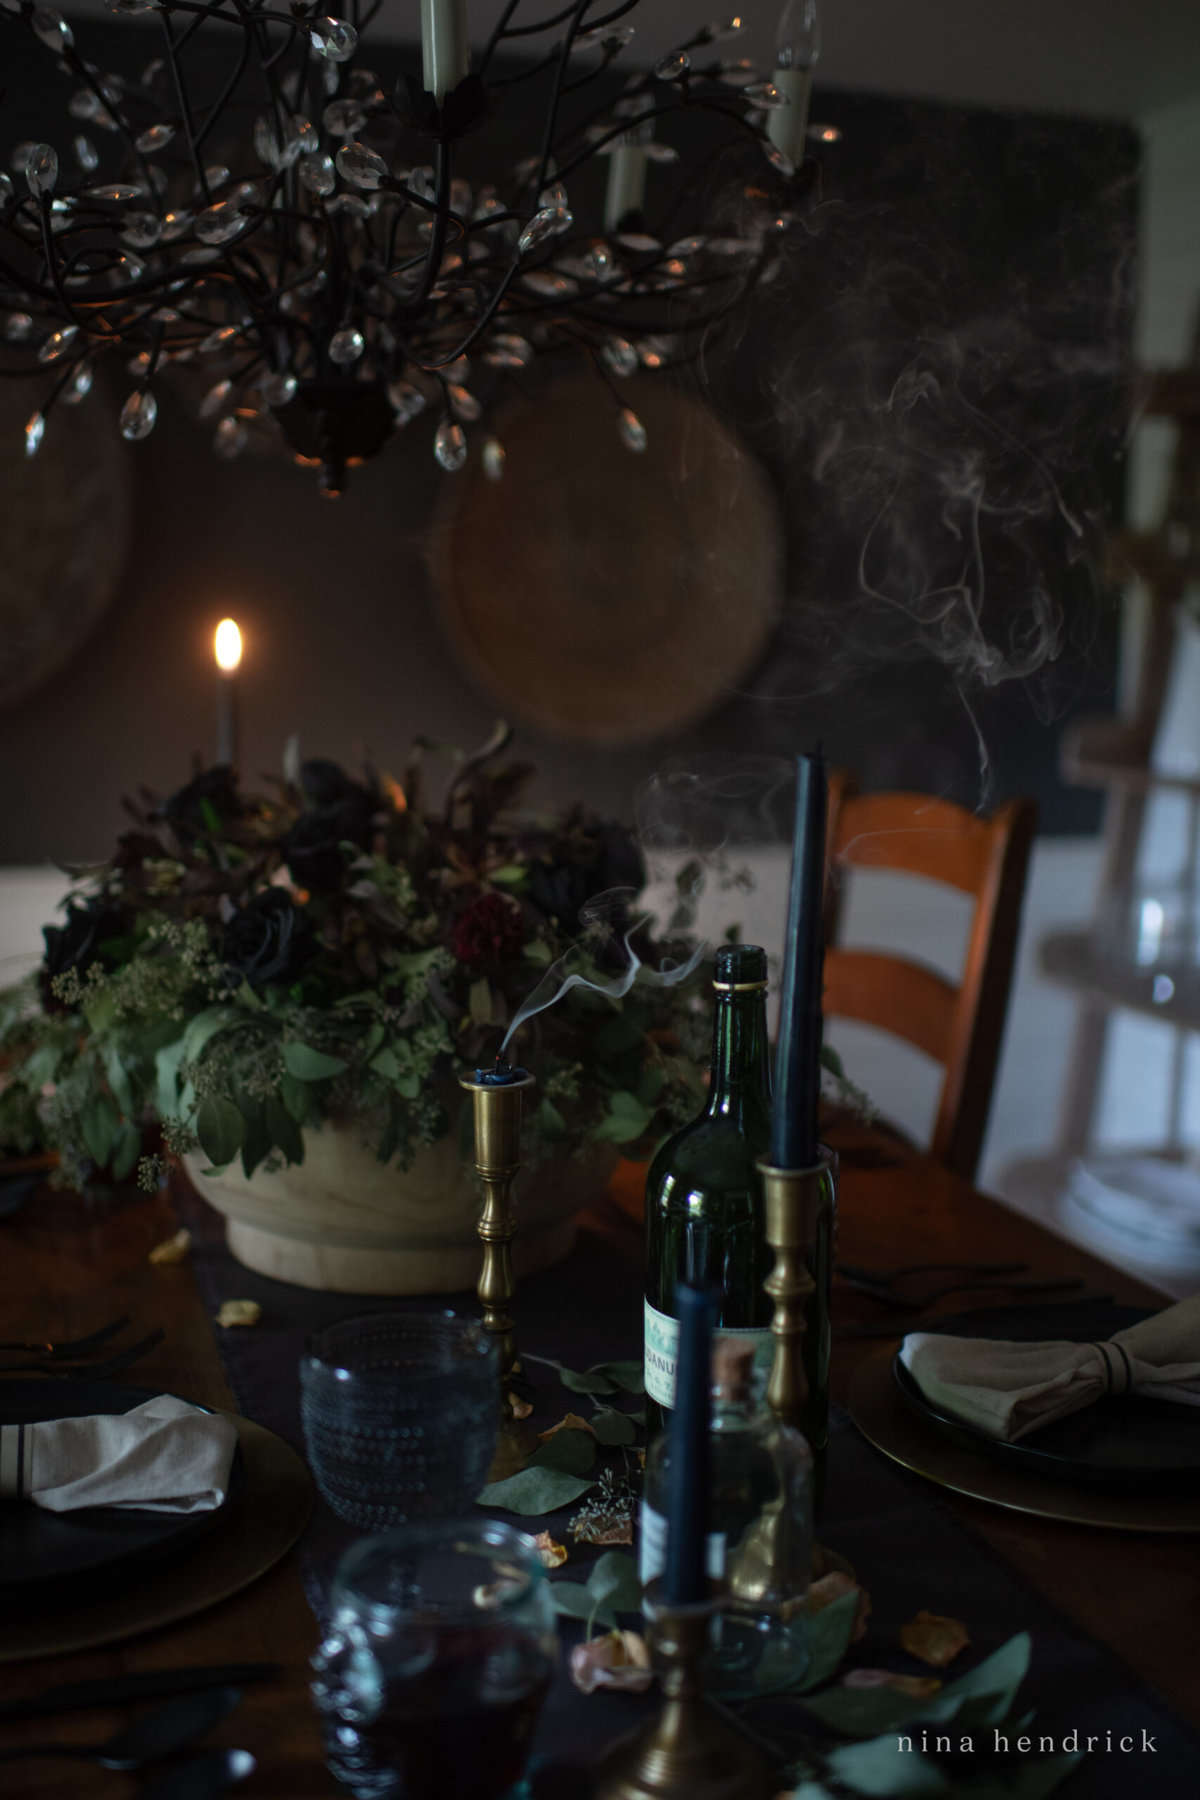
Spooky & Elegant Tablescape
As you plan the perfect Halloween dinner party, consider creating a tablescape that seamlessly blends spooky and elegant elements. Opt for a palette dominated by rich blacks, deep purples, and shimmering golds to evoke a feeling of dark opulence. Add details like black rose stems and skull-shaped goblets to up the upscale creepy factor.
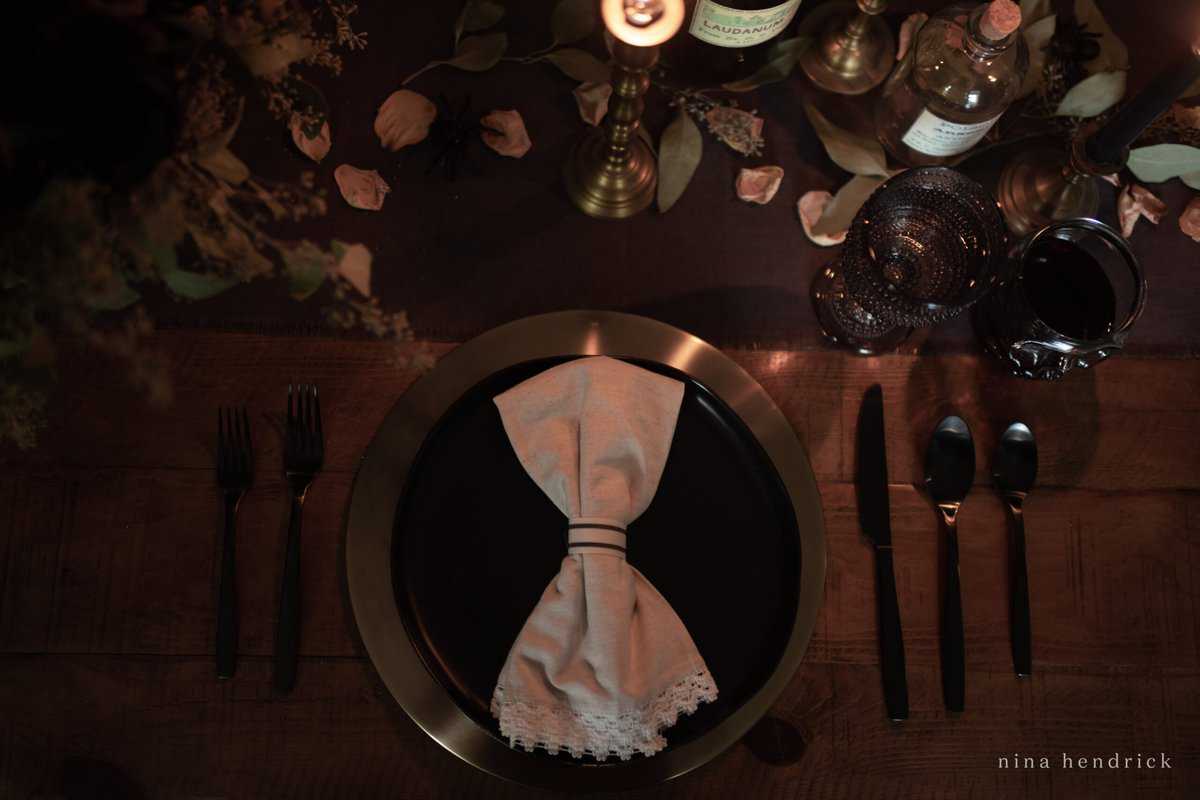
The key to this design lies in the layering of textures and patterns, creating depth and ensuring each glance reveals a new, haunting detail. Whether you’re prepping for an intimate dinner or a grand Halloween party, this tablescape showcases the enchanting result when the eerie meets the exquisite.

DIY Apothecary Poison Labels
If you loved the poison bottles in the vignette and tablescape, you’re in luck! You can download, print, and decorate with these free Apothecary Poison Labels. They’re a simple way to bring a dash of vintage Halloween charm to your home.
Outdoor Halloween Decorating Ideas
Front yards are a blank canvas for outdoor Halloween decorations. Imagine a haunted house scene with plastic skulls and bones or zombies emerging from the ground or a skeleton inviting trick-or-treaters with a bowl of candy. You can craft ghosts using foam and white sheets, anchored by a tomato cage. For added eeriness, wrap trees with garland made of black mesh fabric.
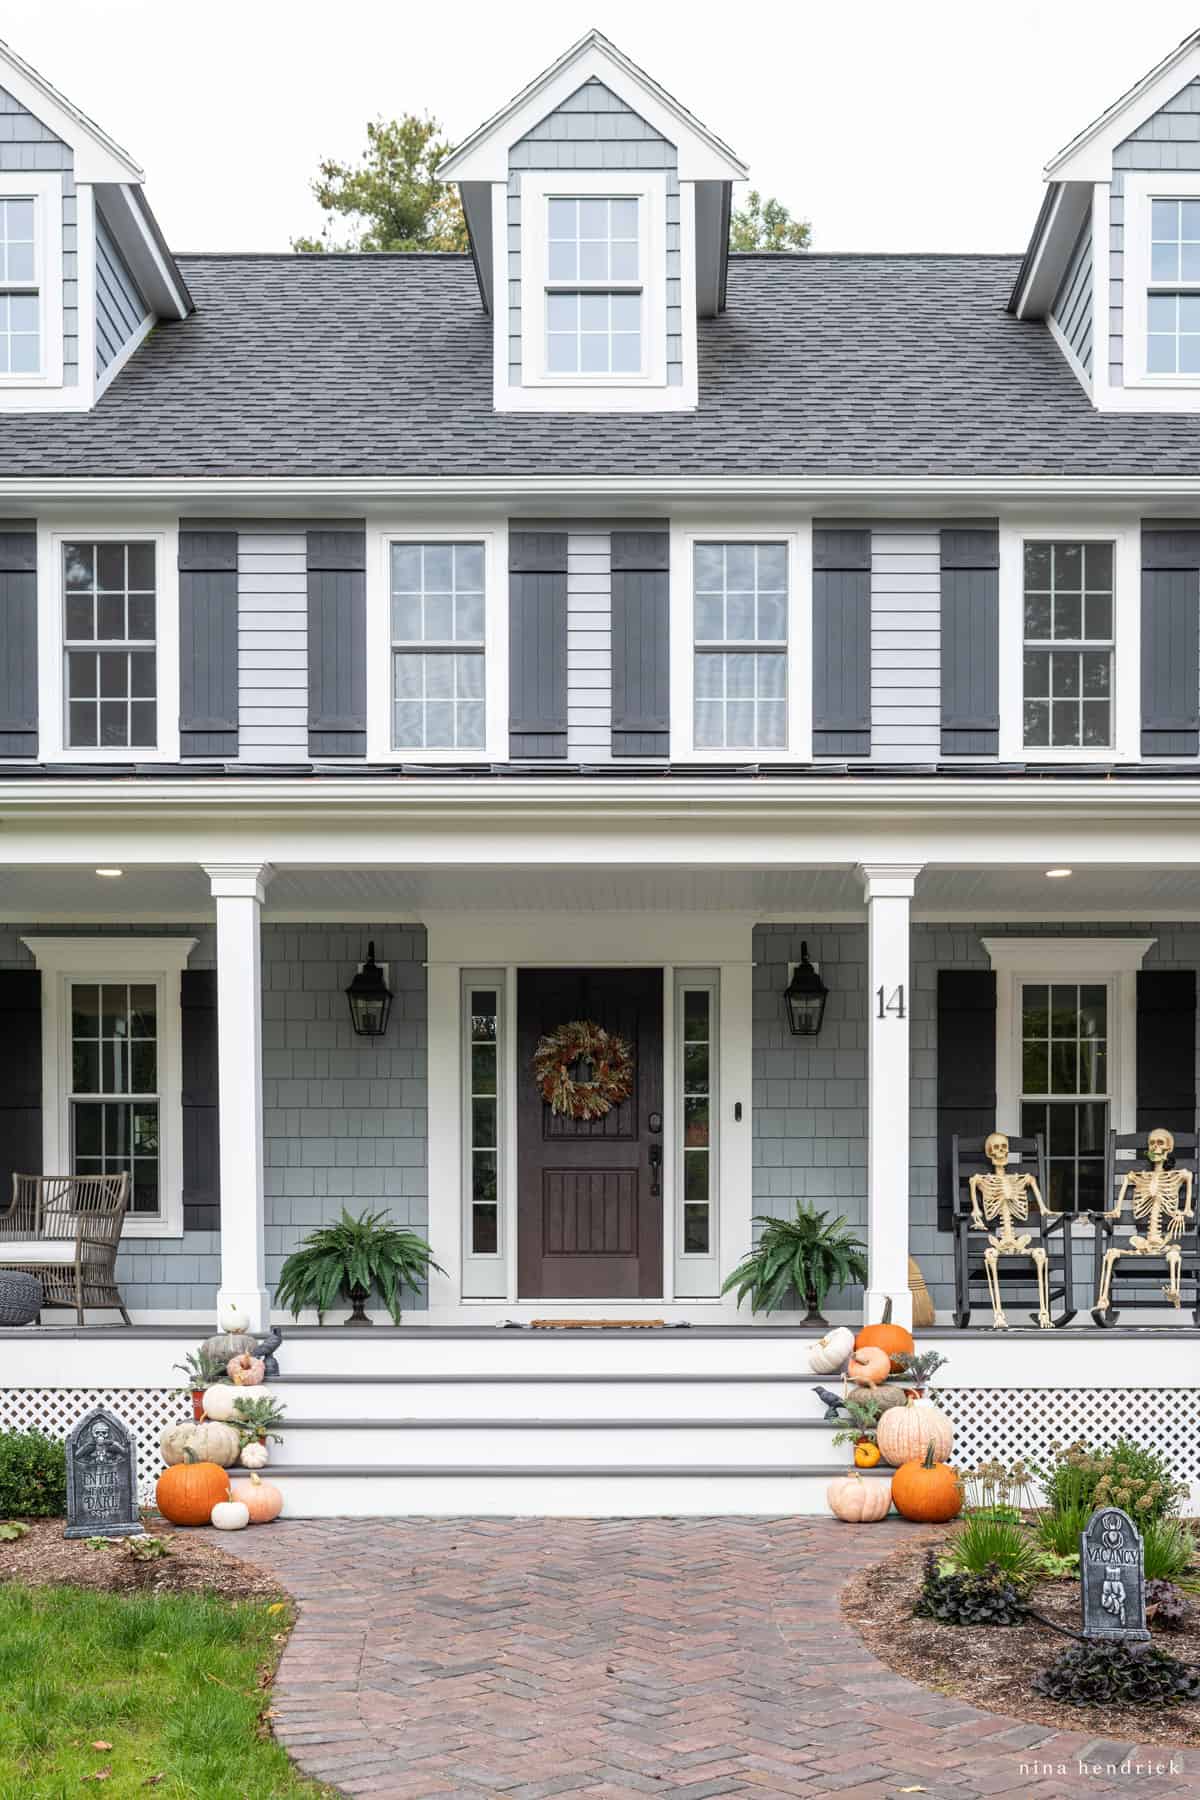
Classic Halloween Front Porch Decor
Welcome trick or treaters with a captivating ambiance right from the start. As they approach your front porch, let them be greeted by a softly glowing lantern, casting eerie shadows that dance in the night. Place a decorative, vintage-style rug leading up to your main door, giving a hint of the festivities that lie beyond. Of course, don’t forget to put out your jack-o-lanterns!
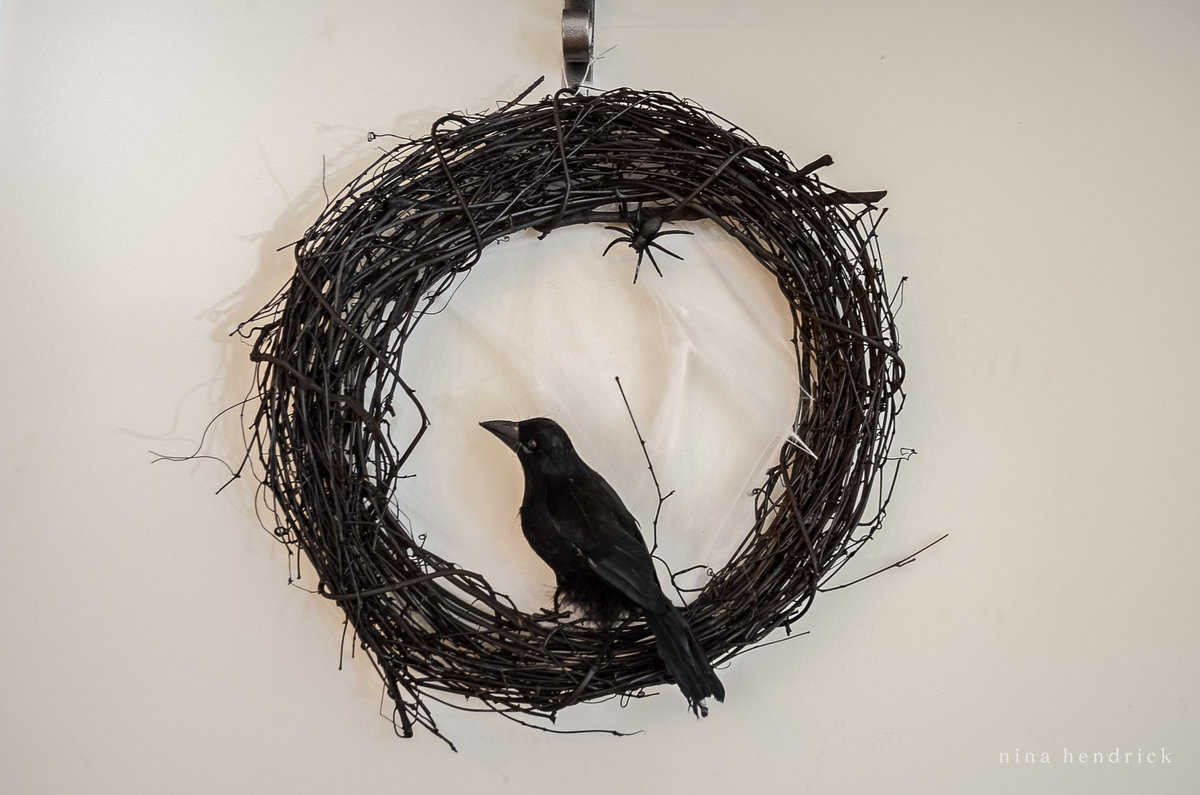
Festive Halloween Wreath
Elevate the traditional Halloween wreath by crafting one that embodies the essence of the holiday. Start with a simple black grapevine wreath as the base. Using black spray paint, give it a dark, matte finish. Once dry, wrap in faux cobwebs. Use hot glue to attach faux spiders in varying sizes, making it appear as if they’ve claimed the wreath as their home. For added depth and intrigue, add a faux raven or black ribbons.
Flanking the main door, consider placing tall, twisted candleholders, their flames flickering and casting elongated shadows in the cool autumn breeze. A subtle fog machine can add an extra layer of mystery, creating a low-lying mist that envelopes the feet of your guests, making them feel as though they’re stepping into another realm. To finish the look, drape some delicate spider webs over the surrounding plants and furniture. Consider adding a finishing touch with a soft, spooky soundtrack playing discreetly in the background, setting a mood that’s both festive and slightly eerie. With these additions, your porch will surely leave an unforgettable first impression, beckoning visitors to venture further into your haunted abode.
From doorway to the dining room, from front door to the backyard, every nook and cranny of your home can be infused with Halloween spirit. Whether it’s the subtle touch of black paint on a pumpkin or more involved DIY Halloween decorations like hanging floating witch hats from the ceiling, the options are endless. Let this guide be your starting point and source of inspiration as you embark on a journey of crafting, decorating, and celebrating Halloween in style.
email subscribers get access
to all of my free printables
After you sign up, a link will be sent to your inbox with instructions for how to access these printables from our gallery (which also has many more options for you to decorate with!).
With these Halloween decorating ideas, your home is set to be the talk of the neighborhood this fall. Whether you’re a fan of classic spooky aesthetics or magical tales, there’s plenty of Halloween decoration ideas in this roundup for everyone. Happy decorating!