- Dining
- DIY Tutorials
- Renovating
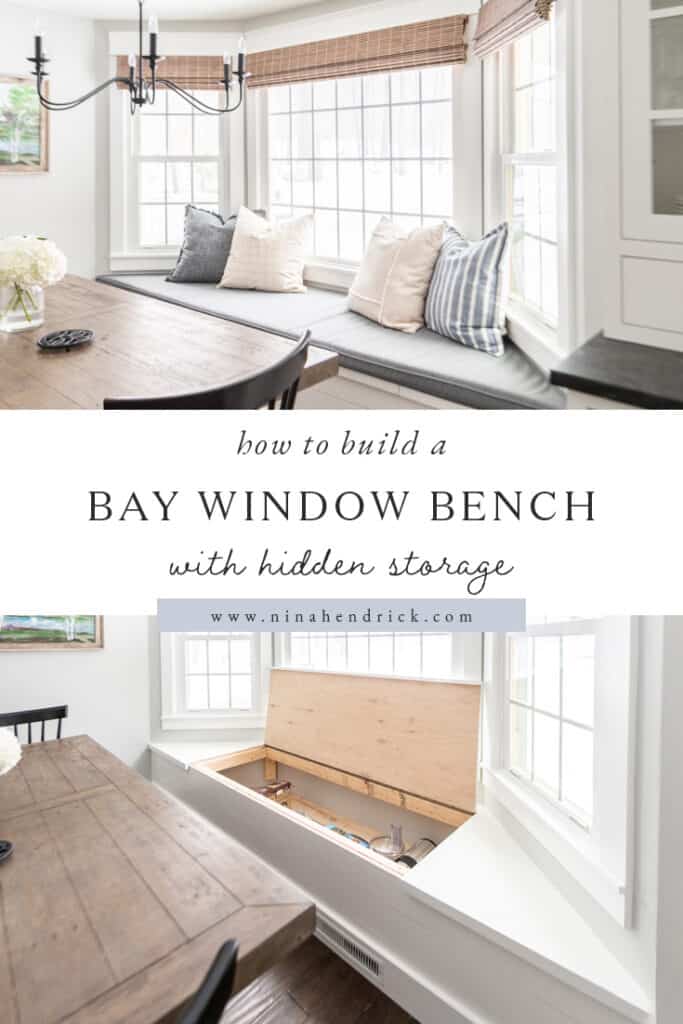
How to Build a Bay Window Bench with Hidden Storage
Learn how to recreate the built-in bay window bench that helped to add extra seating to our breakfast nook plus hidden storage for small appliances.
This post was embarrassingly long in the making, mostly because I misplaced the photos. Yup, terrible blogger over here. However, I’m happy to say that I rediscovered them and can share them with you today! I’m going to take you step-by-step through how we built our bay window bench with hidden storage for our small appliances in our breakfast nook. If you’re just tuning in, you can catch the original breakfast nook project here and the more recent refresh here from when we completed our full kitchen remodel in 2019.
How to Recreate this Bay Window Bench with Hidden Storage
Now, I’ll warn you upfront that this was an inexact process. Nothing was square, our measurements were all different from one another. Basically, the whole goal was to try to get the bench itself as square and level as we could in an imperfect bay window. If you live in an older builder-grade home with a bay window, I’m thinking this is a challenge you may share!
The dimensions of our bench are around 122″ x 28″, but this likely will be different than your dimensions. Instead of a tutorial, I’ll share our process and our logic, which will hopefully help you make the necessary adjustments to make the project work for you. Without further ado, here’s what we did to create our bay window bench with hidden storage.
Step One: Measure Out Your Space
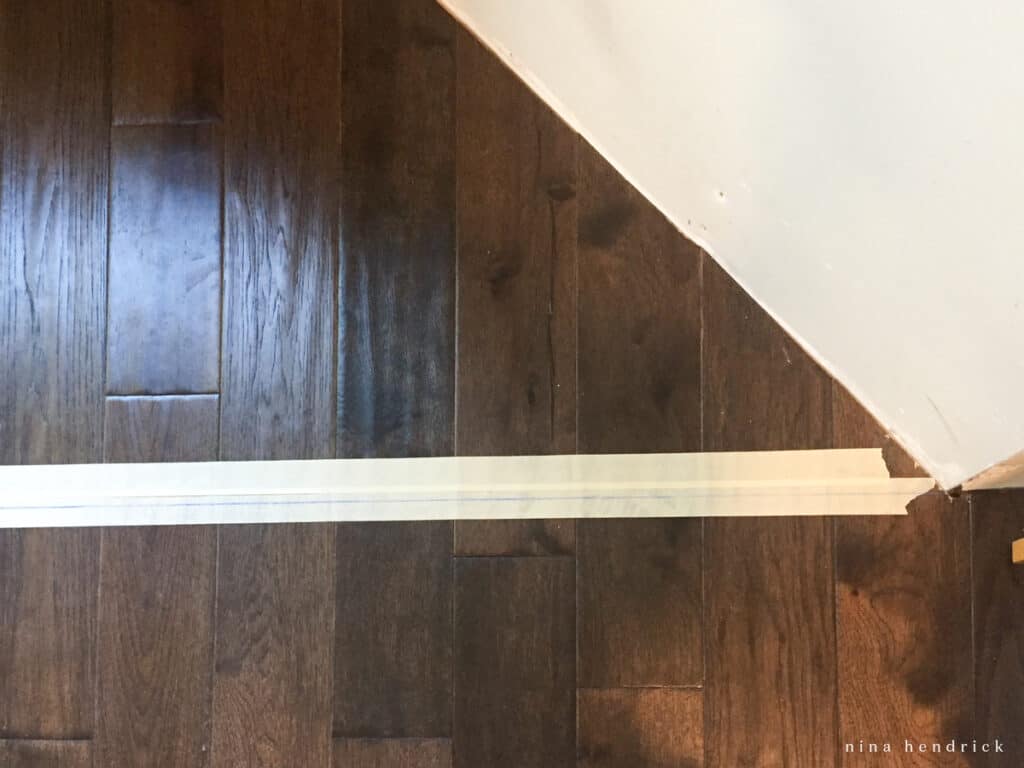
I don’t have a single picture to show this, but here’s was our dilemma: in order to make the bench square, we couldn’t simply connect the two front corners of the bay window.
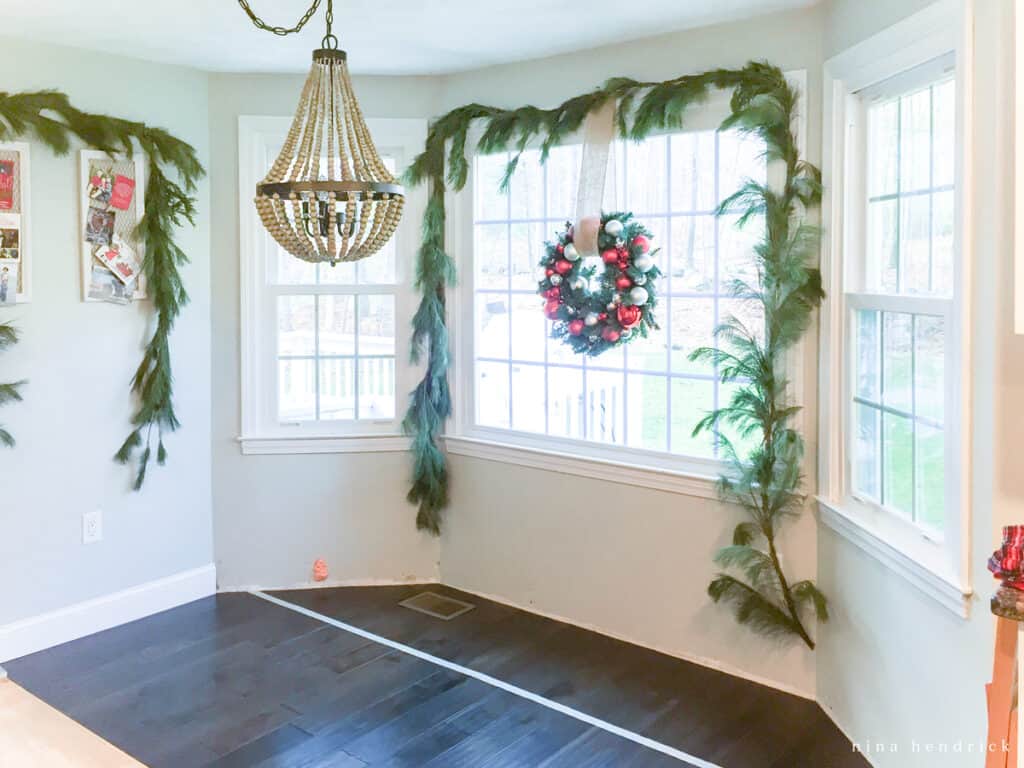
Instead, we had to push the line back slightly on the left in order to make the front of the bench square with the wall on the right.
Step Two: Build Your Framing
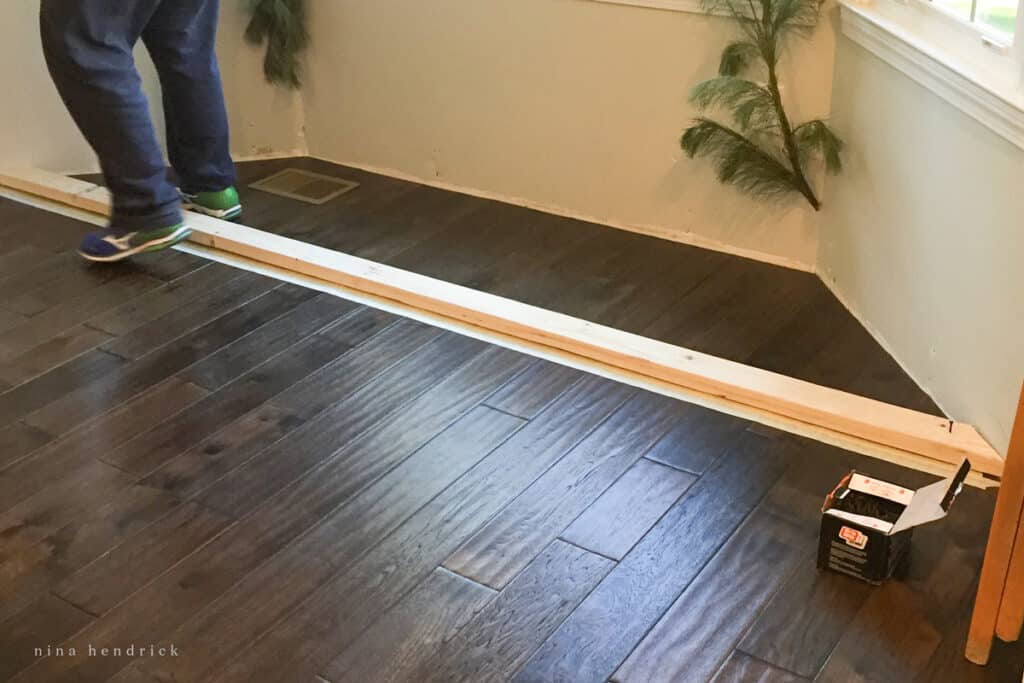
Once we figured out that straight line, we screwed a 2×4 down flush with the line. This would serve as the base of the front support wall.
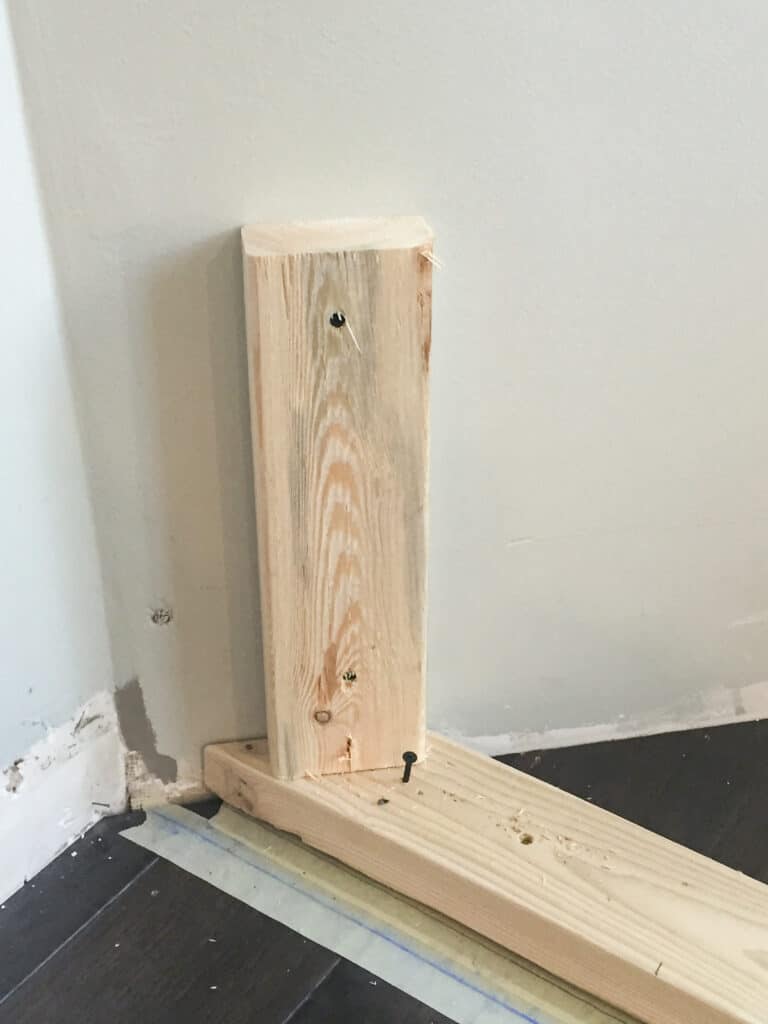
Next, we attached short 2×4 studs to the walls at each end making sure to screw them to studs in the wall. We decided to cut these at about 12″ high. To get this measurement, we measured the height of our chair seat (around 18″) and then subtracted a few inches for the top support and the cushion we’d eventually add to the bench.
We repeated this process across the base.
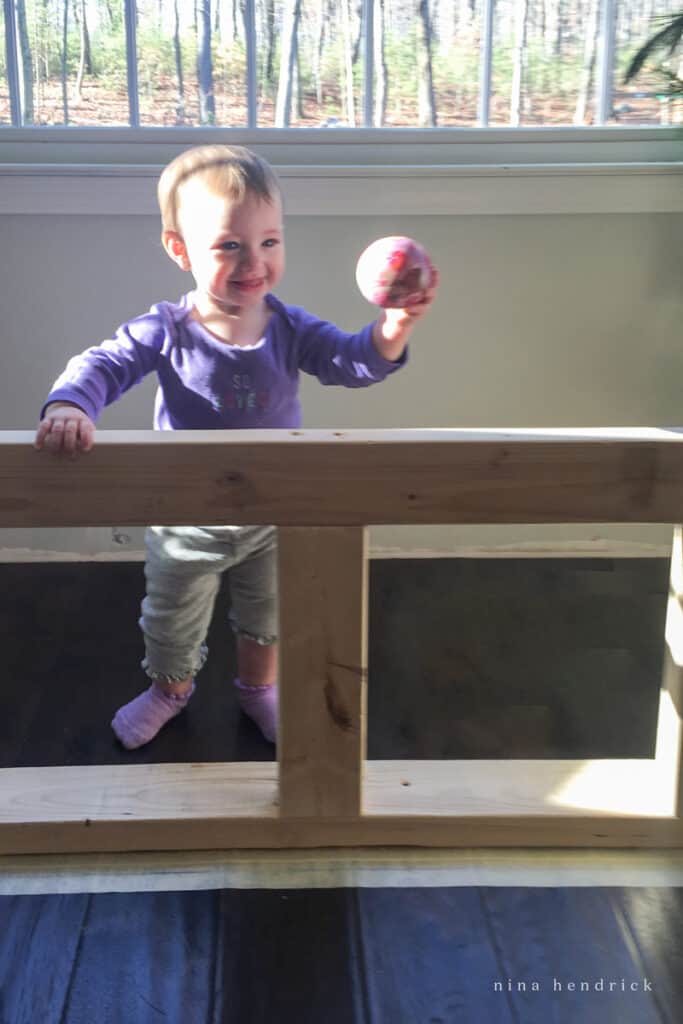
As I said, it took me an embarrassingly long time to write this, so we now have a kindergartener. Back then, this made the perfect temporary playpen (okay, we plopped her in there for a photo op) for this little munchkin. Excuse me while I go cry over how tiny she was. This really just drives home how the story of renovating our home is so intricately entwined with the story of our kids growing up.
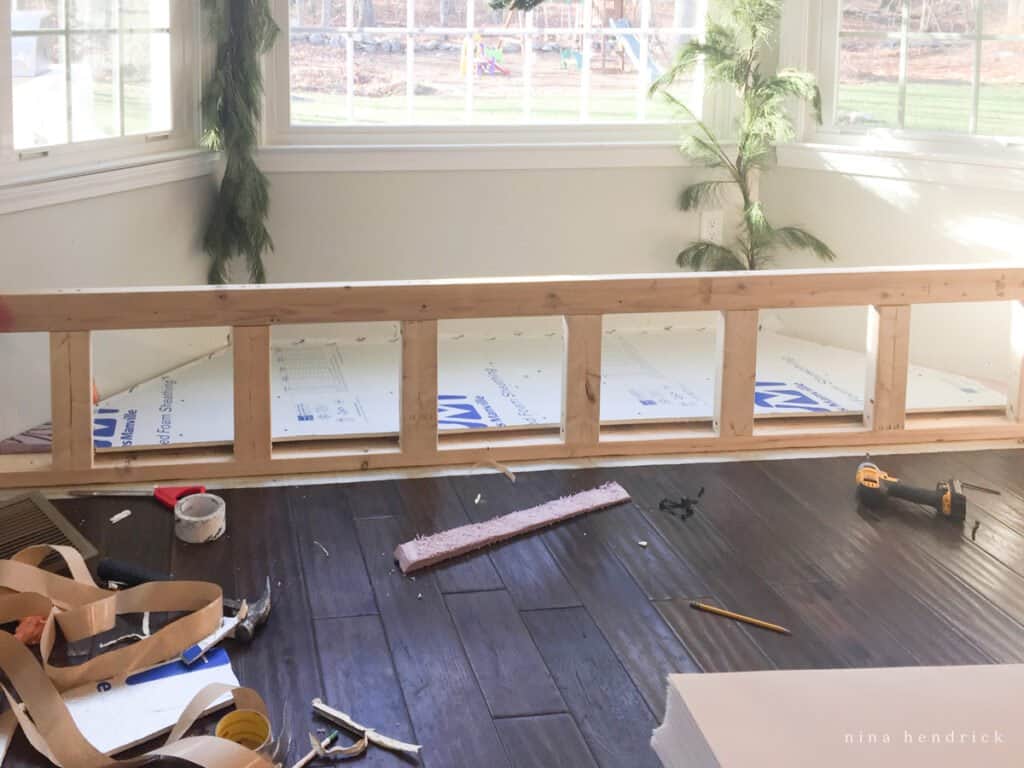
Next, we added the top support to complete the front framing wall, again making sure to attach the rear ledger to studs.
Step Three: Redirect Any Ducts
I also don’t have a photo of the next step, so I apologize, but we built a frame with studs and a piece of insulation board with aluminum tape surrounding it that would allow heat from the air vent to escape. This post actually shows the exact same process we used in more detail!
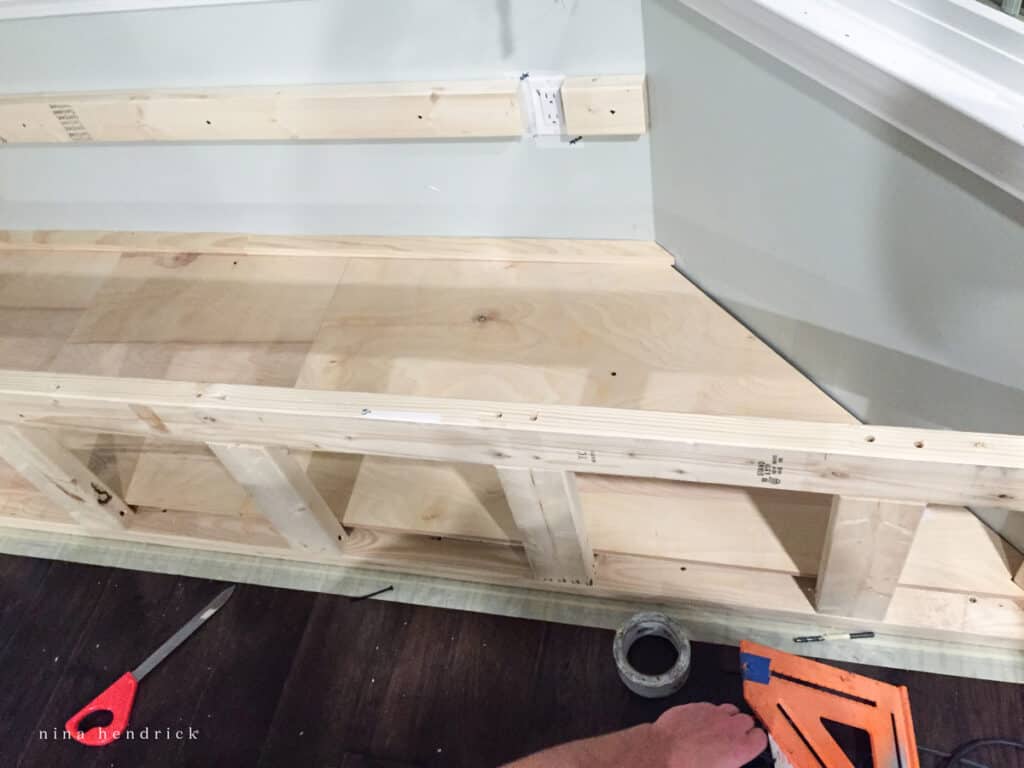
Step Four: Add Your Back & Cross Supports
We added plywood to create a base for the storage area and screwed supports into the studs at the back of the bay window in order to provide support for the bench top.
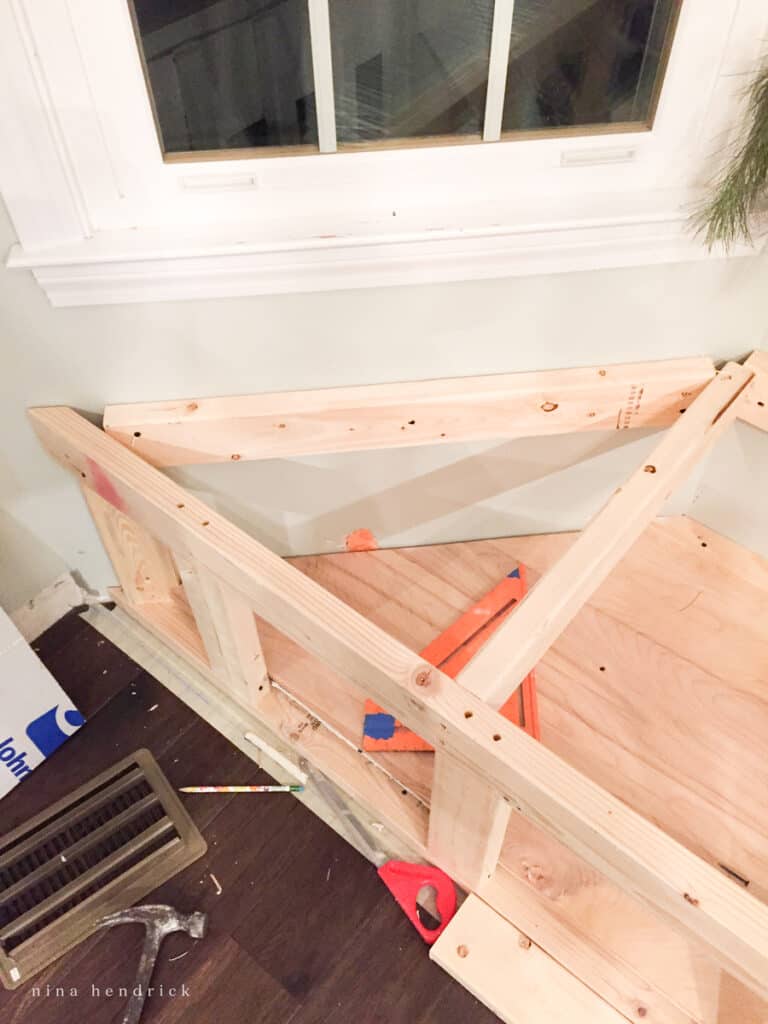
We also added a cross support for extra stability next to the lid.
Step Five: Finish the Outside with Cabinet-Grade Plywood
We finished the outside of the bench with cabinet-grade plywood and hid the front edges with a 1×2 trim lip. We used some leftover planks from our planked wall project for the front and added a thick piece of baseboard trim.
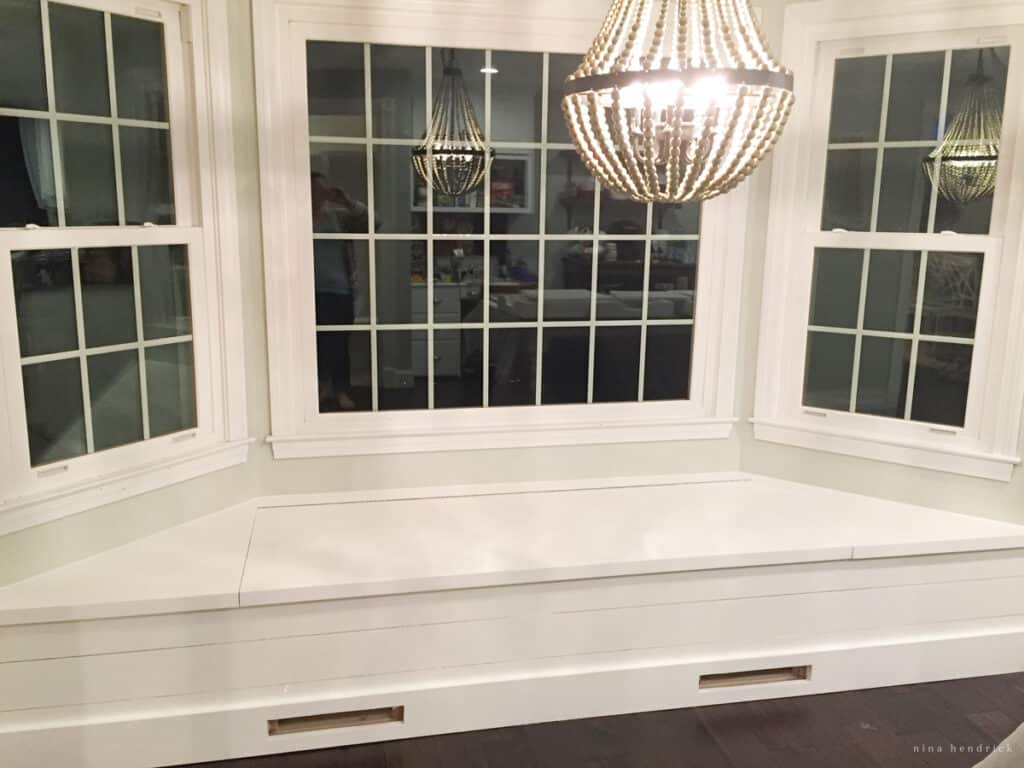
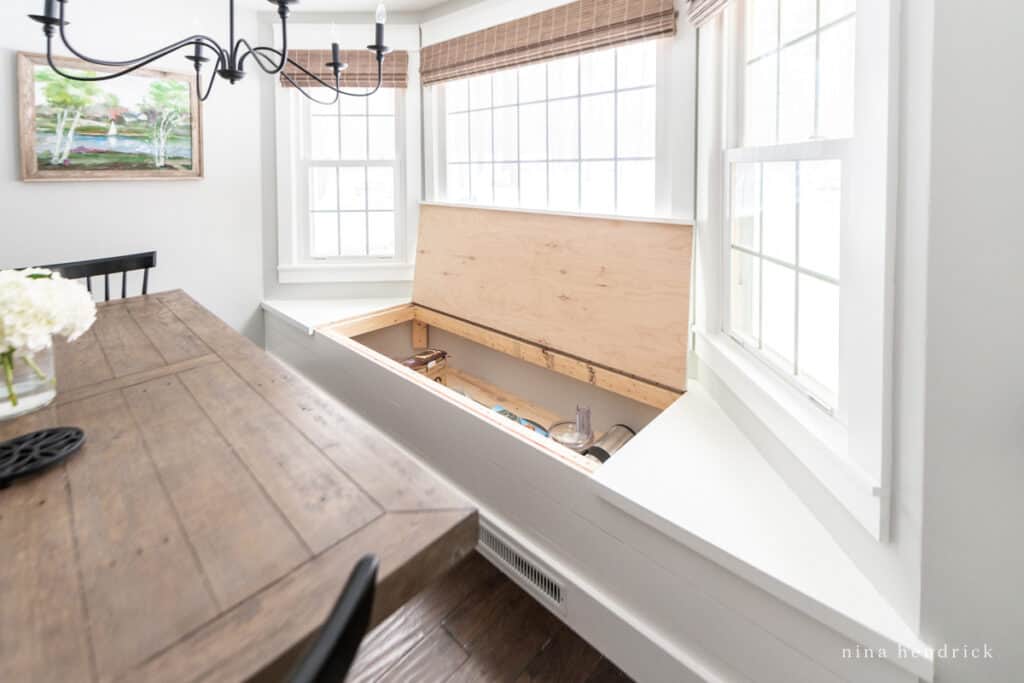
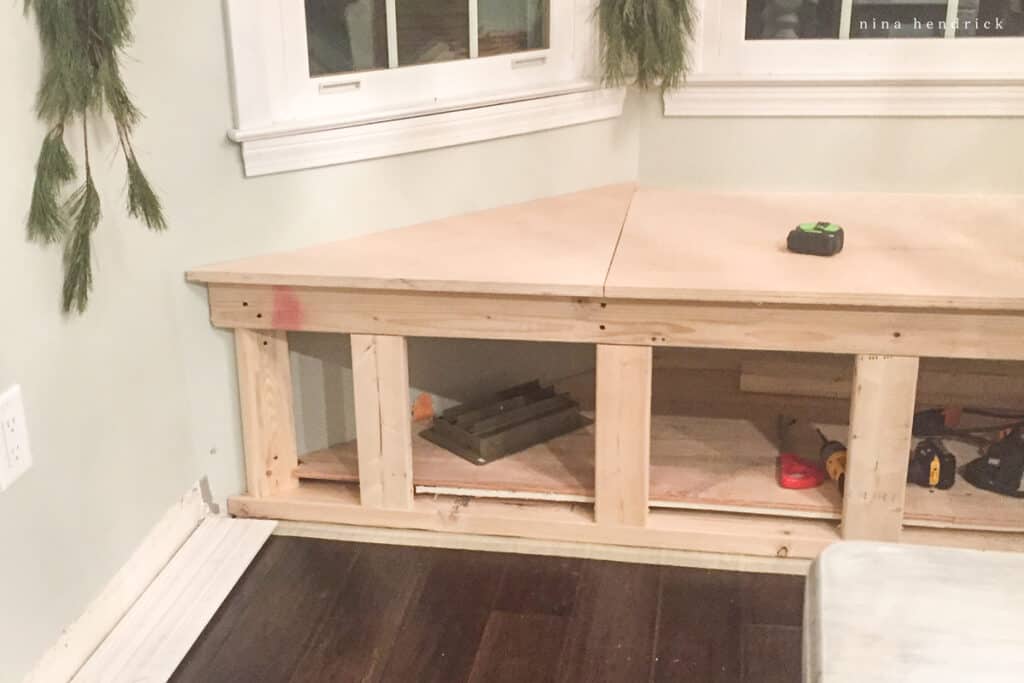
Step Six: Attach the Storage Lid
The lid followed this same process and was attached using a long piano cabinet hinge. As you can see in the photo below, we added an extra support stud where the lid hinge attached.
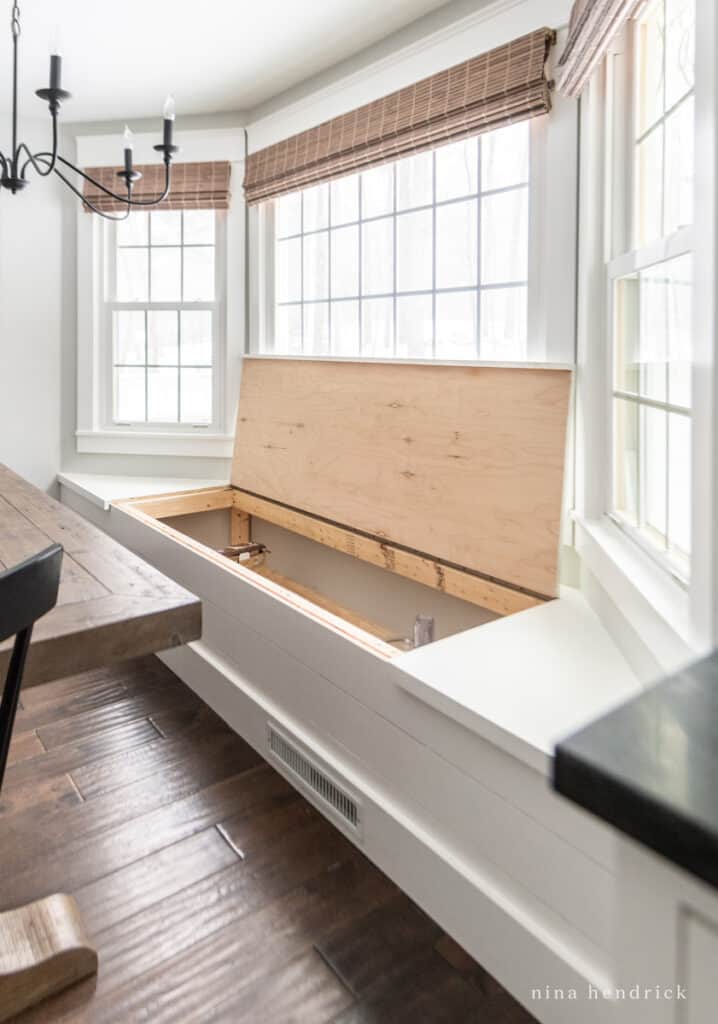
Since we’ve decluttered so much of our stuff, we don’t have a ton of small appliances anymore. Instead, this has become the perfect spot to store the turkey roasting pan and other baking pans we use less often. This has freed up so much space in other areas of our kitchen!
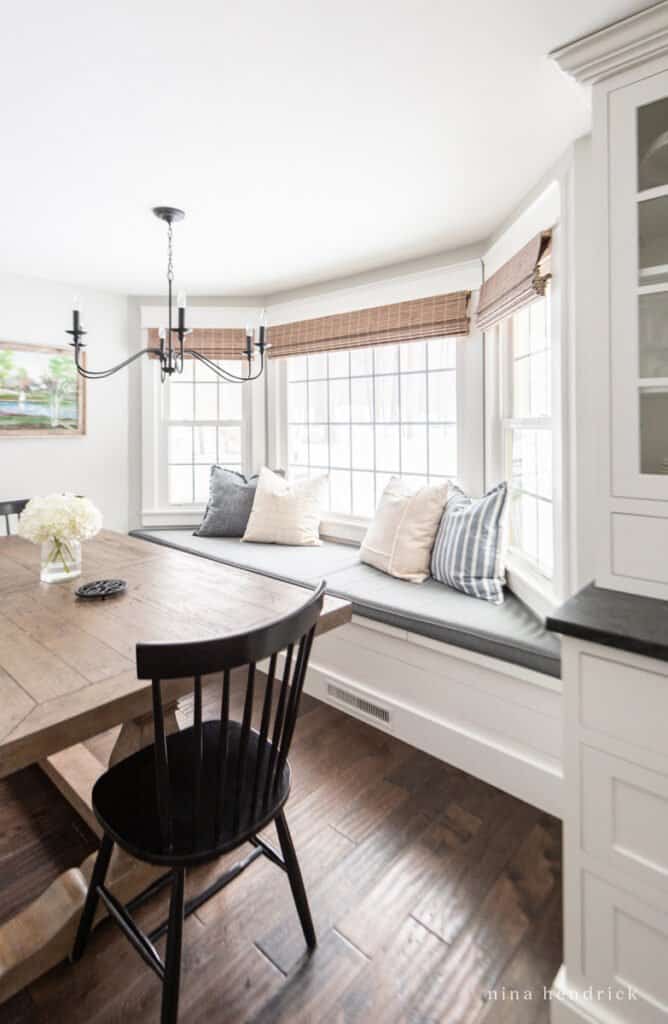
Step Seven: Paint & Finish
Last but not least, we covered the vents with a thin grille. Then we painted the whole thing Simply White to match the rest of the trim in our home.
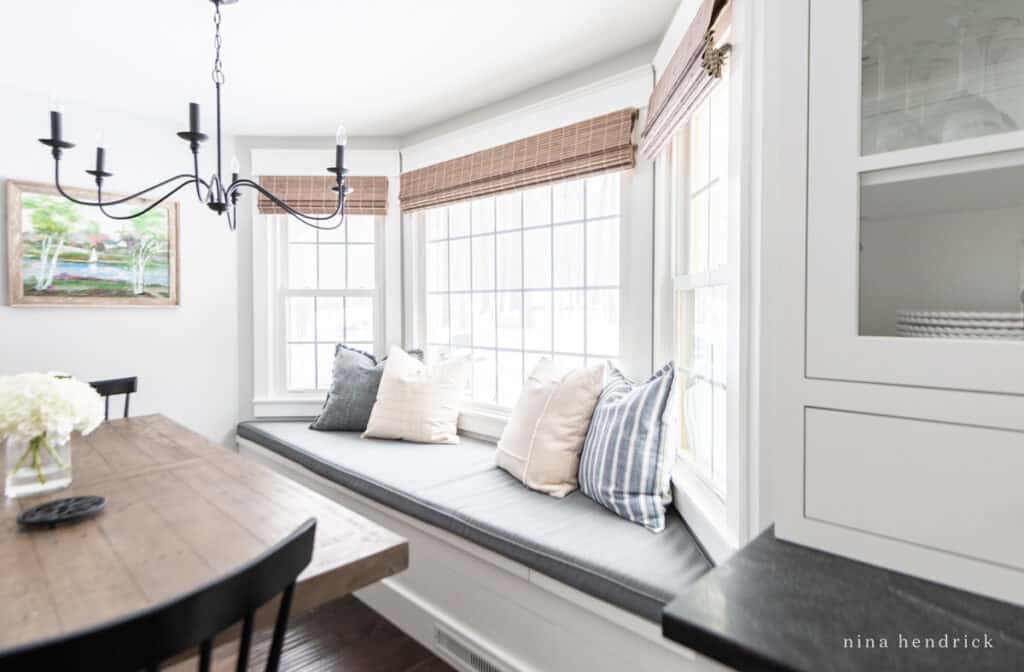
Bay Window Bench Cushion
This post contains affiliate links, which means I may get a small commission (at no extra cost to you) if you shop my link. Please see my disclosure if you’d like more info!
The bench cushion came a bit later and was made locally with foam and a custom removable Sunbrella cover. However, I’ve since worked with this company on other projects and I’ve been extremely pleased with the results! I may have them replace our cushion at some point in the future since there is a bit of sag in the middle no matter what I do.

So there you have it! That’s how we built our bay window bench. I hope that this is helpful if you’re trying to recreate something similar!