Are you considering painting your oak cabinets? I compiled all of the answers in one easy place to the most frequently asked questions about our painted oak cabinets!
When I set out to do the cabinet painting project, I knew I should chronicle the process and share it with others since I’d found the information so difficult to track down. However, I had no idea how many of you would be looking for this information!
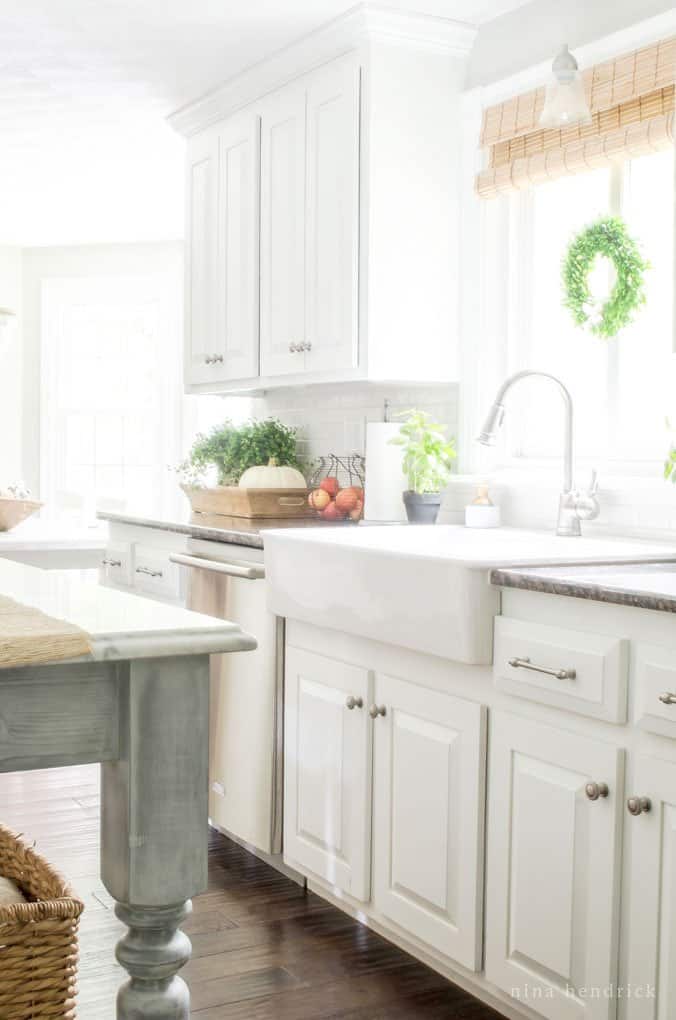
In an effort to manage the comments and my inbox, I’m compiling all of the frequently asked questions about How to Paint Oak Cabinets in this post. If you haven’t yet read the tutorial, I recommend starting there first! If you’re looking for information or sources on the other projects in our DIY Kitchen Makeover, click here!
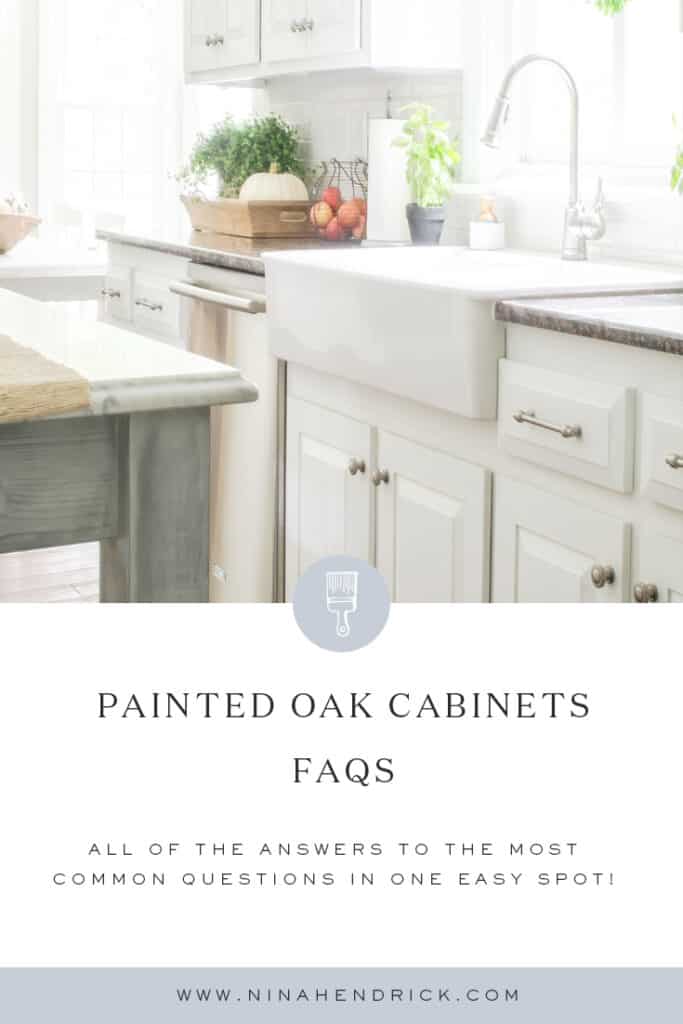
Painted Oak Cabinets FAQs
Originally published September 25, 2015. Updated May 15, 2020.
How to PainT Oak Cabinets
the PDF guide
I also wrote this ebook, which organizes all of the information from the original tutorial along with all of the questions here into one handy place. It includes printable checklists and a tracker for your paint dilution!
Is painting oak cabinets worth the amount of work?
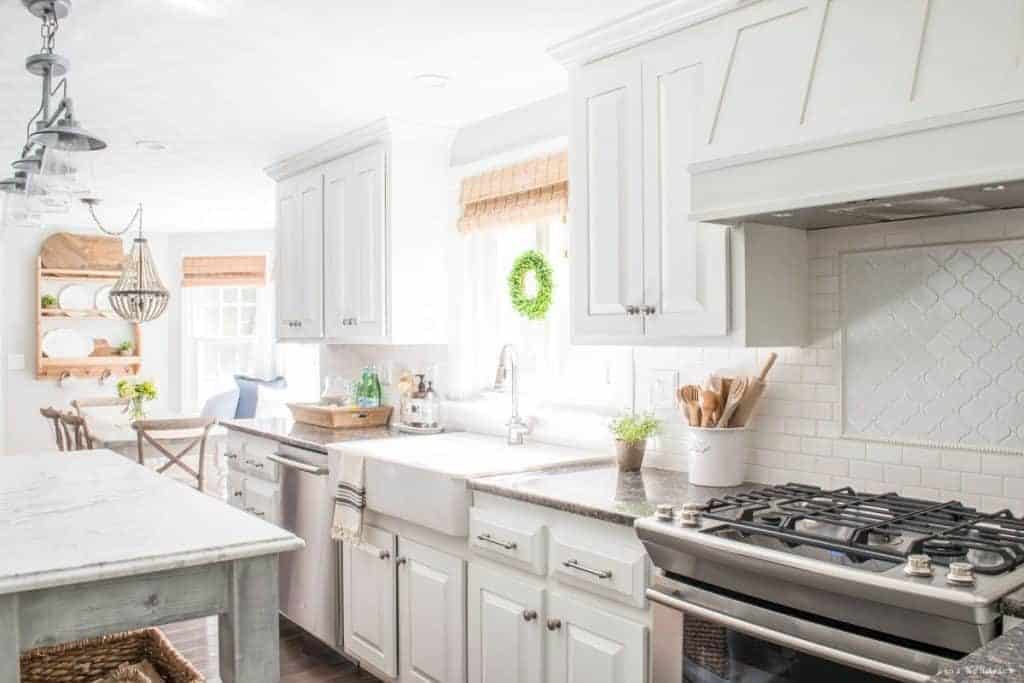
First off, I’m going to address the biggest question people seem to have about this project: is it worth the hard work? Obviously I can only speak for myself, but if I bought a house with oak cabinets tomorrow and didn’t have the budget for a brand new kitchen, I’d paint them all over again.
How are your white painted cabinets holding up after two, three, four, five years?
After all of those years, they still looked amazing. There was none of the massive chipping, peeling, or paint yellowing that I was ominously warned about by hordes of commenters. For years they looked nearly as fresh as the day we painted them because they cleaned very easily (I’ll go more into that later). You can see exactly what they looked like after five years here.
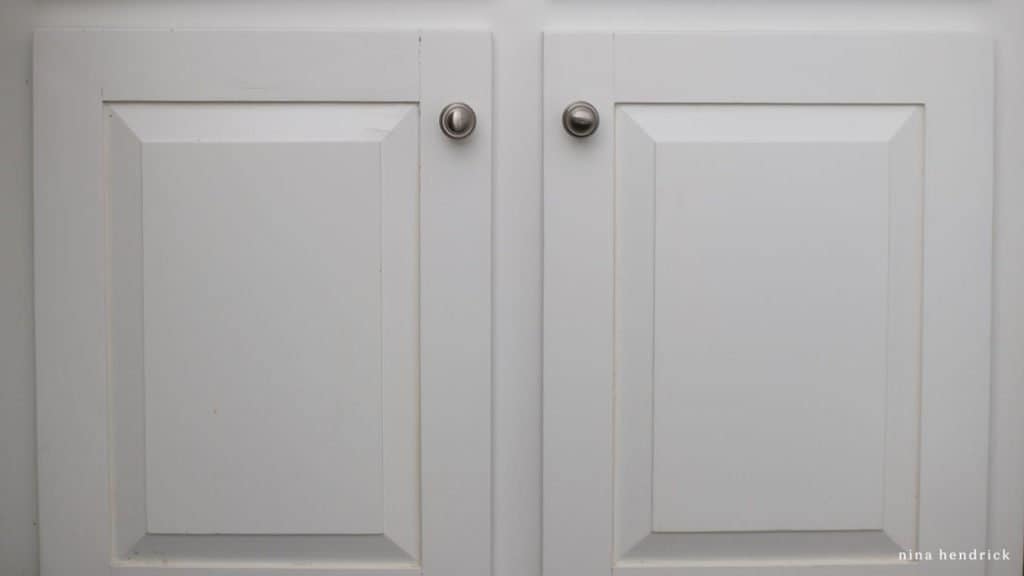
In the early days, the only issue we had was with the cabinet under the sink. It was heavily water damaged before we started the project and probably should have been replaced. To save time and money, we tried to salvage what we could aesthetically and rebuilt it structurally to support the new sink. We did extra priming and sanding to try to make up for it, but it ultimately didn’t work, and the paint did chip in the most damaged spots.
Do you have any regrets or mistakes about painting oak cabinets?
The one big mistake I made during the project came back to bite me after about three years. After we finished the project we decided I should go back and caulk to give everything a super smooth finish. Although it did accomplish that goal for a while, it didn’t prove to be a good decision over time since just the caulk yellowed. If I was going to caulk, I should have done it after the Drydex grain filling and before priming.
I also regret not having the Ins-x Cabinet Coat tinted Benjamin Moore Simply White to match the rest of the trim on our first story. (Curious about our paint colors? Explore them here!) I didn’t realize that it could be tinted until we had already started the project.
Do you have to clean them more often? Do white cabinets get dirtier?
No, and no. I simply wiped them down as part of my regular cleaning routine and they looked great. I’ve never understood the “white cabinets are harder to keep clean” argument. I personally find it much grosser how much you can’t see to clean off wood cabinets.
How do you clean painted cabinets?
While we were working on the project a little bottle of lemon essential oil was left on a shelf. It sweated or leaked and ate through all of the finish, including the primer, and turned it into a gummy mess. What I took away from that: don’t use citrus cleaners on this finish! I recommend just wiping down with a slightly damp cloth as needed.
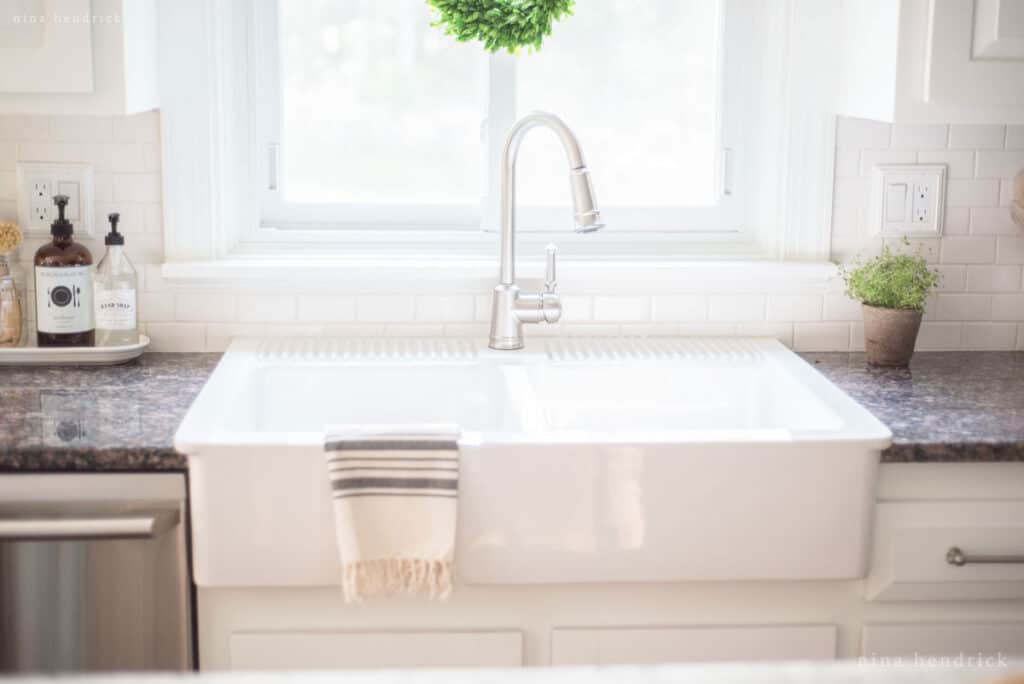
How did you cut your granite countertop to install the apron/farmhouse sink?
That was such an in-depth answer that I created a whole post that walks through the entire process and answers all of those frequently asked questions. You can click here to read about the IKEA farmhouse/apron sink!
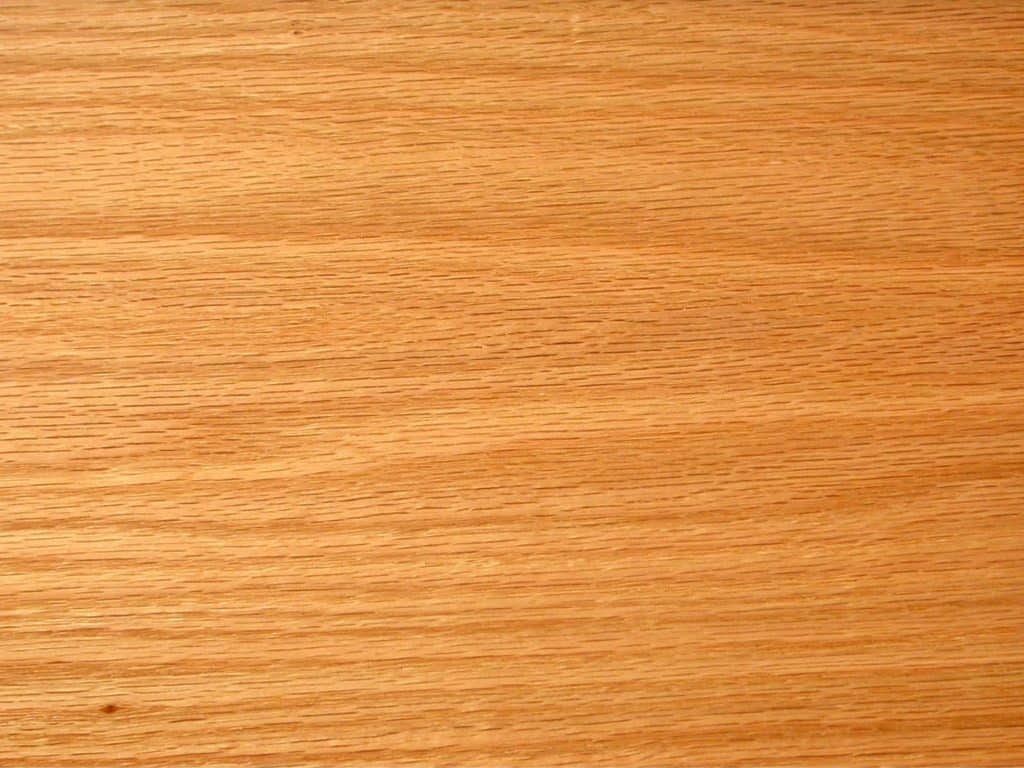
Are your cabinets oak? Do I have to fill the grain?
Yes, they were oak, which is typically a very grainy wood. Regarding the grain, I truly believe that the grain filling is what made this project. Otherwise, all of those tiny little dashes will become air pockets that eventually show over time with humidity and other factors. I have painted oak in the past without filling the grain and ended up hating the little black speckles that appeared shortly after.
How long do you estimate this project would take if I did it all at once?
This question has always been a little tricky to answer because it varies based on the size and circumstances of your kitchen. For example, we had years of grease and old varnish to sand off before we got down to bare wood. I have heard back from readers who have done a similarly sized kitchen in five days straight with a team of two.
What are the dimensions of your kitchen?
The dimensions of our kitchen are approximately 12 x 16′ or 192 square feet— pretty average for a North American kitchen. Yes— technically, with the DIY island, we left less space than a kitchen designer would recommend for traffic. We can still move around without issue, so we’d rather have the extra counter space than worry about technicalities.
What other grain fillers did you try besides Drydex?
I hate to name names and say that products didn’t work for me, but I also understand why people would like to know the answer to this question. In my research I saw people raving about Pore-O-Pac Grain Filler for this type of project. I honestly found it to be messy with a strong chemical smell and my finished product still had grain showing. I also tried Minwax Wood Filler, which pilled and was too thick to get in the grain. In the end, I was the most impressed with a long shot I took. I loved the results of the Drydex and I think the thin nature and ability to sand was what made it successful.
How long does it take for the Cabinet Coat to cure?
It advertises that it takes 5-7 days to cure and our experience fell right within that window. However, conditions such as humidity could cause that to vary.
How much did the painting project cost?
In 2014 when we did this project it cost between $250-$300 in paint and other supplies. This was the estimated cost of the oak cabinet painting alone. We did replace the hardware, hinges, appliances, and added trim. I’m not claiming the whole project cost that little, of course.
I know you didn’t use a topcoat, but I want to anyway. What would you recommend?
Although Insl-X doesn’t recommend a topcoat, if you absolutely have to have one I’d recommend Minwax Polycrylic in satin for a smooth finish. I have heard reports that it can sometimes yellow over time, but I have never experienced it myself.
Of course, the ideal way to add the topcoat would be with a paint sprayer. Once again, this wasn’t something I attempted, so you’d have to do some research and play around to get the proper dilution.
How did you hide your cabinet hinges?
Although hiding the cabinet hinges added some work to the project (and caused more than a couple of eye rolls from my husband at the time), I knew that it was critical to give the cabinets the finished streamlined design I was looking for.
I never photographed the process, so I’m going to have to use my best descriptive language. Our cabinet doors were partially inset by 1/4”. There was a slight lip that overhung the cabinet faces, and the rest of the door was inset. If you were looking at the doors from the top or bottom they looked like this:
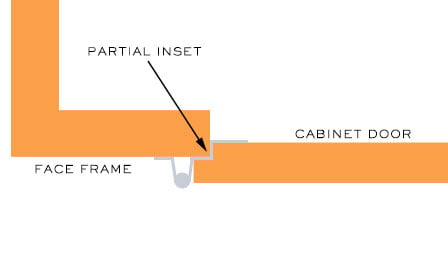
For doors like this, the only feasible hinge options we found were exposed. Our solution was to add a thin piece of trim to the inset perimeter of the door, giving the door a flush edge. This transformed it to a partial overlay door.
We then worked with Blum (not a sponsor) to find hidden hinges to fit our new overlay. They had excellent customer service to help us figure out the particular angles and corresponding parts we would need. Our particular parts probably won’t be of use to you since there are thousands of combinations and dimensions. They will help you find the right ones based on your specific measurements.
The photo below shows the filler strip. It also shows the recessed hole we drilled with a Forstner bit for the hinge.
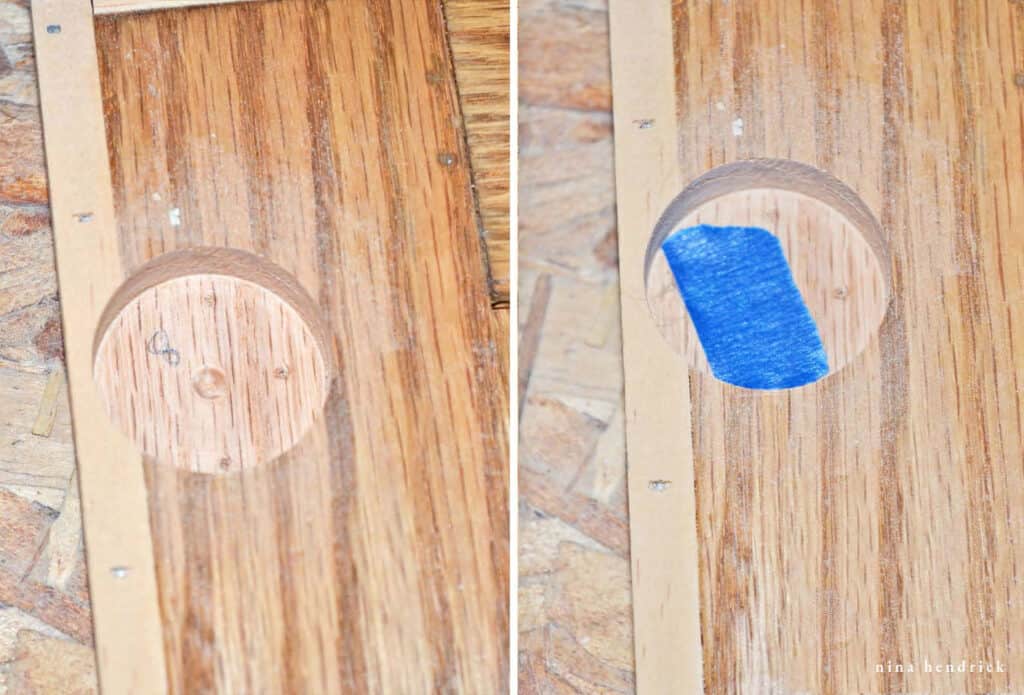
As I said, it was a bit of extra work but I think it really helped give the room a more professional look. If you’re looking for more information, there’s a great tutorial here over at Sawdust Girl about the different types of cabinets & hinges!
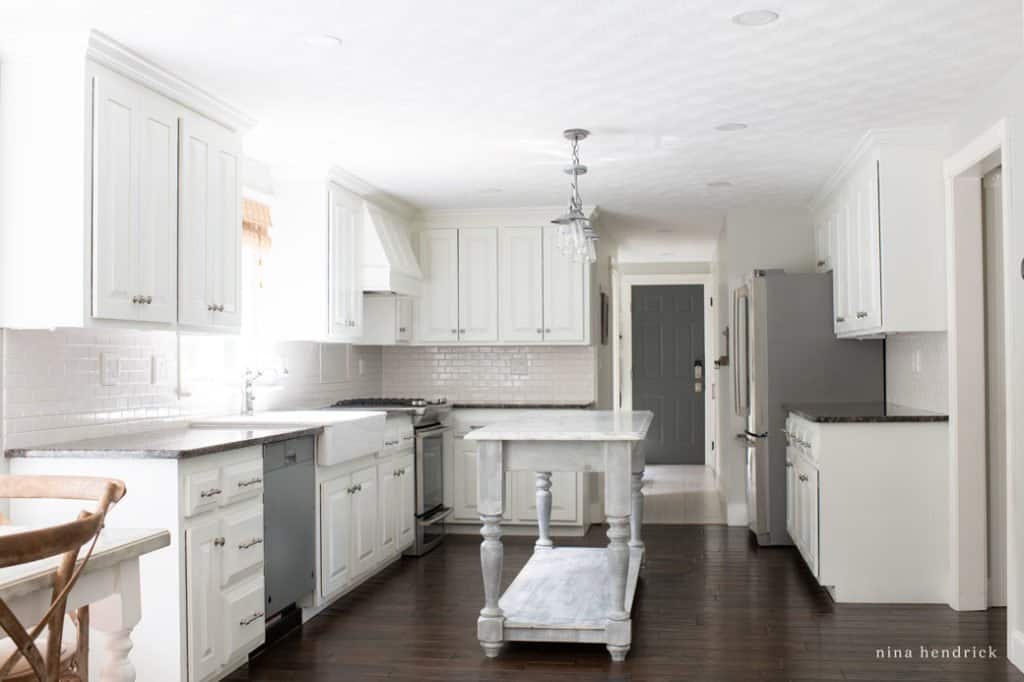
How long do you hope this finish will last? Will you ever replace the cabinets?
In 2015 I wrote, ” I will be pleased if these hold up well for another 3-5 years. That would be a very long time for DIY painted cabinets…”
They made it longer than 5 years from the beginning of the project, and are currently sitting in storage to be installed in my parents’ kitchen. We completely overhauled our kitchen in 2019 with a brand new layout, but I wrote this post before we moved the cabinets.
Pin it For Later


Great post
Any advice for how to avoid cracking between the raised panel and the frame? Seems like the paint could/would crack as that panel expands
Hi Taylor, I would recommend using a flexible and paintable latex caulk ahead of paint to try to prevent cracking. Unfortunately, it isn’t a sure thing with seasonal temperature fluctuations, but we saw very good results!
What are your countertops? I have baltic brown countertops and they seem similar to yours!
Hi Katherine, I’m not really sure what they were! They came with the house and we’ve since renovated. They were a pinkish color in the light.
Beautiful kitchen. Congratulations on all the hard work. One question, I don’t dare spray paint would you still recommend this paint if you were brushing it on kitchen cabinets?
Thanks
I have never brushed it on, personally, but other readers have reported back that they did and loved the results! The paint does still have some self-leveling properties, even with a brush. I would recommend using a mini foam roller to smooth out the brush strokes for the smoothest finish with this method!
Hi Nina,
Your blog is so inspiring. Your kitchen is beautiful. Your style is so fresh and clean.
I too have 80’s honey oak kitchen cabinets. The doors are solid wood, but the cabinet boxes are not. They are covered in some sort of heavy, wood look laminate on both sides. Will the paint stick to this surface?
Thanks,
Diana
Hi, Diana!
I would definitely make sure to use a good primer first, and then I think the paint would work. You will want to research primers that work really well for laminate!
First of all, I absolutely love the way your kitchen turned out! I’m starting mine this weekend and had just a quick question for you regarding priming. Did you use any sort of stain sealer before you primed to make sure the oak didn’t “bleed” through the primer/paint? I think I’ve been reading too many blogs, seems like some use the sealer and some rely on a good primer. Thank you for your excellent tutorial, it will be my guide for my kitchen remodel!
Hi Julie, we just relied on a really good primer (Kilz oil-based stain blocking). We haven’t had any issues with tannin bleed. Best of luck with your project :)
Nina – first, I LOVE your blog! I have been begging my husband to let me use your tutorial and paint our kitchen cabinets for-EVER! He was so against any DIY method, and says we don’t have the money for new cabinets…. then he got me a paint sprayer for Christmas, so I took it as the “go ahead” for the kitchen painting extravaganza! I am wondering though, in your pictures (specifically the one right before the priming instructions, with who I am assuming is your husband sanding) it looks as though there is a pretty thick layer of drydex on the cabinets…. I have already gone through and filled the grain, and sanded – but now looking at the pictures, I am afraid I have sanded too much! The holes from the previous hardware, and all of the grain is white, however there is very little, if any drydex left on the cabinets, other than what fills the holes, if that makes sense. I just tried to post a picture to this reply and it won’t let me. I planned on caulking the seems and everything tonight before I remove the doors (I found it much easier to use the orbital sander while the doors were attached to something stable…) but was hoping to get some input from you first! You are such an inspiration to us amateur DIYers!
Hi Sarah, thank you so much for the sweet words! It’s hard to say without seeing it in person, but I would say the best indicator would be whether it’s smooth to the touch. If you can still feel grain, it’s possible it would show. If not, you should be fine! Best of luck!
I just saw your BHG spread & I know I’ve already pinned from you. I love your kitchen but I don’t see a microwave. Where do you hide it?
Hi, Dale! It’s right on the counter beside the fridge, at least in my photos. BHG took it out of the room ;)
This kitchen makeover is gorgeous!! I have two questions for you: 1. How would this process change if you wanted to paint natural stained solid cherry cabinets and 2. Where and how did you replace the hood above the stove?? That is exactly what I want to do in our kitchen. Thank you in advance for your time!
Hi Kim! With cherry cabinets, there’s no real need to fill the grain, as the grain is a lot tighter. The paint should cover it smoothly! That saves a lot of time in this project. Our range hood tutorial is available here! Best of luck with your project! xx Nina
Your cabinets are perfection! Did you fill both front and backs of the cabinets? I am in the process of filling now and dread the thought of doubling the process by also applying Drydex to the backs.
Hi Ashland! We did not fill the interiors of the cabinets with Drydex, just the exteriors. Yes, that would have been a nightmare!