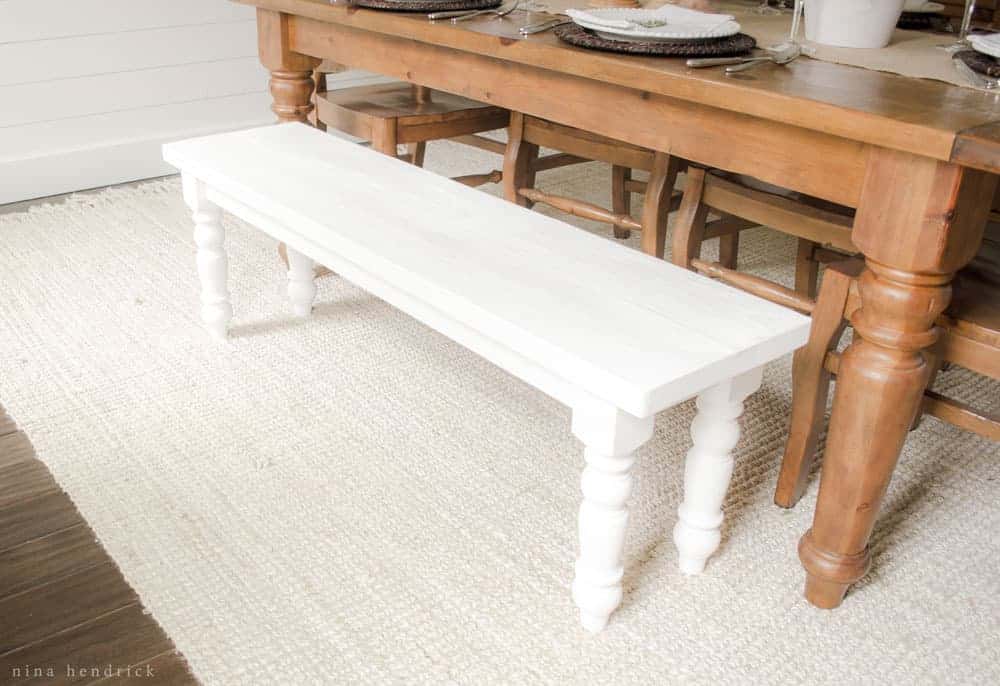
This simple farmhouse bench is a great beginner build to give you extra dining room seating. It’s a perfect project for enlisting young helpers.
At this point in the journey to renovating and decorating our home, we’ve built a DIY Kitchen Island, a cottage dining table, and a cottage coffee table. Today I’m excited to share our latest build— a DIY Farmhouse Bench.
How to Build a Simple Farmhouse Bench Step-by-Step Tutorial
Originally posted May 16, 2016 Last updated June 29, 2020.
Although we are lucky enough to have a separate “formal” dining room in our home, we are not exactly formal people. So when it came time to tackle the dining room project, we knew we wanted to create a space that was as laid-back and relaxed as possible.
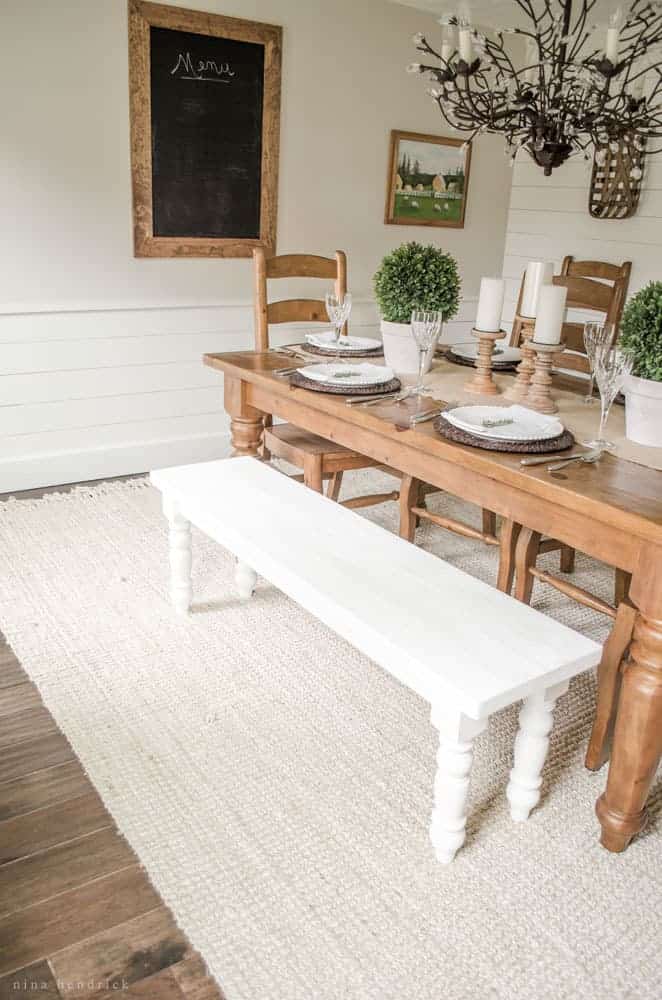
One idea that I came up with to accomplish that atmosphere was to replace two of the dining chairs with a simple farmhouse bench. Three adults or four children can sit on the bench easily, which makes it perfect for large family gatherings.
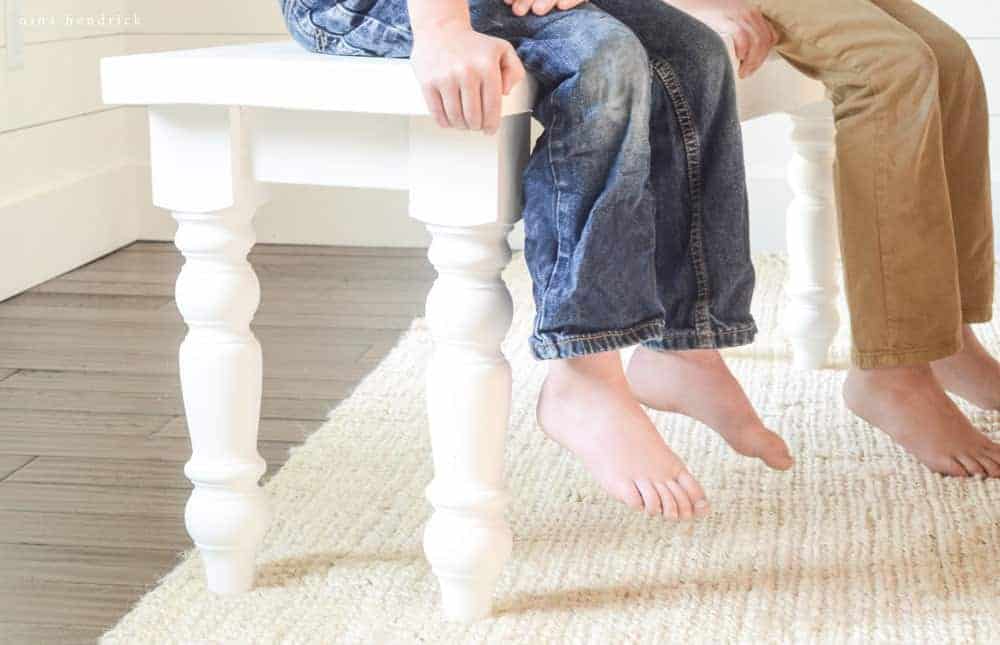
I can’t get enough of this photo with the little boy feet not quite touching the ground. I know soon enough that he’ll be taller than I am. For now, seeing those little feet swing while he’s sitting on a bench his parents made eating his dinner is a great homespun memory to be making.
Creating the bench was one of the quickest and easiest builds we’ve ever done. It’s a great beginner project, and a perfect opportunity to involve a junior helper. Read on for the full tutorial or you can purchase a printable version of the plans below!
Click here for the Farmhouse Bench Building Plans
How to Build a Simple Farmhouse Bench
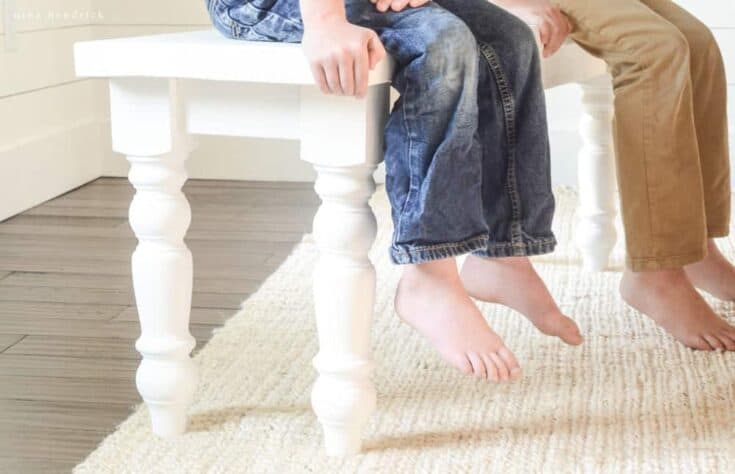
Learn how to build this rustic Farmhouse bench step-by-step. It’s a quick and easy build that gives you affordable extra seating around any table!
Materials
- 4 - Bench Legs (l 8”x 3”)
- 1 - 2 X 8 @ 10’
- 1 - 2 X 4 @ 10’
- 2” Pocket Hole Screws
Tools
- Table Saw
- Compound Miter Saw
- Power Screwdriver
- Kreg Jig
- Orbital Sander
Instructions
Cut List
2– 2×8 @ 56″ ripped to 7″ (⅛” off each side to square) (top)
2– 2×4 @ 46″ ripped to 2 ½” (½” off each side to square )(side top support )
2– 2×4 @ 6 ½” ripped to 2 ½” (½” off each side to square )(front and back top support )
Trim legs to 16 ½”
How to Build a Simple Farmhouse Bench
- Rip down each side of your 2x8x10 and 2x4x10 with your table saw as directed in the cut list to create a straight edge. Make all of your cuts to length with your compound miter saw, referencing the cut list.
- Drill all of your pocket holes.
— 2 @ each end of 2 ½ x 46" and 2 ½ x 6 ½" boards
— alternating pocket holes on bench-top (or use a biscuit joiner). - Take your two 56" boards and apply wood glue to the intended seam. Join boards with your pocket hole screws. Allow the glue to dry. Alternate method: We chose to use a biscuit joiner on the bench-top, to allow for expansion and contraction.
- Take two of your short end pieces, and attach to legs with 1 ½" pocket hole screws. We inset from the front of the legs by ½". Clamps may be helpful since the legs will not be completely secure until the top is attached firmly. If you wish, you may use a nail gun to secure legs to the center support.
- Take two of your long front and back pieces, and attach to legs with screws. Again, inset by ½". You should now have a complete base. If you wish, you may use a nail gun to further secure legs to rails.
- Once the top has dried completely, sand smooth with 120-grit sandpaper. Round off the edges if you choose.
- Lay the bench-top upside-down. Flip the base upside-down also, and center it in both directions. Join base to top with pocket hole screws using the pre-drilled holes.
Notes
Finish
I painted the bench with two coats of Folk Art Chalk Paint in White Adirondack, sanding lightly between coats. After, I gave it a top coat of satin Polycrylic to give it more durability. I normally love to stain the top and just paint the legs on projects like this, but I really wanted to break up the wood of our dining set.
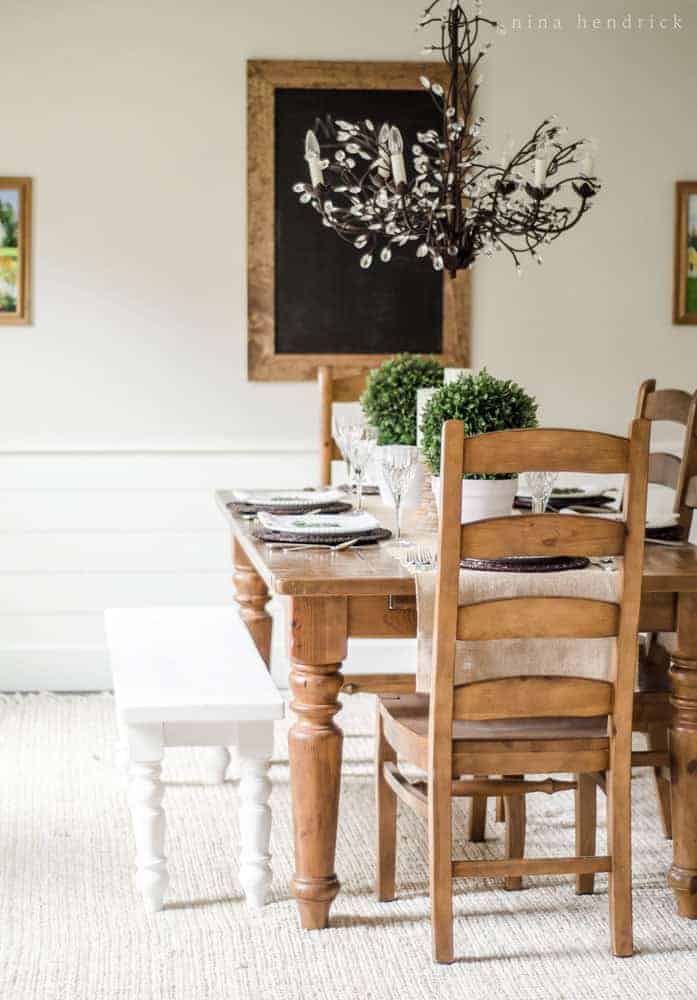
What do you think of our new casual seating? I think it’s the perfect solution for a family-focused gathering space. I’d love to hear from you if you’re planning to build this!
Click here for the Farmhouse Bench Building Plans
Pin It for Later | Simple Farmhouse Bench

I just found you through justagirlandherblog, where can I find the chalk board pictured in your dining room?
Hi, Dina! So glad you stopped by :) It was a DIY many years back. This one (affiliate link) is very similar, though!
This turned out amazing! I absolutely love benches in our dining room. It creates a relaxed atmosphere for the family dinners and gatherings. Ours are getting a little worn down from the hundreds of meals had on them so I’m definitely going to get my husband on these guys! Thanks for sharing :)
Thanks for stopping by Hattie!