DIY Cafe Shelves
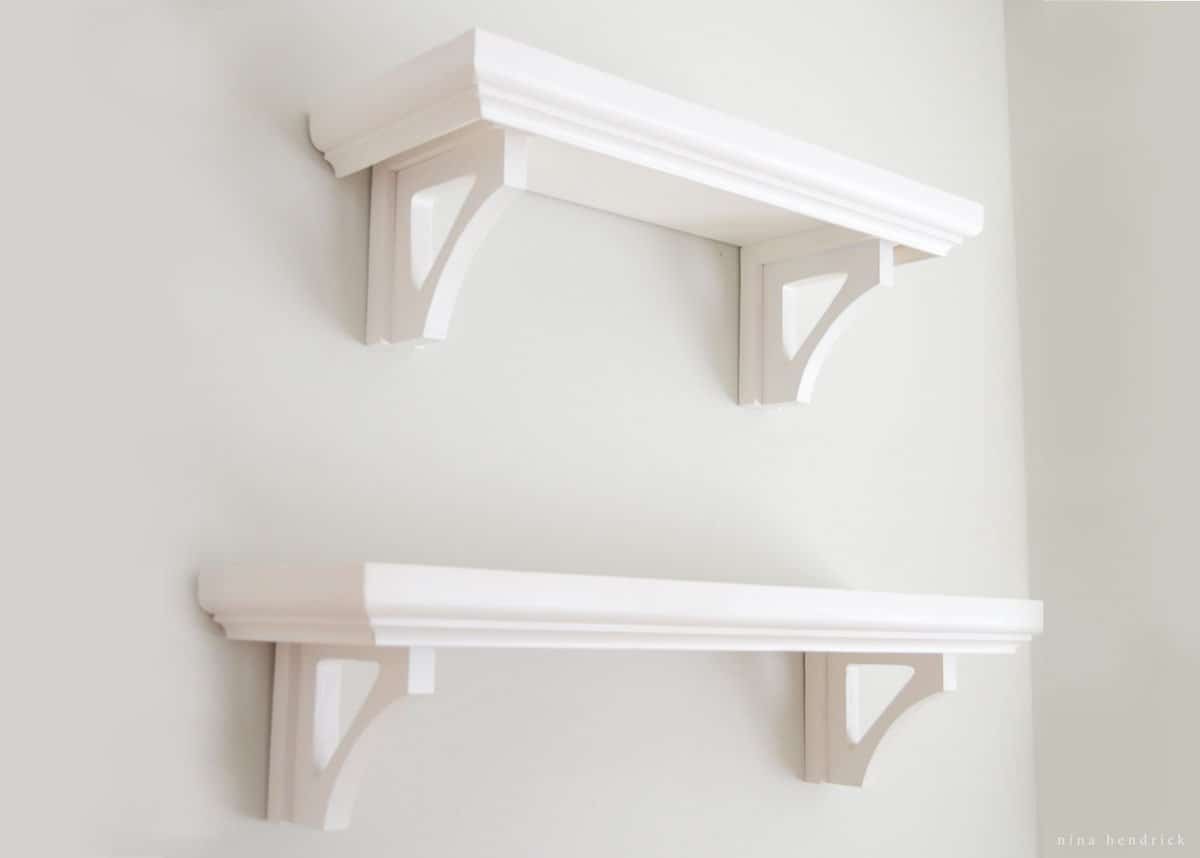
This easy beginner tutorial will help you build DIY cafe shelves with crown moulding to add character or decor to your walls in just a couple of hours.
Originally published March 26, 2014
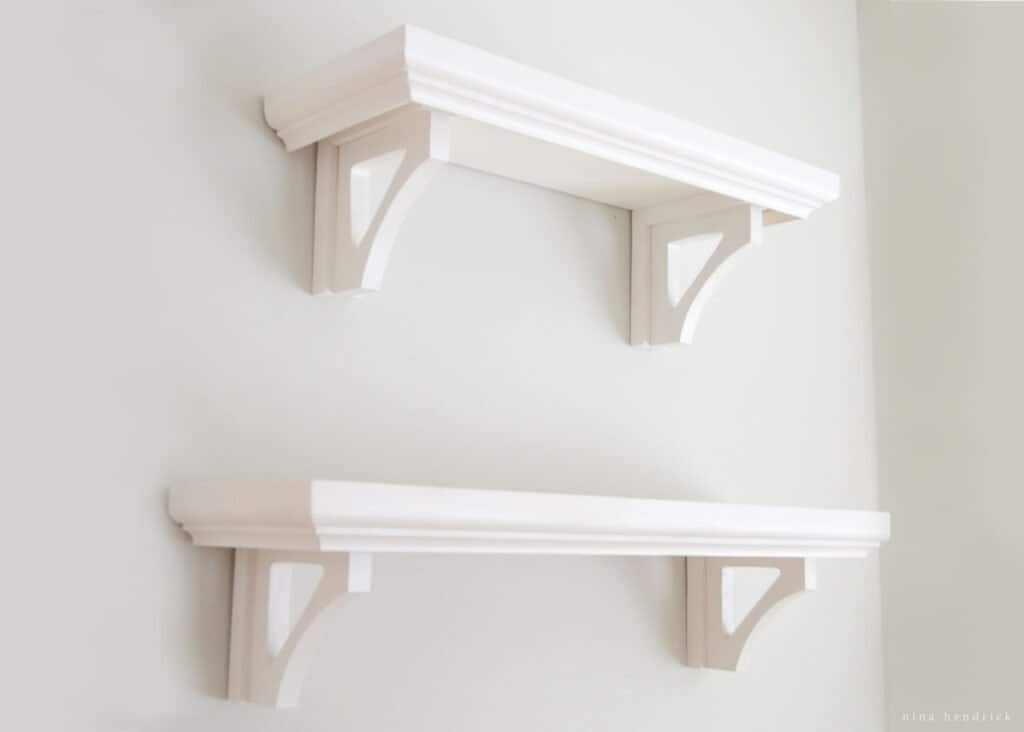
Today I’m sharing my take on DIY Cafe Shelves! Do you love to decorate for holidays? If so, this beginner project will create the perfect blank canvas for your display. If you’re looking for other shelf ideas, you can check out my rough cut pine shelves here.
Since our mantel is currently home to speakers and other non-pretty things, I decided I needed another place to celebrate the seasons and holidays.
This post contains affiliate links, which means I may get a small commission (at no extra cost to you) if you shop my link. Please see my disclosure if you’d like more info!
When I first decorated this wall, I started out with some smaller crown moulding floating shelves. They were pretty enough, but lacked the depth I craved to hold larger vases and jars.
DIY Cafe Shelves with Crown Moulding and Brackets
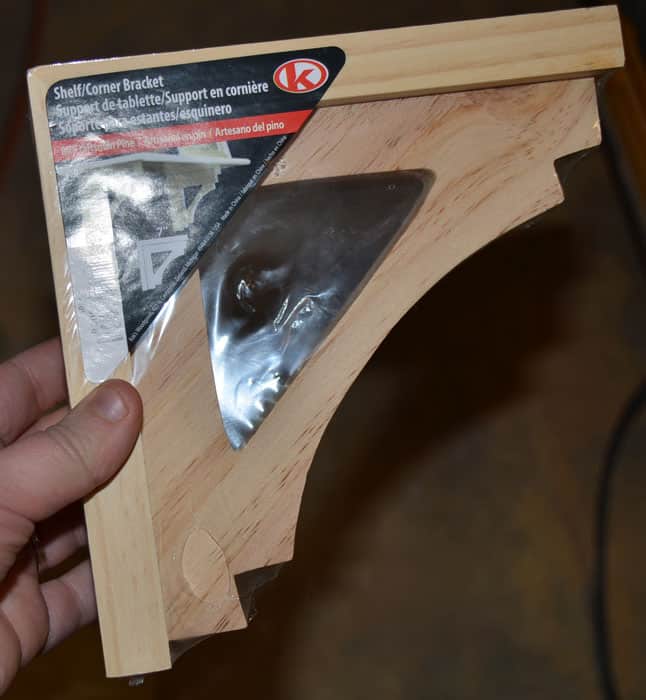
I knew I wanted to find shelves that were a bit deeper, so I sourced a set from one of my favorite catalogs. Unfortunately, they cost a bit more than I wanted to spend. I brought my concept to Mack and he said we could make it happen DIY style using brackets similar to these (unfortunately, the exact brackets we used are no longer available).
If DIY isn’t your thing, no worries! Here are some very similar cafe shelves already made.
DIY Cafe Shelves
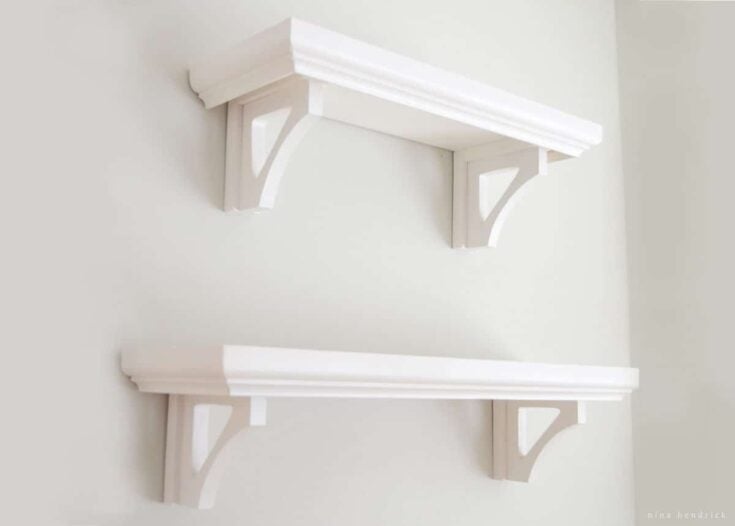
This easy beginner tutorial will help you build DIY cafe shelves with crown moulding to add character or decor to your walls in just a couple of hours.
Materials
- stain-grade plywood panels from local home improvement store
- basic 5" shelf brackets
- 1 1/2" crown molding
- wood glue
- short (brad) nails
- Drydex or wood filler
- paint
Tools
- Nail Gun
- Corner Clamps
- Compound Miter Saw
- Table Saw
Instructions
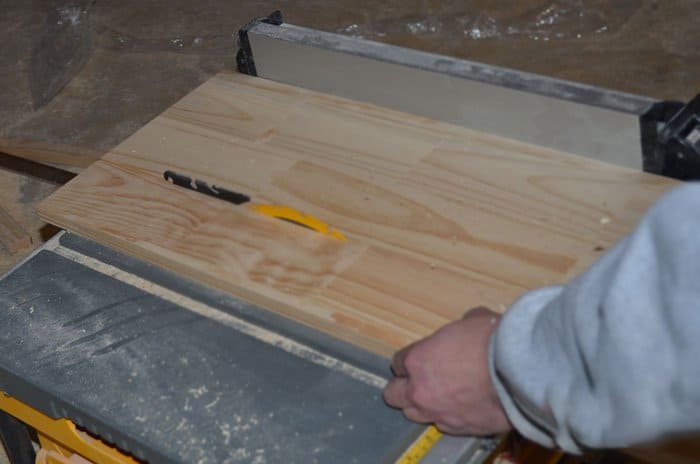
- Start by making your cuts from the plywood panel to 8" width using the table saw.

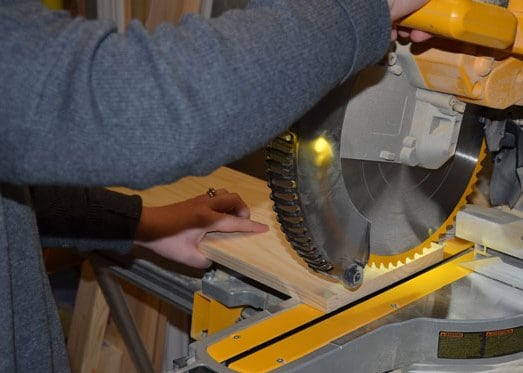
- Use the the compound miter saw to cut the cafe shelf boards to length at 22" and 28".

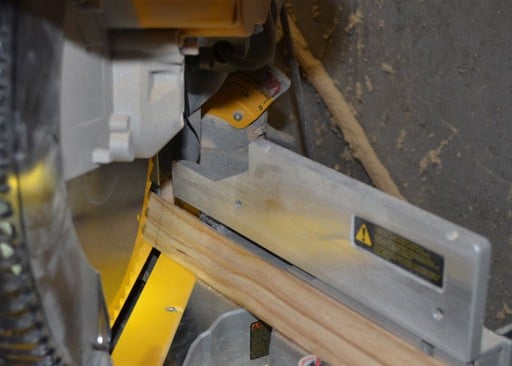
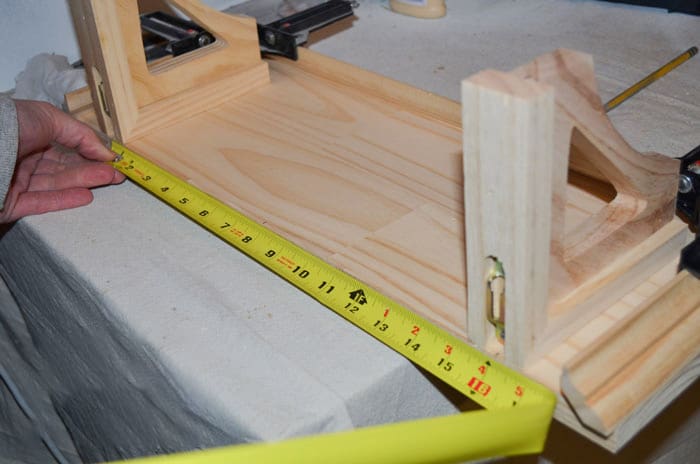
- Next, cut your crown moulding. You'll want the top of your angle to match the length of the shelf boards at 22" and 28". Then cut four 8" pieces for the sides.

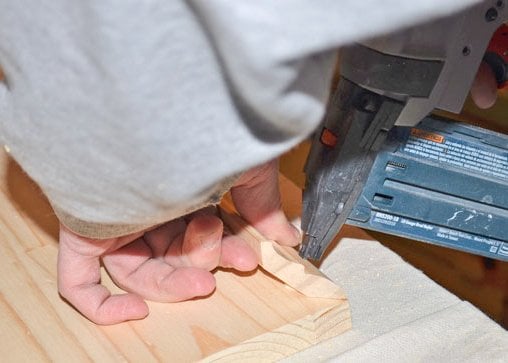
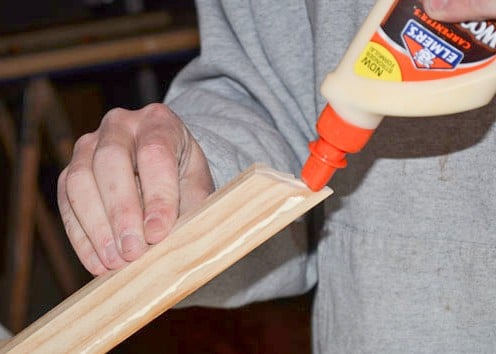
- Apply wood glue to the top edge of one of the long pieces of crown moulding and arrange it on the bottom edge of the shelf, lining the pieces up so that they are flush for a seamless joint. Once the moulding is in place, secure it to the shelf board with finish brads.

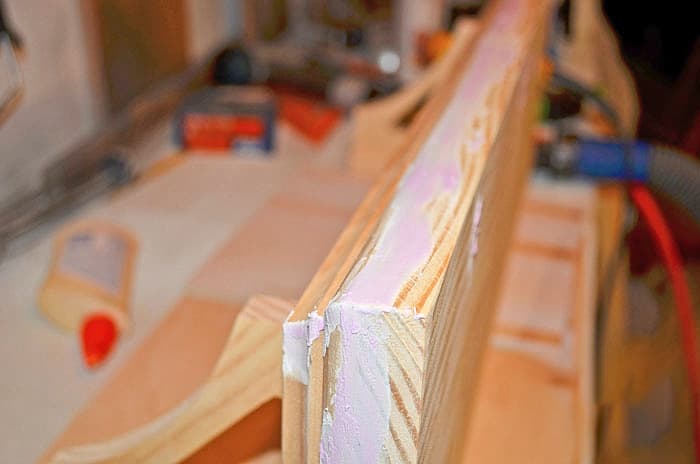
- Pick up one of your two 8" pieces of crown moulding, Glue the top edge, as well as apply glue to the corner where the crown pieces will join.

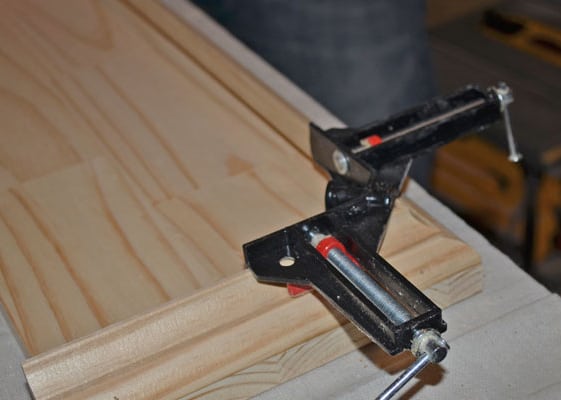
- Since only the top of the crown moulding will be attached to the shelf board, glue and clamps will help you get the side pieces of moulding into position for securing with brad nails.

- Repeat steps 5 & 6 for your second shelf.
- Attach shelf brackets evenly to the bottom of the shelf boards with glue and finish nails. Ours are inset by about 2.5", but your preference may vary.

- Once your glue is dry, apply Drydex to nail holes and joints and allow to dry. Once dry, sand the joints smooth. If staining your shelves, you should use wood filler.

- Paint or stain your shelves and allow to dry.
- Hang your shelves, making sure to use drywall anchors when not securing to a stud.

Notes
Here are the dimensions of our shelves:
Shelf 1: 22" wide x 8" deep
Shelf 2: 28" wide x 8" deep
Recommended Products
As an Amazon Associate and member of other affiliate programs, I earn from qualifying purchases.
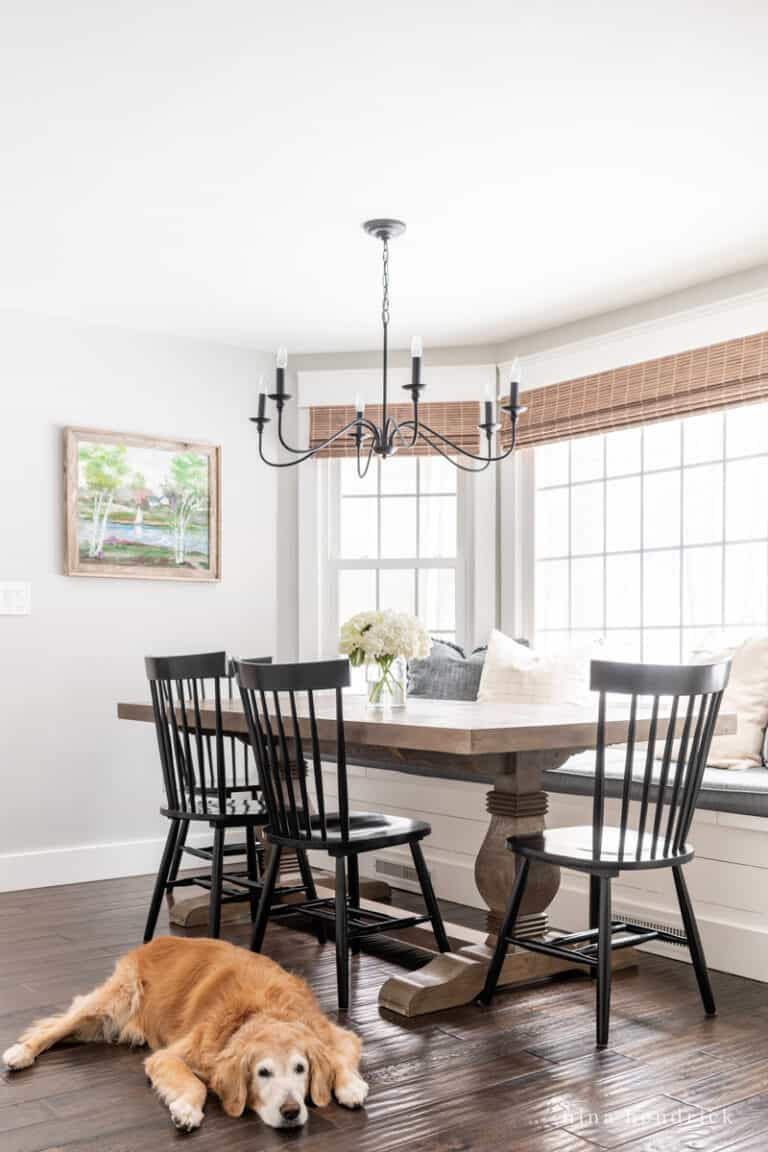
Now I can set up seasonal displays in the breakfast nook! In the future, we’re planning on maybe adding some sort of console under the shelves and a built-in bench in front of the windows. (update: see the finished breakfast nook and bay window bench!)For right now, it’s a big blank slate.

love your shelf tip and your cute supervisor!!! :-)
Lovely! Can I ask- what’s the color on your walls? Where did you get that beautiful chandelier from?
Hi Kathryn! Thank you! The walls are painted Benjamin Moore’s Gray Owl and the chandelier is from Pottery Barn: http://www.potterybarn.com/m/products/clarissa-glass-drop-chandelier/?pkey=call-lighting
where did you buy your brackets?
Hi Kristen- we purchased them from Lowes!
These are beautiful! I’m a bit scared of the table saw myself. This project looks like a good start to overcoming my fear!
These are gorgeous! Love how they turned out. Great job. Pinned :)
Thank you so much Taryn!! :) And thank you for the pin!
Your shelves are beautiful! Thanks for sharing your tutorial.
Thank you so much Megan!