Vignette Decor Ideas
Discover how to create beautiful vignette decor that will up the charm factor of your space. Get inspired with this fun and simple step-by-step guide to vignette decorating!
There are a few key elements that really make a room come alive and feel homey for me – area rugs, plants, and lamp lighting make a huge difference. I’ve put together a mega post on how to decorate your home, but today I want to zoom in on a quick win from that list that really amplifies the vibe of the entire room – vignettes!
I LOVE vignettes because they have the ability to pack a ton of personality into a compressed little area. I really feel like I’ve given a room the *chef’s kiss* finishing touch when I’ve completed its vignette(s). It’s like the basil sprig garnish added atop your artfully plated entrée. It gives the room all the feels and kicks the charm into overdrive.
What I love most about vignette decor is that it’s such a quick win! Inexpensive to create, and small in scale, vignettes can be completed right in the midst of a jam-packed schedule. No setting aside a weekend for this project! You can’t beat a small investment with a big return.
Which is why, if you’re looking to refresh your decor or add Instagram-worthy style to your space, I highly recommend creating new vignettes around your home!
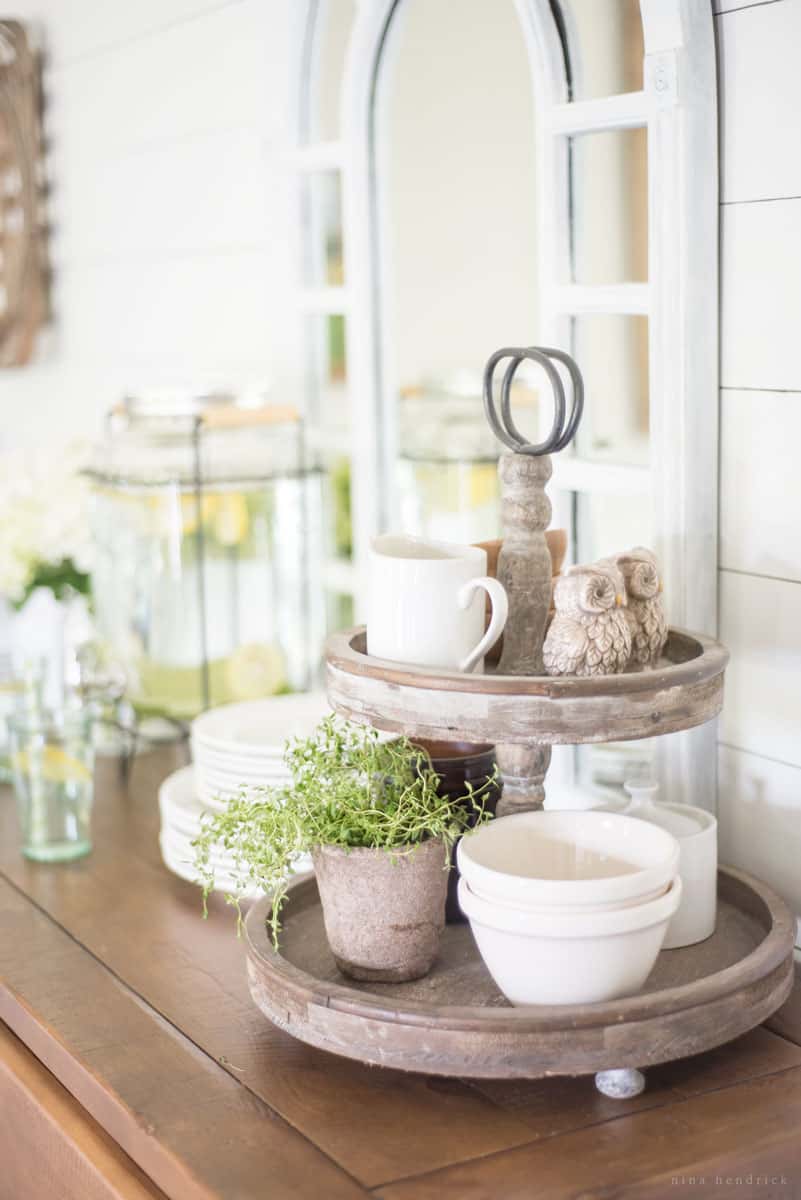
What is a vignette?
Not really sure what I’m talking about when I use this fancy-sounding French word? I’ll explain.
The term “vignette” is not limited to home decor. On the contrary – there are literary vignettes, musical vignettes, movie vignettes, and social media vignettes, just to name a few. A vignette can be a little section or small grouping of anything that is part of a larger whole.
For example – have you ever watched a movie that contained a section in which one of the characters reads aloud a story? It’s a story inside a story; or a story inside the movie. That section of the movie would be considered a vignette. Think of when Hermione tells “The Tale of the 3 Brothers” in Harry Potter and the Deathly Hallows, or in Frozen II when the Dad tells Anna and Elsa the story of the Northuldra people. (You can tell what movies we watch in this house, haha.) These stories are sectioned off parts of those films, or little vignettes.
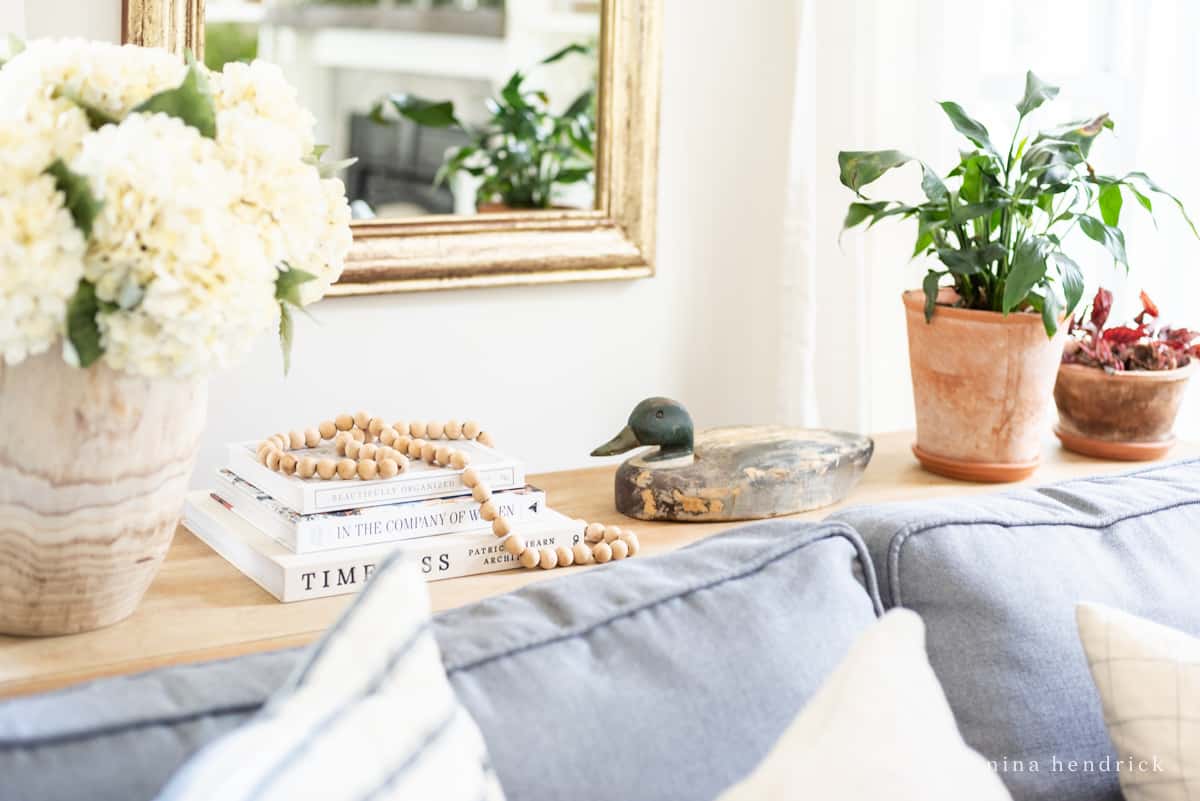
So what is a vignette in decorating, you ask? The vignette definition in decorating is essentially a sectioned off, small grouping of decorative objects. Just like a vignette from a movie, a decor vignette is a mini decor story inside the whole decor story of your home. They’re a fun way to add more personality and appeal to your space!
Usually you’ll find home decor vignettes on tables or shelves.
Some examples of popular areas to place a vignette in your home are:
- Built-in bookshelf or floating shelf
- Fireplace mantel
- Sideboard, buffet, or entryway table
- Coffee table, ottoman, end table, sofa table, or accent table
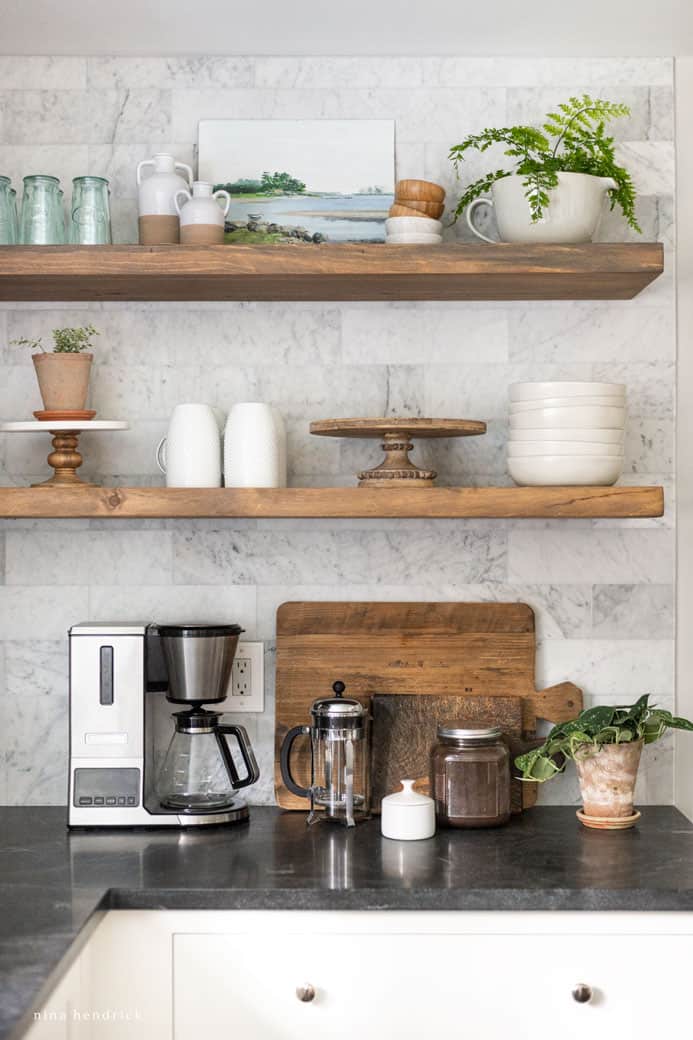
- Kitchen island or countertop
- Bedroom nightstand, chest, or dresser
…just to name a few. But really, you can put a vignette anywhere you want!
Vignettes vs. Tablescapes
As a quick side note, you may have also heard me talk about tablescapes before. You may be wondering what the difference is between a tablescape and a vignette. You can create a vignette in the center of your table — a centerpiece — without it being an entire tablescape. A tablescape encompasses your entire table setting — a centerpiece vignette and the vignettes of individual place settings. You can read about how to create a tablescape here!
How to Create a Vignette
Vignettes in Interior Design
Vignette decor is so fun and satisfying to design!
They’re perfect for taking decor risks because of their smaller scale. So try out that bold pattern or quirky shape you’ve been thinking about! If it ends up not working, it’ll most likely be no sweat to remedy.
Unlike investing in a large area rug or costly wallpaper installation, most vignette objects can easily be returned and swapped out for something that works better without hurting your wallet or draining you physically. (Have you ever had to scrape off wallpaper? Yeah…it’s a task one doesn’t soon forget. 😬)
I’ve broken down creating a vignette into 3 easy steps:
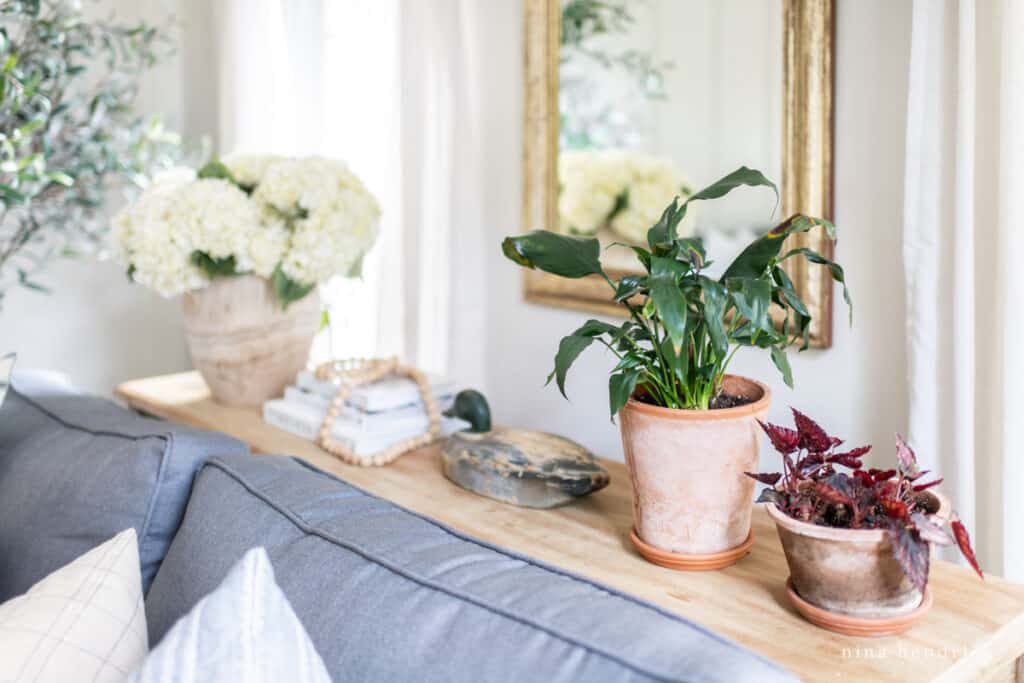
Step 1 – Figure out where to put your vignette
Determine the perfect spot for your vignette. Look for an area of the room that feels “empty” or one that could use some decor sprucing. See the list of popular vignette spots above for inspiration!
Step 2 – Pick out the objects for your vignette
Usually vignettes contain 3 or more items.
Brainstorm ideas by asking yourself these questions:
- What item caught your eye while window shopping the other day?
- What’s in your saved IG decor folder that you’ve been wanting to try out?
- What personal mementos aren’t getting the spotlight they deserve?
- What meaningful vintage family heirloom is hidden away in storage when it could be proudly showcasing a piece of your history?
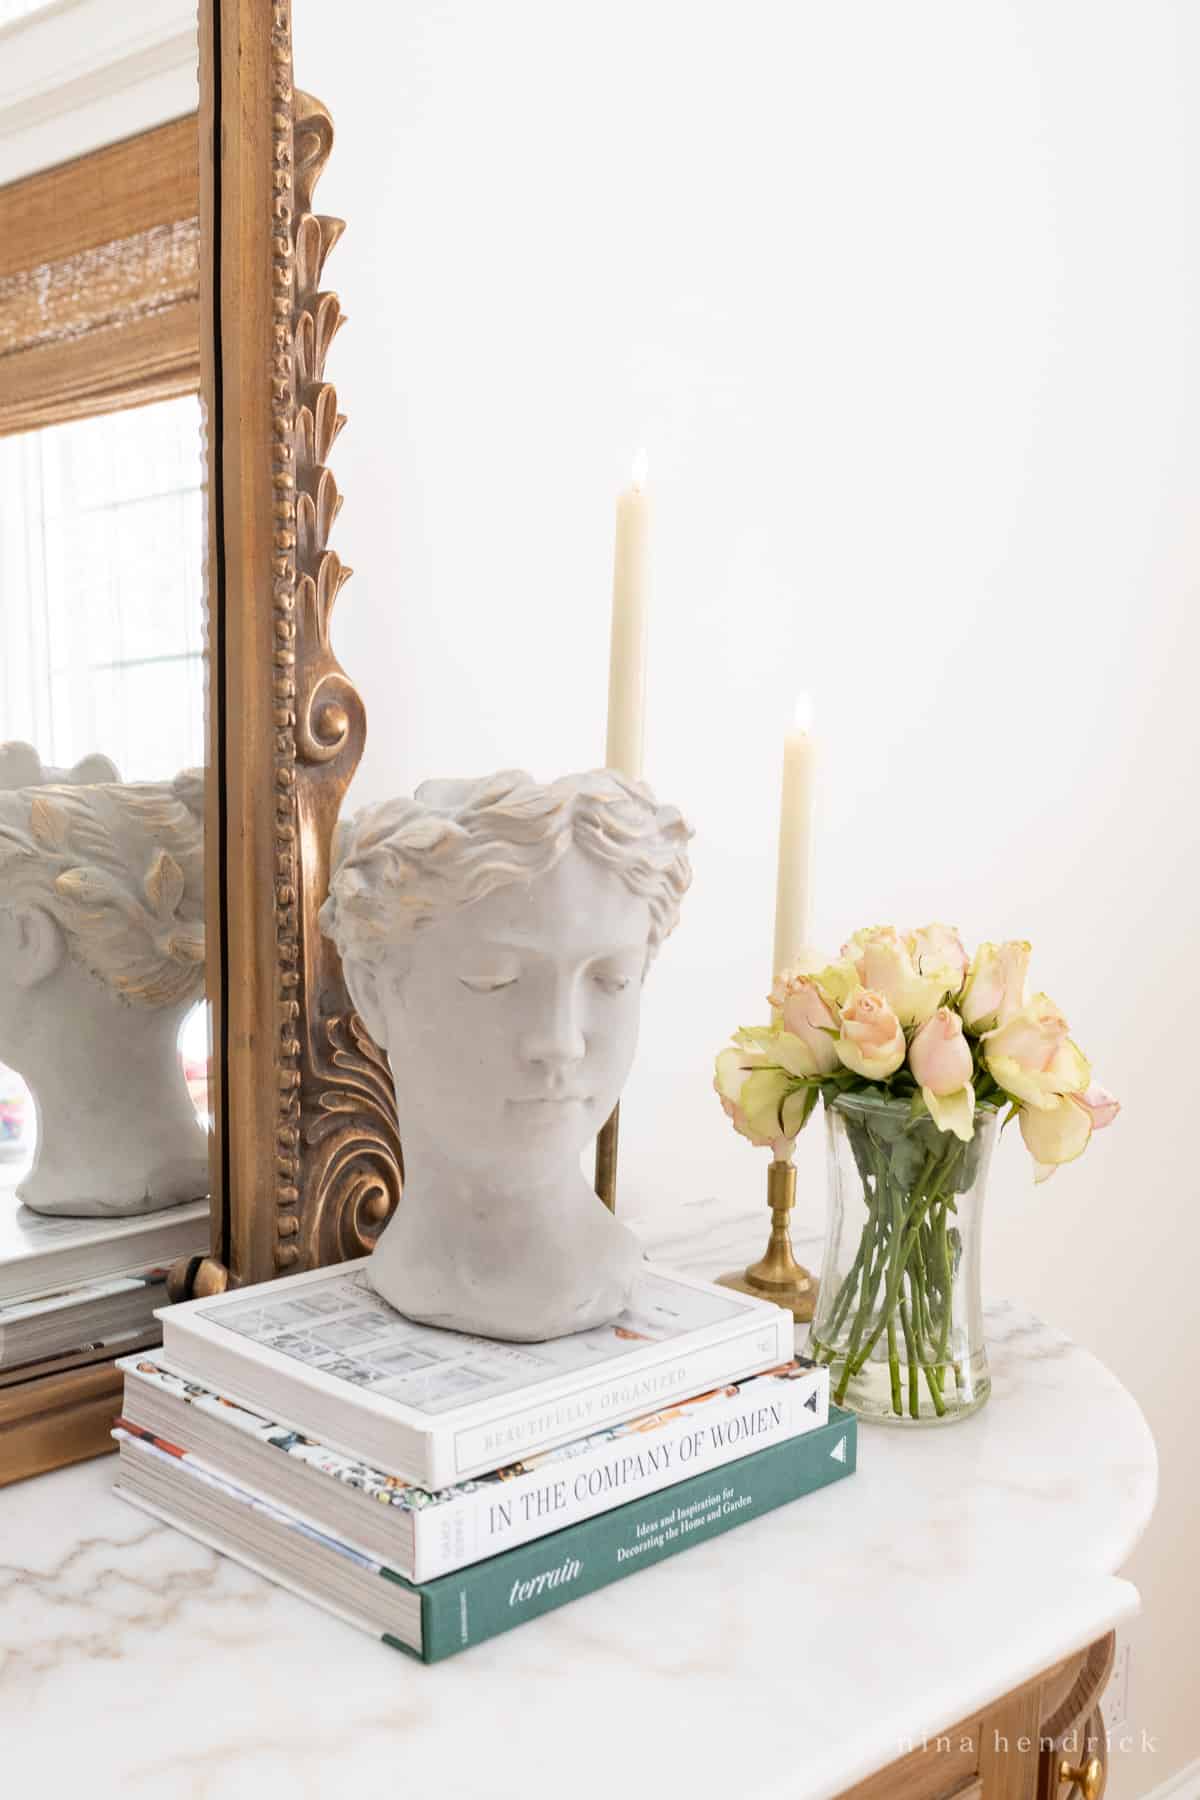
Still stumped? Start with the decor staples. You can’t go wrong with a candle, lamp, vase with fresh flowers, plant, stack of books, or framed print as the cornerstone of your vignette.
Step 3 – Decide how you will section it off
You’ll need to determine how you’ll create separation between your vignette and other decor.
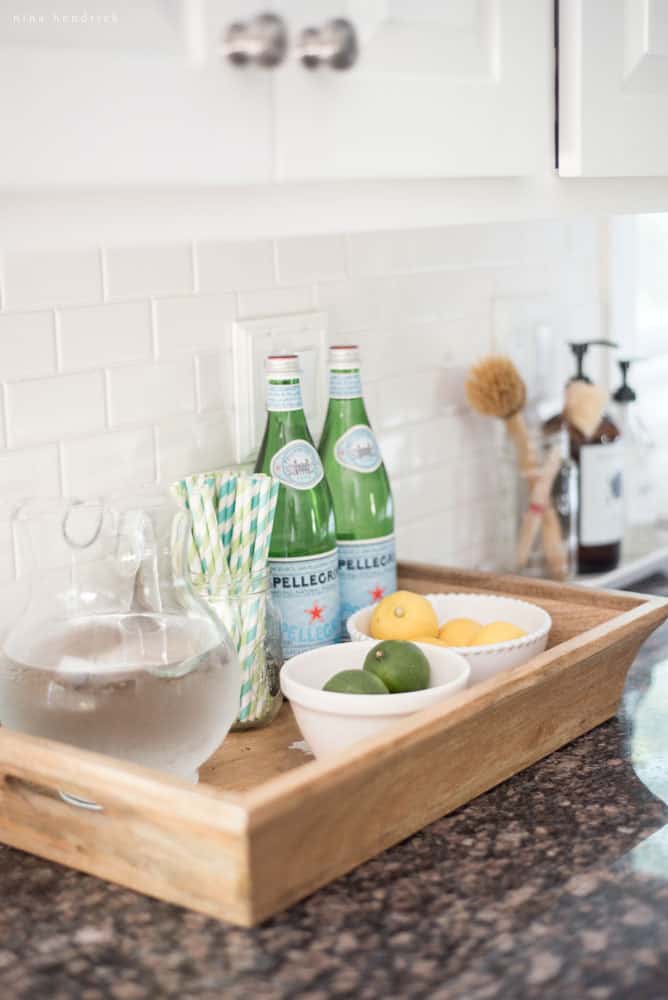
Decide if you will section it off by utilizing spacing or a tray.
- Spacing your vignette objects close together will signify that they are a separate group. I recommend stacking and overlapping for a sharp designer look!
- Putting your vignette objects on a tray is an easy and stylish way to contain them.
Tricks for Designing the Perfect Vignette
Now that you have the basics down, let’s go over a few simple tips and tricks to really make your vignette shine!
- Make sure there’s height variation. Include objects of varying heights in your vignette. You can also achieve this by setting an object on a small stack of books or by using risers of some sort.
- Use the “zig-zag” technique to create depth, balance, and dimension. A nice variation of heights among your objects allows you to place them in a zig-zag pattern which creates balance within the vignette. You don’t want your vignette to look lopsided with all the taller items on the left, while all the shorter objects are on the right, or boring with the items all in a straight line. Start with the tallest item in the middle as a focal point/anchor object, then the next tallest goes on the left, then the next tallest on the right, and continue to work your way down in this pattern. When it’s complete, it will make a zig-zag pattern that only you will notice. Everyone else will just think it looks professionally placed!
- When in doubt, scoot your items closer together. Is your vignette not hitting the visual spot yet? Try moving everything closer together, and overlapping some of the items. It’s amazing how spacing can make all the difference!
- Make sure your vignette items go together. Stick to a cohesive theme or color scheme within your vignette decor. Your accessories should “make sense” together. Your vignette should have its own charming vibe!
What is a vignette example?
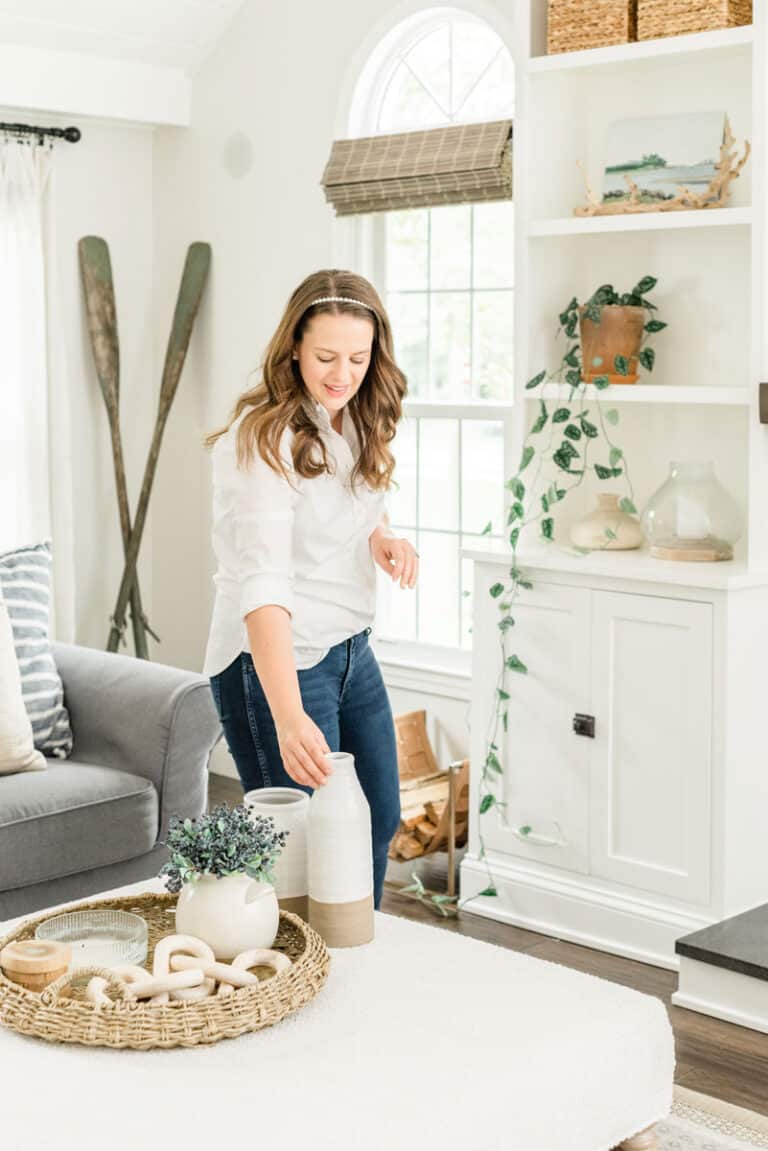
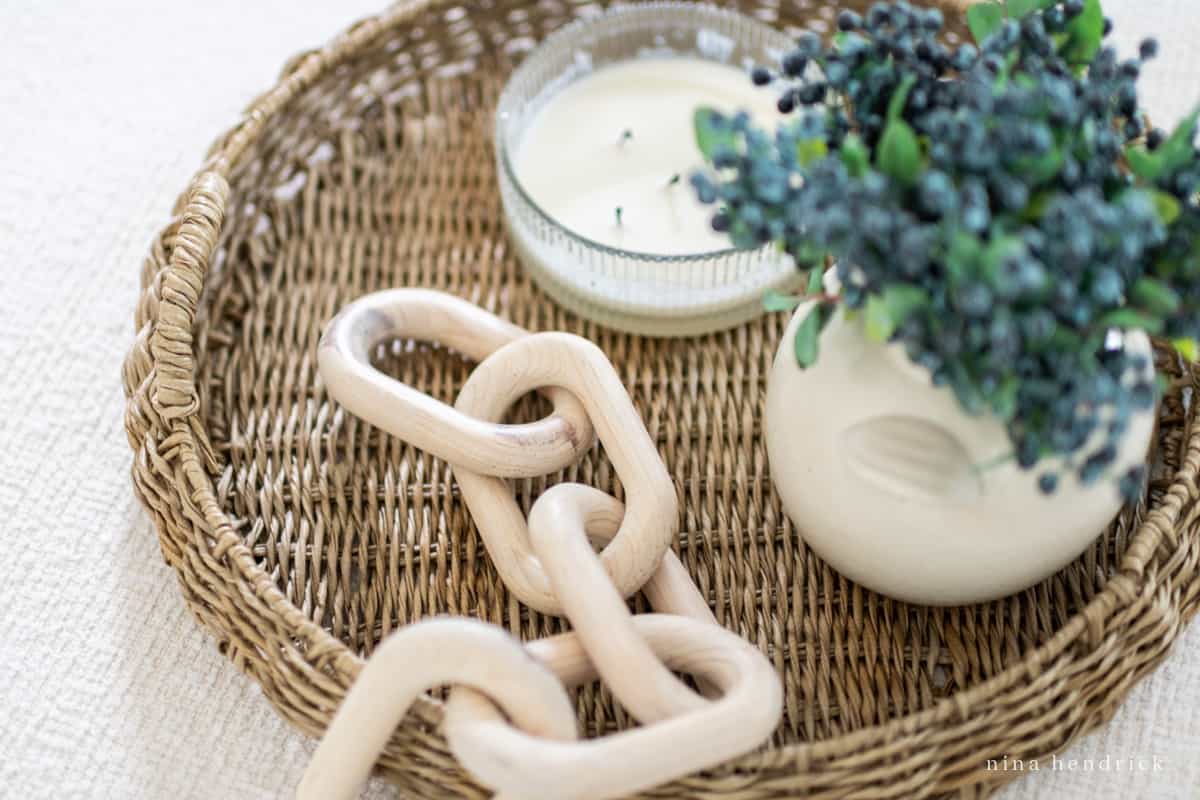
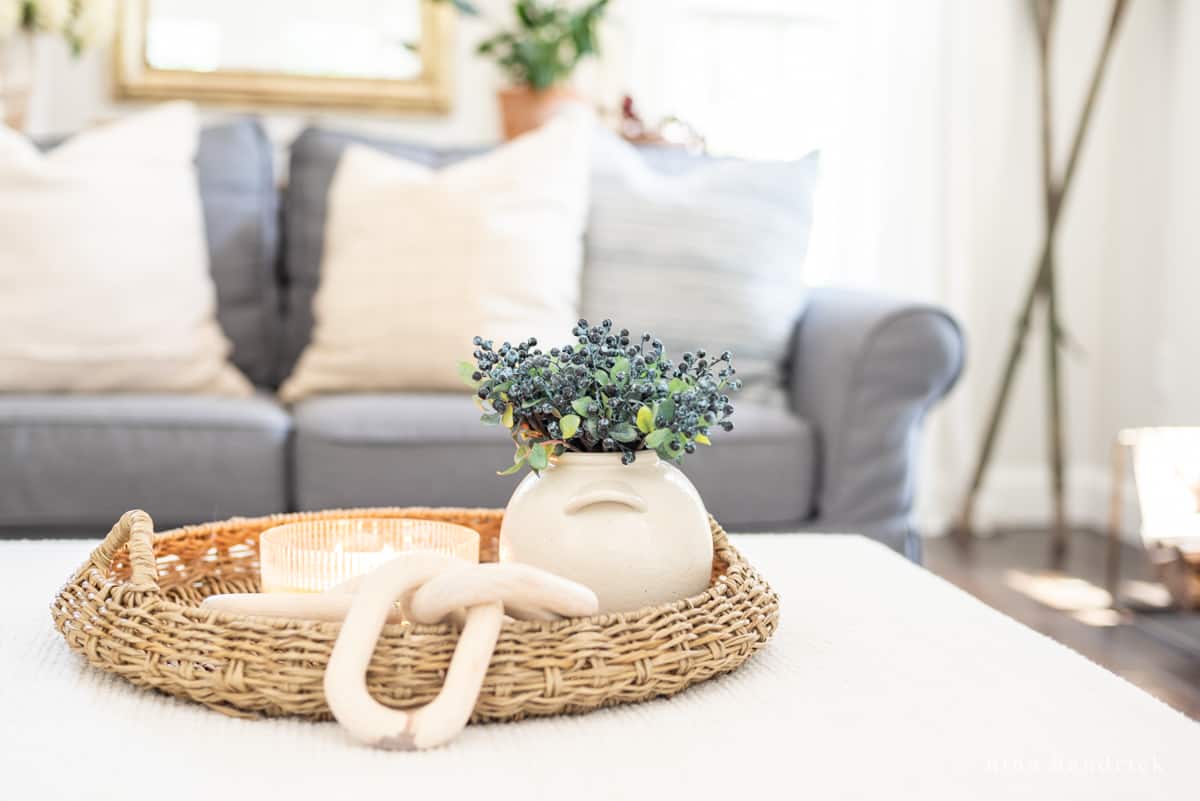
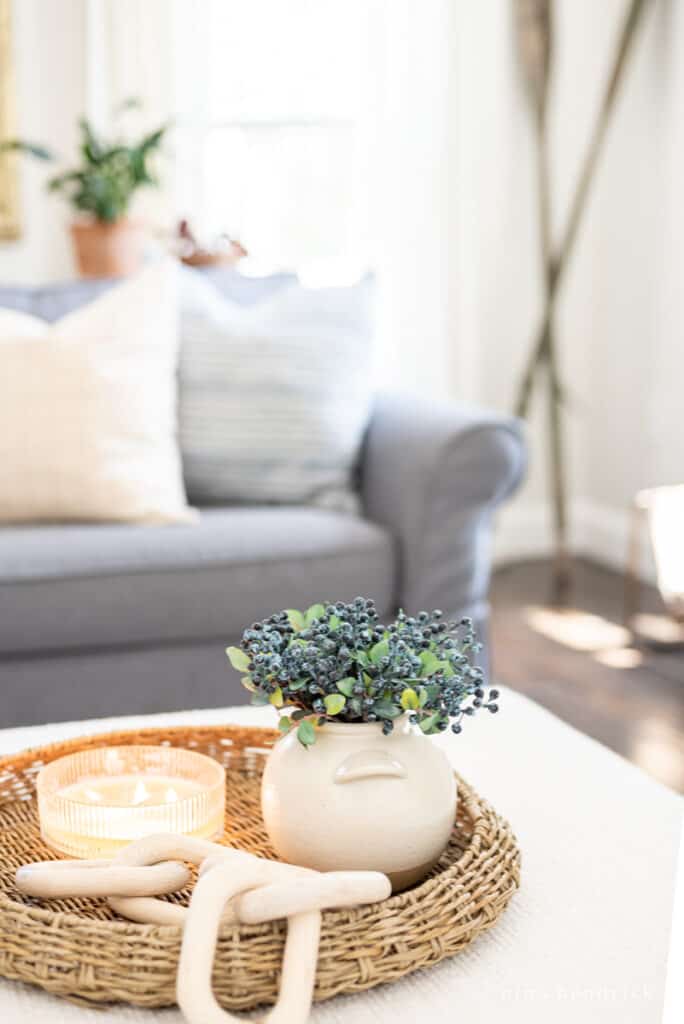
One of my favorite vignettes I created was on my living room ottoman.
I chose a round wicker tray for texture and inside; I placed a large candle, a vase of faux blueberry branches, and wooden links. I love it because it’s cozy and clean-looking, and I put it together in no time flat. This vignette added so much warmth to our space!
And there you have it!
With these easy breezy steps and simple styling rules, designing your vignette will be a cinch. Once it’s complete and ready to be shown off, I’d love to see your end result!
Join my Nina Hendrick Home Community and post a pic of your favorite vignette.
I can’t wait to see your style and creativity!

